


- 6 -
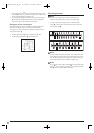
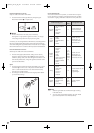
Setting the stitch length
Depending on the type of stitch you have set, it may be necessary to adjust
the stitch length appropriately to achieve the best possible sewing results.
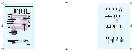
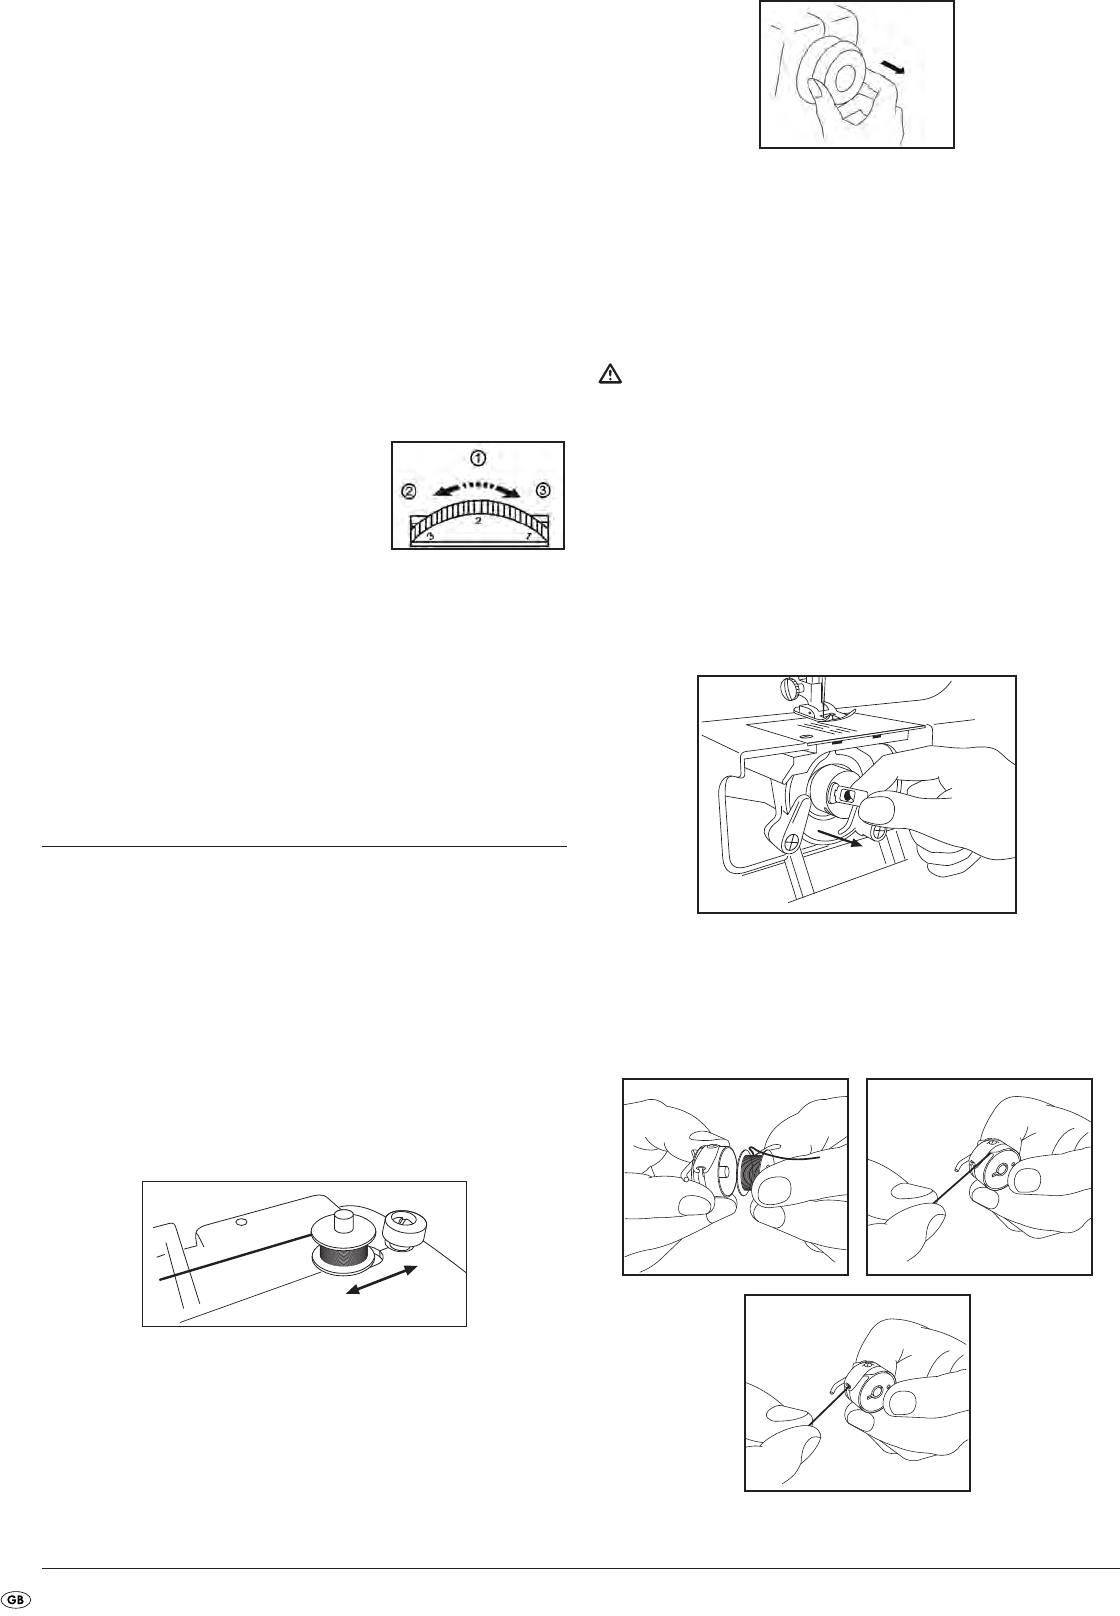
• The numbers on the thumb wheel of the stitch length selector
6
correspond to the respective stitch length in millimeters (mm), hence,
A HIGHER NUMBER MEANS THAT THE STITCH WILL BE LONGER.
• When the stitch length selector is set at „0“
6
there will be no feeding
of the product to be sewn. This setting is used for sewing buttons on.
• The range designated with „F“ is used for the creation of so-called
satin stitches (zigzag stitches sewn very closely together). Satin stitches
can be used to sew button holes or as embroidery stitches. The appro-
priate setting within the „F“ range required for special cases is depen-
dant on the fabric and the sewing silk used. To find the respective re-
quired setting, you should first try out the stitch and stitch-length settings
on remants and, at the same time, observe the feeding characteristics,
varying the settings until the desired results have been obtained.
q
. Stitch length
w
. Direction of rotation required
to reduce stitch lengths
e
. Direction of rotation required
to increase stitch lengths
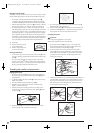
Sewing backwards
• To sew backwards, press the sewing direction reverse switch
t
as far
as it will go, keeping it pressed while simultaneously activating the foot
pedal
l
.
• To resume sewing forwards stop applying pressure to the sewing
direction reverse switch
t
, whereupon the machine will immediately
change over to sewing in a forward direction. The stitching backward
function is employed to finish off and reinforce seams.
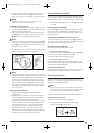
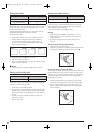
Threading the needle and preparation
Engaging the spool
1. Tip the thread spool carrier
5
upwards and fix a spool of thread on
the carrier. Secure the spool with a thread spool holder
x
/
c
of the
appropriate size.
2. Lay the felt pad
n
on the winder spindle
8
and then place an empty
bobbin on the spindle.
3. Draw the thread through the upper thread guide
1
.
4. Wind the loose end of the thread a few times around the empty
bobbin in a clockwise direction.
5. When the first loose end windings of the thread are tautly wound
around the spool, press the spool with the winder spindle
8
against
the spool stop
9
.
6. Pull the handwheel
0
on the right side of the machine out a little
to disconnect the sewing mechanism from the motor.
7. Now switch the sewing machine on and step on the foot switch
l
.
When the bobbin is full, cut the thread.
8. Press the winder spindle
8
back to the left and remove the full spool.
9. Press the handwheel
0
back in – otherwise the sewing mechanism
of the machine will remain disconnected from the motor.
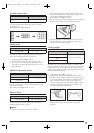
Inserting the spool
Important
Remove the power plug
k
from the wall socket!
Otherwise, the appliance could run unintentionally.
1. By turning the handwheel
0
(towards you in an anti-clockwise
direction) bring the needle into the highest possible position and
release and raise the foot with the lifting lever
g
.
2. Access the bobbin case carrier by removing the sewing table
extension
p
in the manner described above. Open the flap of the
sewing table. Remove the bobbin case by drawing its clip towards
you (flap), then remove the entire case by pulling it out from the
retaining pin towards you.
3. Unwind approximately 10 cm (4”) of the thread from the bobbin and
insert the bobbin into the bobbin case. Hold the bobbin case during
the process. Draw the thread you have unwound downwards and
then leftwards into the slit in the bobbin case, until the thread runs
into the outlet slit under the spring tab.
IB_KH4001_E2719_GB_LB4 23.04.2008 9:28 Uhr Seite 6