


- 10 -
Sewing blind hems
The blind hem stitch is used to finish off edges of sewn products, for exam-
ple, the lower edges of trouser legs ensuring that the seam is not visible
form the outside of the garment.
Employ the blind hem stitch (stitch type No. 7) for non-elastic materials
and the stretch blind stitch (No. 10) for elastic materials.
Use the blind hem foot
F
.
1. Both threads should be the same colour as the fabric to be sewn.
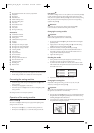
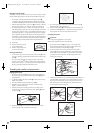
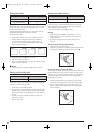
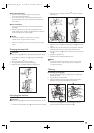
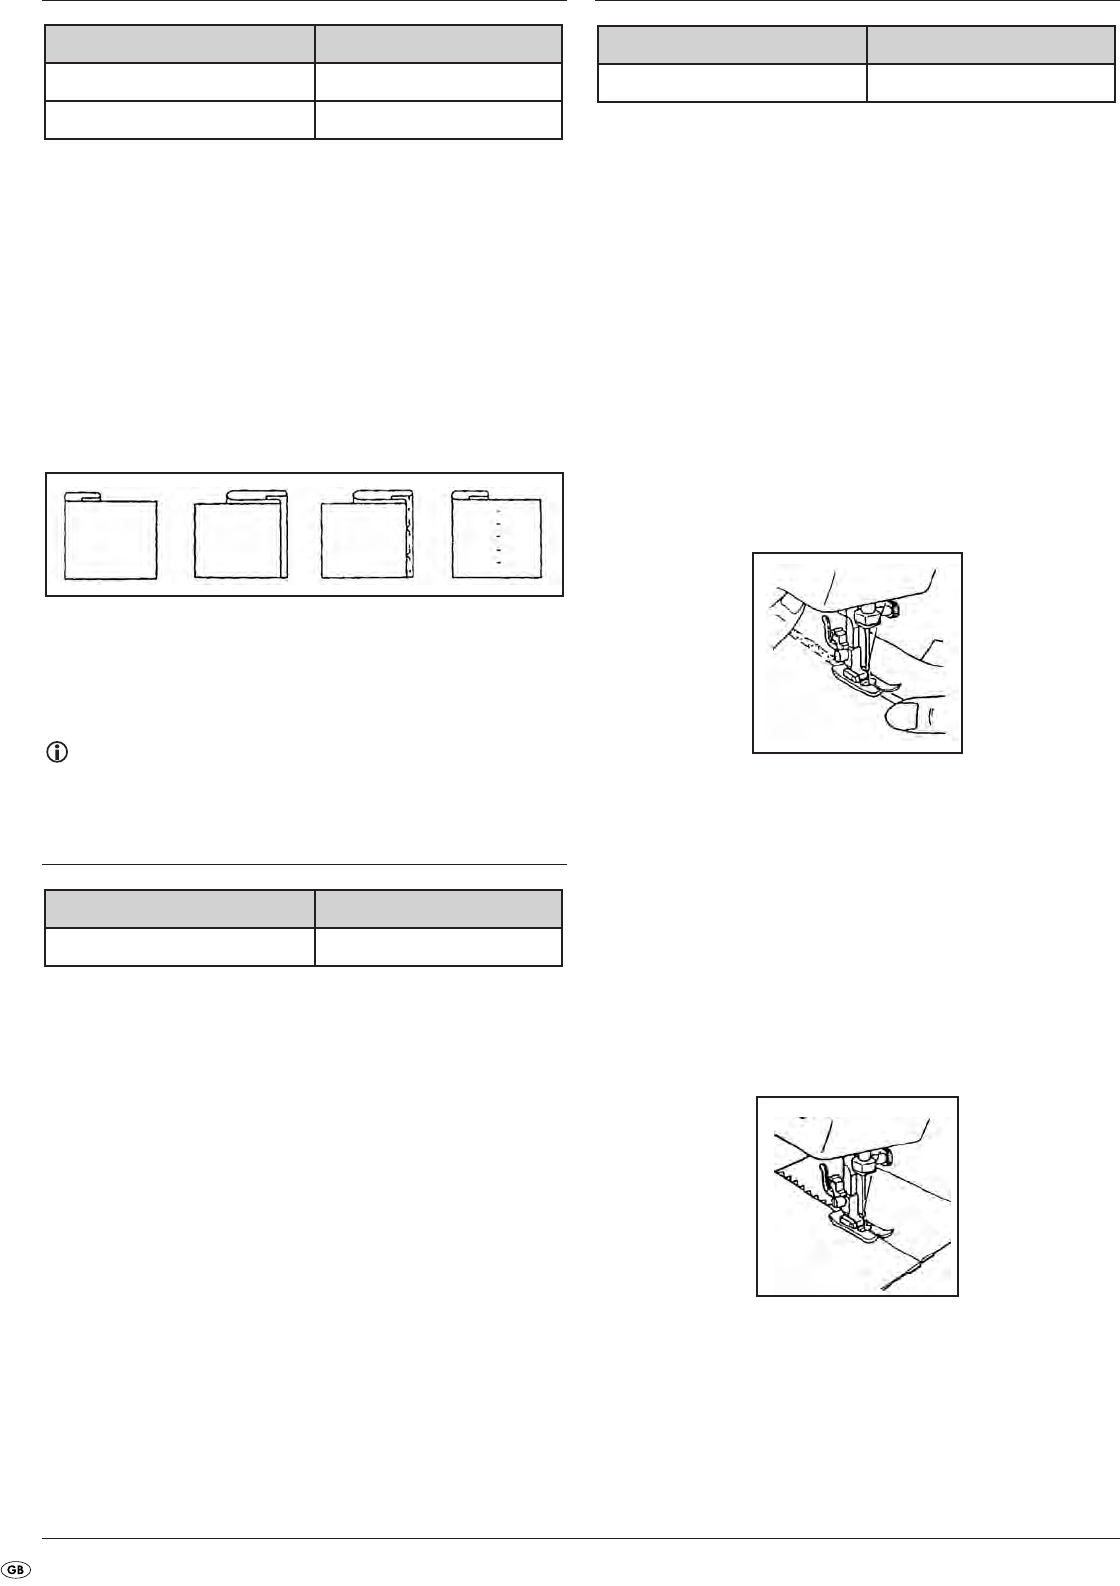
2. Fold the material according to the desired seam as illustrated.
Fold the material back from the edge, whereby an overlap of
ca. 6mm (1/4”) should remain between the folded fabric edge
and the required actual border.
3. Set the stitch type selector
w
at No. 7 or No.10.
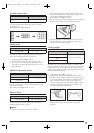
4. Now sew accurately over the fold.
5. After you have folded the border once again the seam will be barely
visible – typical for a blind hem.
Notice
The stretch blind stitch is especially suitable for elastic materials.
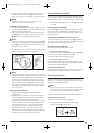
Sewing with the shell stitch
The shell stitch can be used to create a lacy wavy edge on relatively fine
materials or to decorate exisiting borders.
1. Set the stitch type selector
w
at position 8.
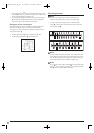
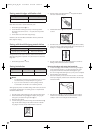
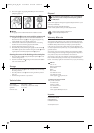
2. Sew the fabric in a diagonal direction, arranging it under the sewing
foot
s
in such a way that the straight sections of the stitch formation
on the edge of the hem and the zigzag stitches are sewn a little over
the fold.
3. This stitch type requires a tighter thread tensioning of the upper
thread than is customary.
4. Sew at a slower speed.
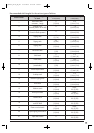
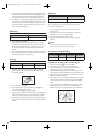
Type of stitch No. Stitch length
8 (shell stitch) F-3
Type of stitch No. Stitch length
7 (Blind hem stitch) F-2
10 (Stretch blind stitch) F-1.5
Sewing with elastic stitches
The elastic stitch can be used in three areas of application: repair work
(„darning“), sewing on elastic bands (elastic braids) as well as for the
edge to edge joining of pieces of fabric. All three areas of application
will be described in greater detail below.
In all cases set the stitch type selector
w
at number 9.
Darning
1. Set the stitch length selector
6
at a value between „F“ and 2.5.
2. Reinforce the tear/„rent“ to be mended with a suitable piece of
material at the back.
3. Oversew the damaged point in elastic stitch, following the run
of the tear.
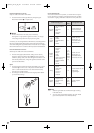
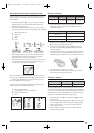
Sewing on elastic bands (rubber bands)
1. Position the elastic band on the material.
2. While sewing on elastic band and braid stretch the material forwards
and backwards under the sewing foot with both your hands
s
.
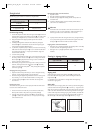
Face to face sewing of pieces of fabric
The elastic stitch can be used to sew two pieces of fabric face to face and is
especially suitable for the sewing of weaves and knits. The seam is barely
visible when you use colourless nylon thread. Subject to the characteristics
of the material edges you can either sew the open cut edges together or
fold the edges prior to sewing.
1. Allow the material edges to be sewn together to touch each other
and position the joint edge below the centre of the sewing foot
s
.
2. Sew the two pieces together using the elastic stitch, making sure
that the two fabric edges or folded borders remain closely together
without overlapping.
Type of stitch No. Stitch length
9 (Elastic stitch) F-2.5
IB_KH4001_E2719_GB_LB4 23.04.2008 9:28 Uhr Seite 10