


Heat & Glo • Multi-Sided Woodburning Fireplace • 34977 Rev T • 11/07
23
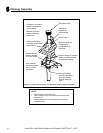
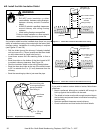
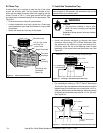
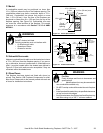
Figure 6.3 Ceiling/Attic Construction
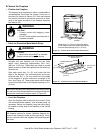
Fire Risk
• Must maintain 2 in. (51 mm) air clearance
to insulation and other combustible
materials.
WARNING
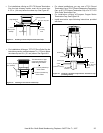
Mark the Exit Point of the Roof
Locate the point where the chimney will exit the roof by
plumbing down to the center of the chimney. Drive a nail
up through the roof to mark the center. See Figure 6.3.
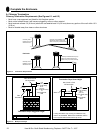
Cut Out the Hole in the Roof
Measure to either side of the nail and mark the 17 in.
x 17 in. (432 mm x 432 mm) opening required. This is
measured on the horizontal; actual length may be larger
depending on the pitch of the roof. Cut out and frame the
opening. See Chapter 25 of the Uniform Building Code
for roof framing details.
Assemble the Chimney Sections Through the
Roof
Continue to add chimney sections through the roof open-
ing, maintaining at least a 2 in. (51 mm) air space to com-
bustible materials.
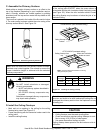
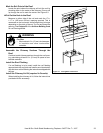
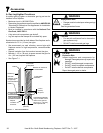
Install the Roof Flashing
If a roof fl ashing is to be used, install the roof fl ashing
appropriate to the roof pitch and install a round termination
cap and storm collar following the instructions shipped with
the cap.
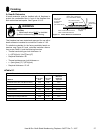
Install the Chimney Air Kit (required in Canada):
When installing the chimney air kit, follow the instructions
provided with this accessory.
¨