


Page 14
September 1, 2008
R
7007-161H
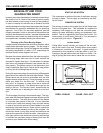
The 2700-I Insert comes standard with a blower housing
already installed at the factory. All of the fasteners needed
to install the optional blower are also installed on the insert.
Order the optional Blower Assembly through your dealer, Part
BK-7007. The blower cord can be installed on the right side
or left side of the insert .
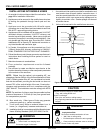
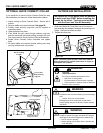
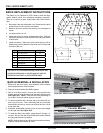
BLOWER INSTALLATION
Included in Kit: Blower motor and cord
Tools Needed:
Phillips head screw driver
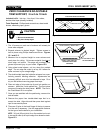
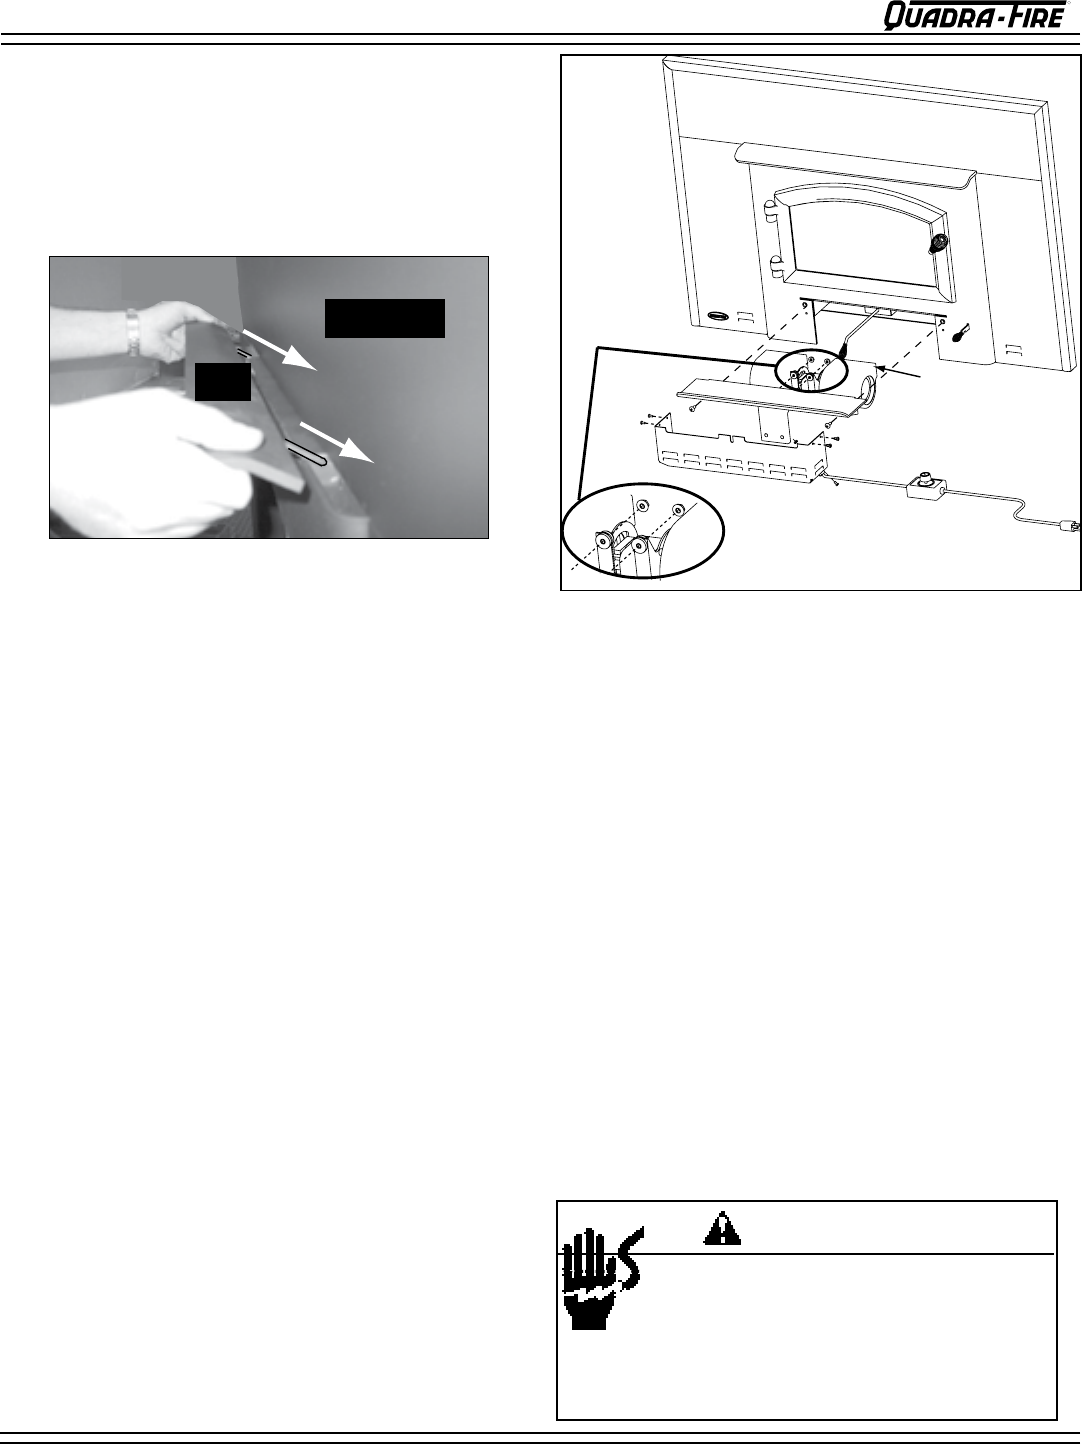
Blower Cover
Ashlip
Blower Motor
Blower cord may be attached
on the left or right side
1. Remove the blower cover from the front of the unit by
removing 4 screws, 2 at each end.
2. Remove the ashlip by removing the 2 screws on each
side and pulling towards you. The blower housing is
assembled and attached to the ashlip and will come out
as one unit.
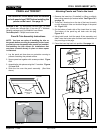
. Remove the 4 nuts from the housing and attach the
blower using the same 4 nuts. See circled area in
4.
Connect the white and black wires to blower motor termi-
nals. Connect green ground wire to ground terminal.
5. Install strain relief onto power cord. Using a pair of pliers,
squeeze strain relief and push through hole.
6. Plug in and test blower operation.
7. Re-install ashlip and blower cover.
8. Route power cord away from the unit. Do not route power
cord cord under or in front of unit.
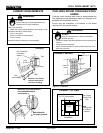
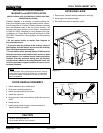
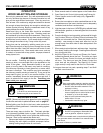
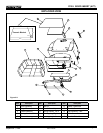
TOP INSTALLATION INSTRUCTIONS
Panel Top
Top
The top is packaged separately and shipped with the insert.
Install on insert after unit is in place and the installation of the
panels and trim are complete.
Push the top into place by aligning the pins into the slots and
then press down into position.
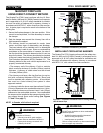
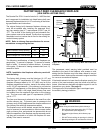
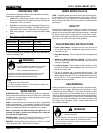
NOTE: When the speed control is turned clockwise,
it will click on to high speed. Continue to turn the
speed control clockwise to decrease the speed. At
full clockwise, the blower should blow gently, but
should not stop.
1. With the unit plugged in, turn the Speed Control Knob
to slow. (Full clockwise.)
2. Use a small screw driver to adjust the fan speed by
turning the adjustment mechanism through the hole
on the side of the Speed Control.
. Adjust the speed so the fan runs slowly but does not
stop. Turn clockwise to slow the fan and counter-
clockwise to increase the speed.
FAN SPEED CONTROL
ADJUSTMENT, IF NECESSARY*
*The fan Speed Control for this unit is adjusted at
the factory, and normally does not require further
adjustment.
Shock Risk.
• Do NOT remove grounding prong from plug.
• Plug directly into properly grounded prong
receptacle.
• Route cord away from appliance.
•
Do NOT route cord under or in front of appliance.
CAUTION