


A
B
C
2
3
4
1
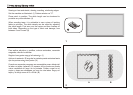
37
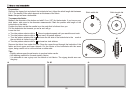
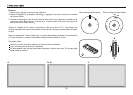
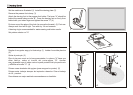
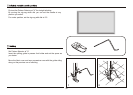
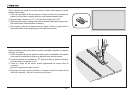
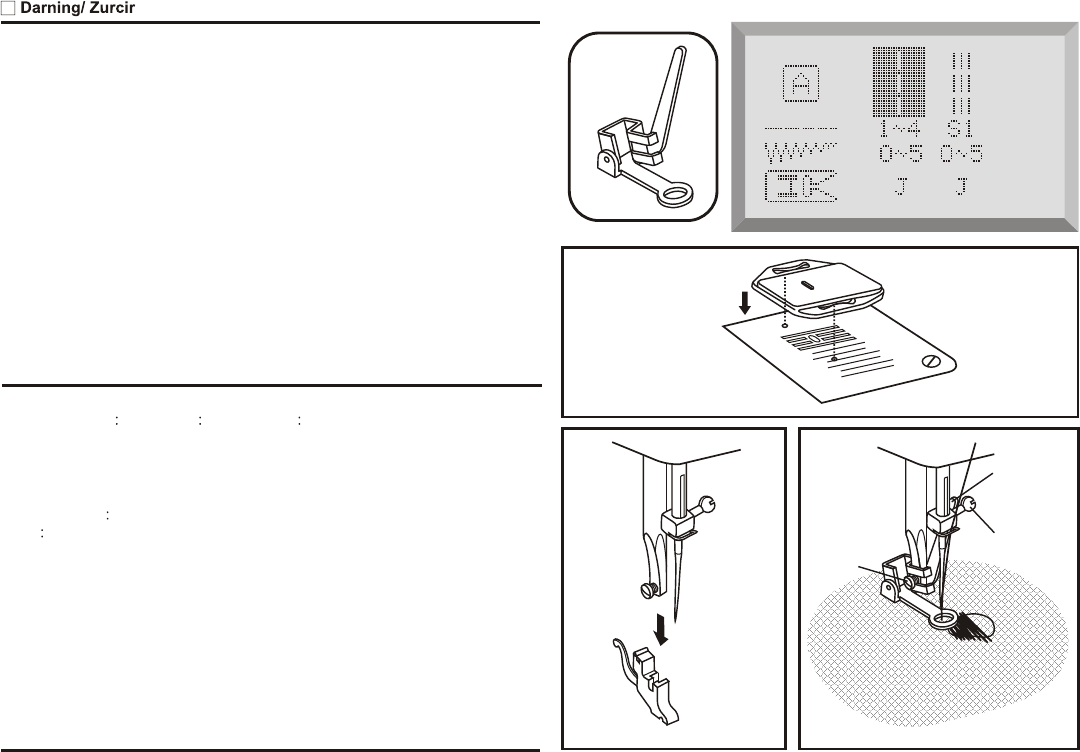
Set the machine as illustrated (1). Install the darning plate (2).
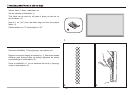
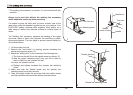
Remove the presser foot clamp. (3)
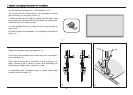
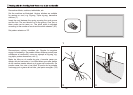
Attach the darning foot to the presser foot holder. The lever "A" should be
behind the needle clamp screw "B". Press the darning foot on firmly from
behind with your index finger and tighten the screw "C" (4)
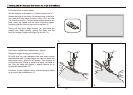
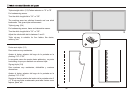
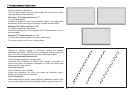
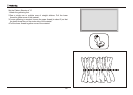
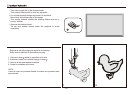
First sew round the edge of the hole (to secure the threads). (5) First row:
Always work from left to right. Turn work by 1/4 and oversew.
A darning ring is recommended for easier sewing and better results.
Set pattern selector on "A"
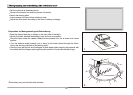
Regular la ma quina segu n la ilustracio n (1). Instalar la zurcida plancha
(2).
Quitar el porta-pie. (3)
Fijar el pie para zurcir en la barra prensatelas. La planca "A" tiene que
estar detra s, sobre el tornillo del porta-agujas "B". Apretar
ene rgicamente con el indice contra la parte posterior del pie para zurcir
y atornillar el tornillo "C". (4)
Primero coser alrededor del agujero (para aseguar los puntos). (5)
Primera serie: trabajar siempre de izquierda a derecha. Girar el trabajo
de 1/4 y recubrir.
Para obtener un mejor resultado recomendamos un bastitdor.
5