


1
2
Change the needle regularly, especially if it is showing signs of wear
and causing problems.
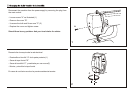
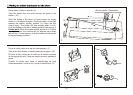
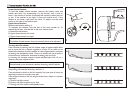
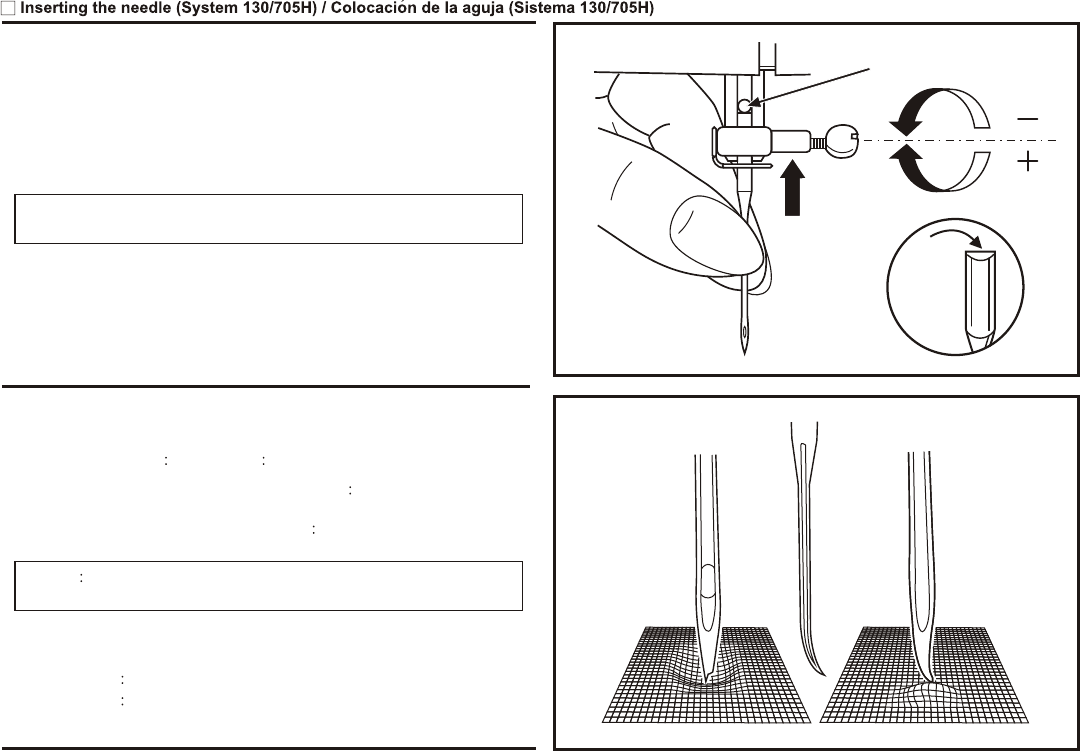
Insert the needle following the illustrated instructions.
A Loosen the needle clamp screw and tighten again after inserting the
new needle. (1)
B The flat side of the shaft should be towards the back.
C/D Insert the needle as far up as it will go.
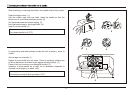
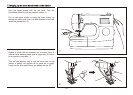
Attention:
Turn power switch to off ("O").
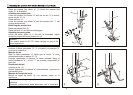
Needles must be in perfect condition. (2)
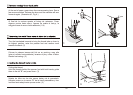
Problems can occur with:
A bent needles
B blunt needles
C damaged points
Cambiar la aguja con frecuencia, sobre todo cuando aparezcan las
primeras dificultades en el cosido.
Montar la aguja segu n la ilustracio n:
A Aflojar el tornillo del porta-agujas y despue s de haber colocado la
aguja, apretarlo de nuevo. (1)
B El lado plano tiene que estar hacia atra s.
C/D Introducir la aguja hasta el tope.
Atencio n:
El interruptor principal tiene que estar a ("O").
La aguja tiene que estar impecable. (2)
Problemas en el cosido se manifestan si:
A la aguja esta torcida
B la aguja esta despuntada
C la punta tiene garfios
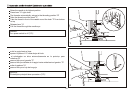
12
A
B
C
D
AB C