


81
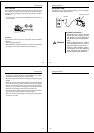
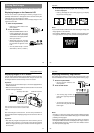
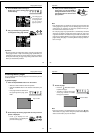
Computer (Using special cable and software)
DIGITAL
This package includes special software (two versions, for Windows
and the Macintosh) and a special cable that allow you to transfer im-
ages from the QV-10 to a personal computer. Images are transferred
as digital data, which ensures minimum loss of image quality.
Certain requirements concerning your computer model and its oper-
ating system must be met to use the special software that comes in
this package. For details, see the Owner’s Manual that comes with
the Connection Kit.
Note:You can also connect directly to a computer that has video cap-
ture capabilities (page 82).
Using the QV-10 with a Connected Device
Connecting to Other Devices
82
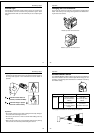
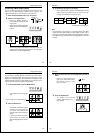
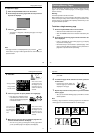
Computer (Video Capture)
VIDEO
You can use the special video cable that comes with the QV-10 to
connect directly to the VIDEO IN terminal of a personal computer
equipped with video capture capabilities.
To transfer QV-10 images to a personal computer (video cap-
ture)
1. Use the special video cable that comes with the camera to connect
to the VIDEO IN terminal of the computer.
2. Enter the QV-10 Playback Mode (page 49) and display the image
you want to send.
3. Perform the required operation on the computer.
• Consult the owner’s guide that comes with the computer or its video
capture board for details about how to set up to capture images.
Important!
• With this configuration, you cannot send images from the personal
computer to the QV-10.
• The QV-10 can be connected directly to a personal computer or
video capture board that is equipped with a VIDEO IN terminal
(RCA pin jack). It cannot be connected directly to an S-VIDEO ter-
minal.
83
Troubleshooting… .............................................84
Specifications..................................................... 88
About the camera's backlight ........................... 89
Reference
This part of the manual contains information on troubleshooting,
available accessories, specifications, and other information you may
need to reference only occasionally.
84
Reference
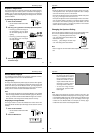
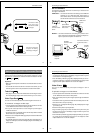
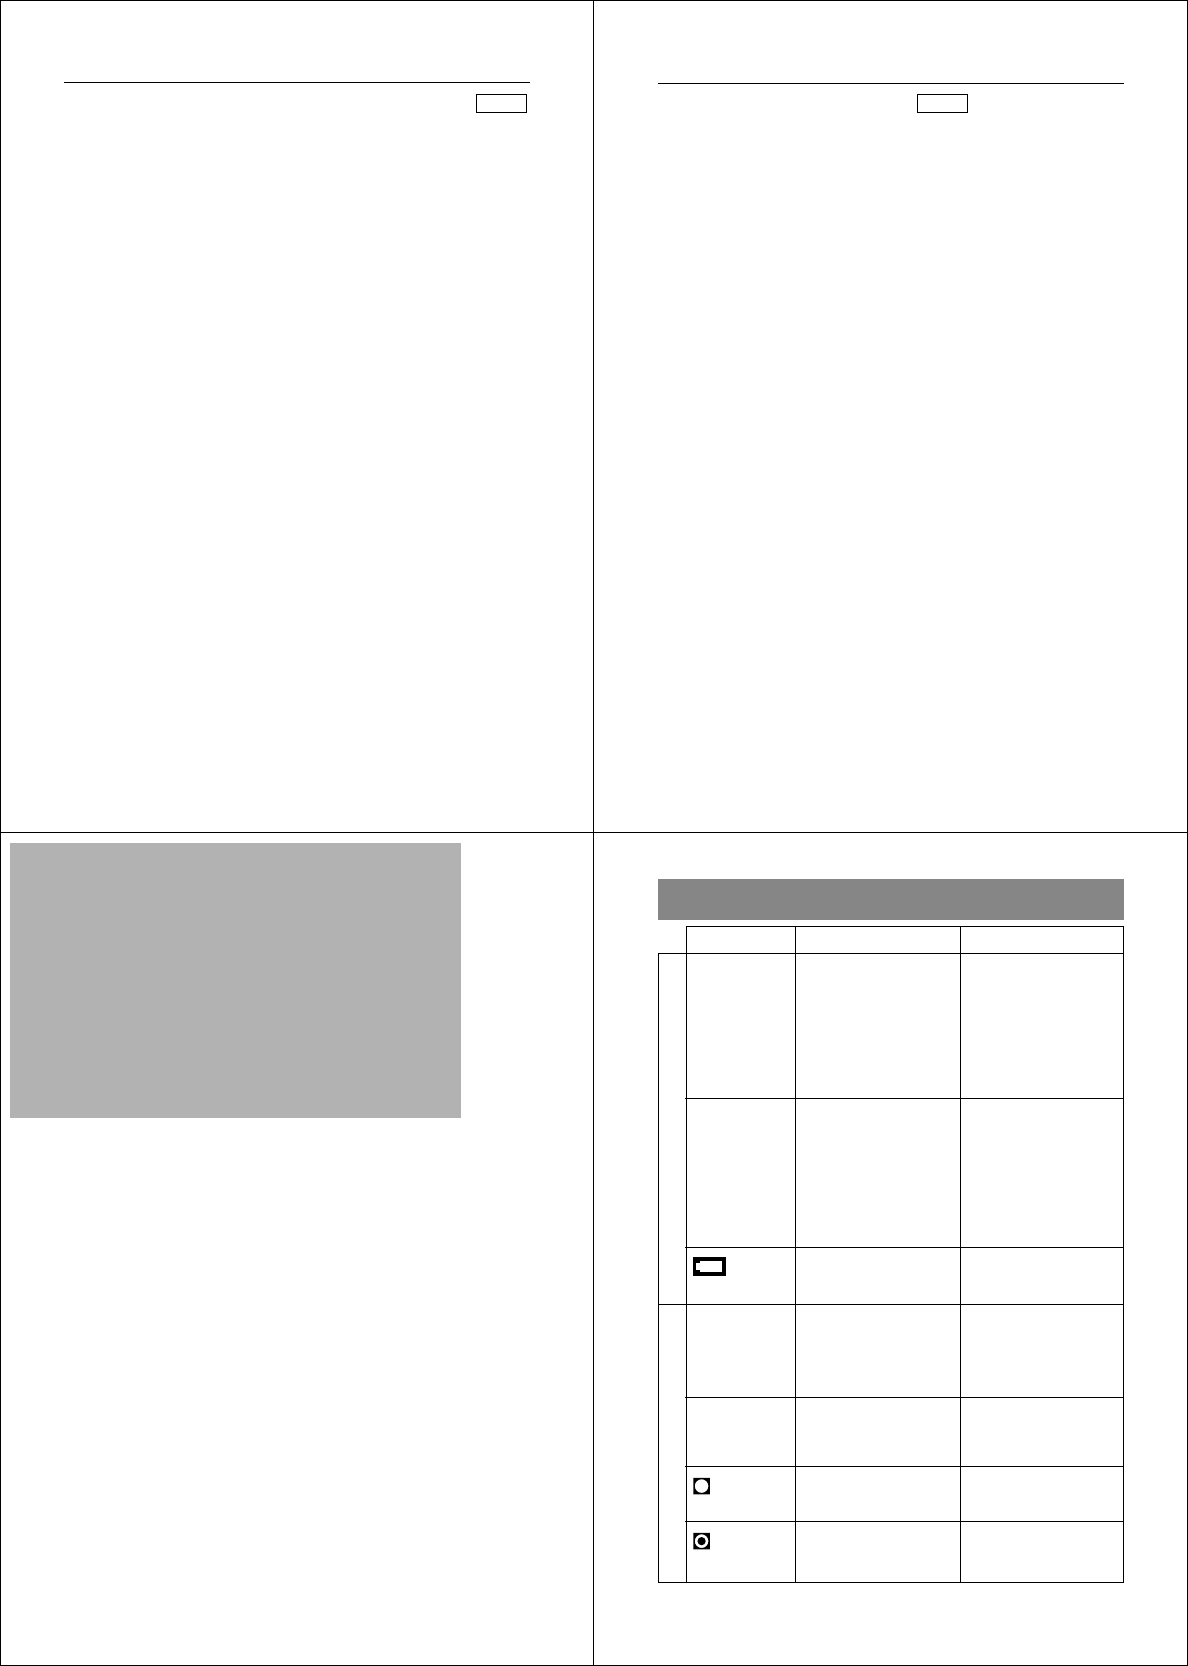
Troubleshooting
No power
Sudden power
failure
indicator
on LCD
No recording
when shutter
button is
pressed
Power failure
during self-timer
operation
indicator on
LCD
indicator on
LCD
1. Batteries not loaded
correctly.
2. Dead batteries
3. Wrong AC adaptor
1. Operation of Auto
Power Off
2. Low battery power
Use of manganese
batteries
Low battery power
Function switch set to
PLAY
Low battery power
Over exposure
Under exposure
1. Correctly load
batteries (page 25).
2. Replace batteries with
new ones (page 25).
3. Use only recom-
mended AC adaptor
(AD-C60).
1. Turn power back on.
2. Replace batteries with
new ones (page 25).
Replace manganese
batteries with alkaline
batteries.
Replace batteries (page
25).
Set function switch to
REC.
Replace batteries (page
25).
Change aperture switch
setting to [ ] (page 42).
Change aperture switch
setting to [ ] (page 42).
Symptom Probable Cause Action
Recording
Power Supply