START-UP
Use the following information and Start-Up Checklist
on page CL-1 to check out unit PRIOR to start-up.
Unit Preparation — Check that unit has been installed
in accordance with these installation instructions and appli-
cable codes.
Compressor Mounting — Loosen the compressor hold-
down bolts until sidewise movement of the washer under
each holddown bolt head can be obtained. Do not loosen
completely as bolts are self-locking and will maintain
adjustment.
Internal Wiring — Check all electrical connections in
unit control boxes; tighten as required.
Refrigerant Service Ports and Valves — Each 48HJ
unit has 2 Schrader-type service ports per circuit; one on the
suction line and one on the liquid line. Be sure that the caps
on the ports are tight. The units also have 2 service valves
per circuit; one on the suction line and one on the discharge
line. Be sure all valves are open.
Crankcase Heater — Crankcase heater is energized
as long as there is power to the unit.
IMPORTANT: Unit power must be on for 24 hours
prior to start-up. Otherwise, damage to compressor may
result.
Evaporator Fan — Fan belt and pulleys are factory in-
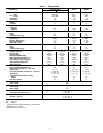
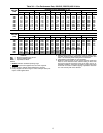
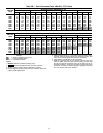
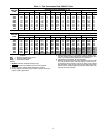
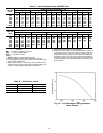
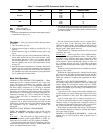
stalled. See Tables 3A, 3B, 4, and 5 for Fan Performance
Data. Remove tape from fan pulley and adjust pulleys on
48HJ015 units as required. See Evaporator-Fan Perfor-
mance Adjustment section on page 19. Be sure that fans ro-
tate in the proper direction. See Table 6 for air quantity lim-
its. See Table 7 for static pressure drops for accessories and
options. See Fig. 23 and 24 for fan performance using hori-
zontal adapter and power exhaust. To alter fan performance,
see Performance Adjustment sections on page 19.
Condenser-Fans and Motors — Condenser fans and
motors are factory set. Refer to Condenser-Fan Adjustment
section on page 20 as required. Be sure that fans rotate in the
proper direction.
Return-Air Filters — Check that correct filters are in-
stalled in filter tracks (see Table 1). Do not operate unit with-
out return-air filters.
Outdoor-Air Inlet Screens — Outdoor-air inlet screens
must be in place before operating unit.
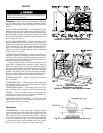
Accessory Field-Installed Economizer Adjust-
ment —
Remove filter access panel. Check that outdoor-
air damper is closed and return-air damper is open.
Economizer operation and adjustment are described in
Base Unit Operation section on page 17; and Economizer
Adjustment section on page 20.
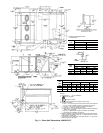
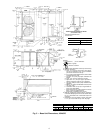
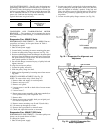
NOTES:
1. Dimensions are in millimeters.
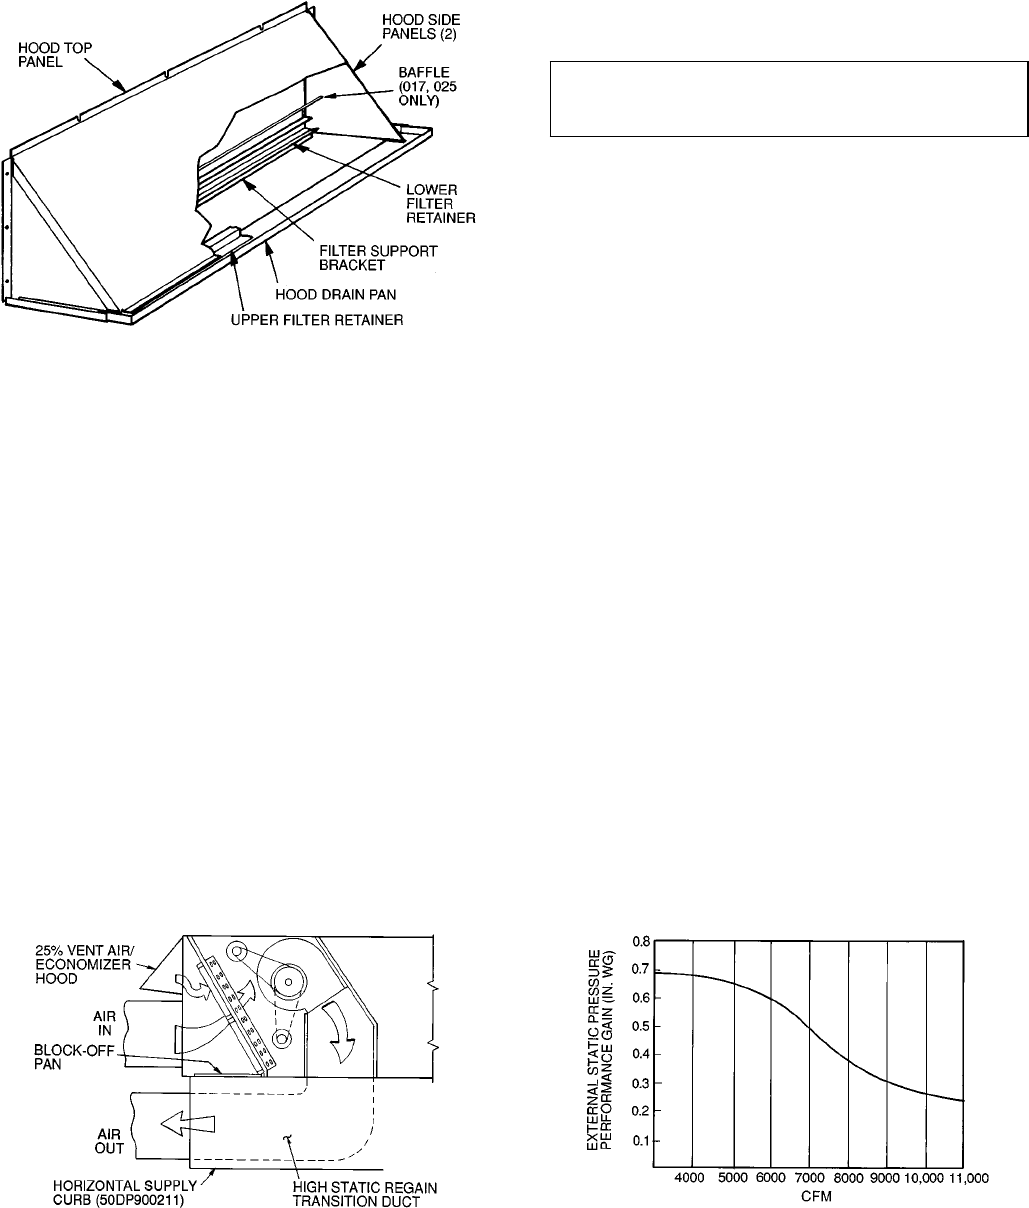
2. The 50DP900211high staticregain adapteraccessory maybe used
to provide horizontal supply/return.
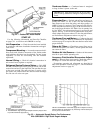
NOTE: The 50DP900211 horizontalsupply/return adapter accessory
improves 48HJ fan performance by increasing external static pres-
sure by amount shown above.
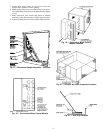
Fig. 23 — Horizontal Supply/Return Fan Performance
With 50DP900211 High Static Regain Adapter
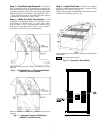
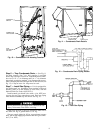
Fig. 22 — Outdoor-Air Hood Details
12


