49
5 When performing batch separation, configure the "Batch Separator".
• The "Batch Separator" settings are the same as those found in the scanner settings dialog box.
– If your scanner supports reading barcodes, you can select Barcode in addition to the setting value
for Batch Separation of the scanner. When you select this item, the batch is separated when the
barcode is detected.
– If your scanner supports reading patch codes, you can select Patchcode in addition to the setting
value for Batch Separation of the scanner. When you select this item, the batch is separated when
the patchcode is detected.
– When you select Automatic Feeding for feeding option of the scanner setting, you can select Auto in
addition to the setting value for Batch Separation of the scanner. When you select this item,
scanning continues as the batch is separated for each batch of documents.
– When you select Panel-Feeding for feeding option of the scanner setting, you can select Panel in
addition to the setting value for Batch Separation of the scanner. When you select this item, the
batch is separated when you press the batch separation button on the scan panel.
6 Select the item for MultiPage Settings. MultiPage Settings (→P. 24)
7 If you want to set the name of the saved file/folder, select Scheme and set the rule. About
Schema (→P. 25)
8 Set the other settings to suit the documents to be scanned. About Other Functions (→P. 39)
9 Place a document in the scanner. Refer to the operating manual of the scanner for details about
placing documents for scanning.
10 Click the Save button.
The documents are scanned.
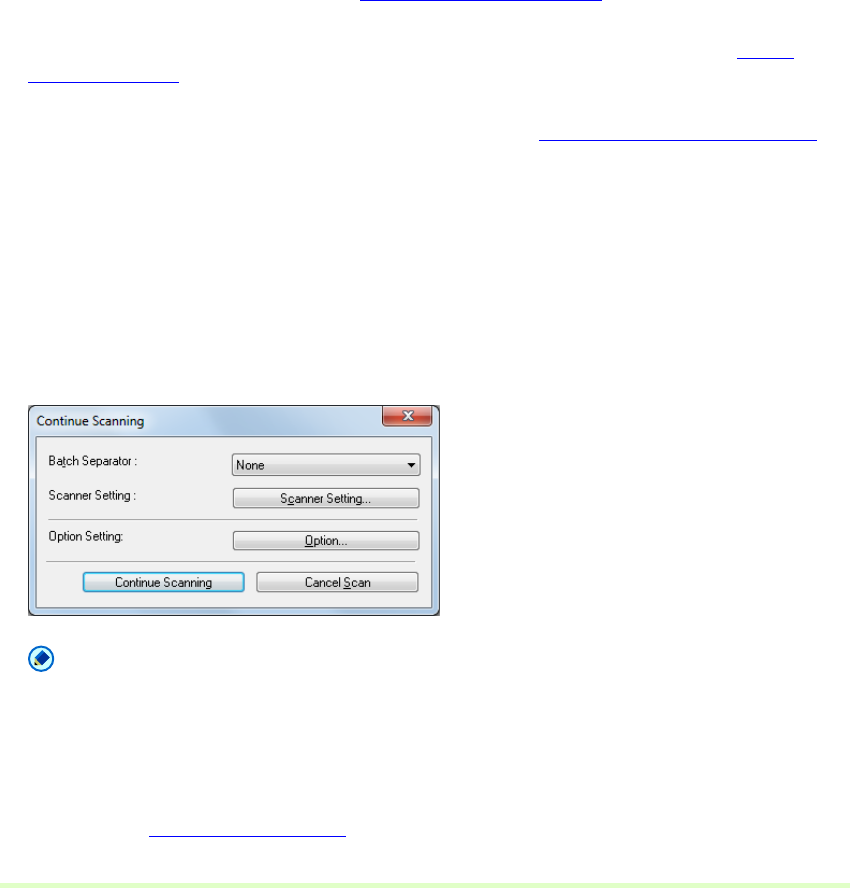
When no documents remain in the scanner, scanning is interrupted and the Continue Scanning dialog
box appears.
Note
• If you select "* .pptx" as the saving format, Continue Scanning dialog box is not displayed.
• If the specified file name is the same as that of an existing file, a dialog box prompts to confirm
overwriting the existing file. Click the OK button to overwrite the file.
• When "Displays the Continue Scanning dialog box" is disabled (a check mark does not appear in front
of it) in Others tab in the Option dialog box, the scan procedure ends when no documents remain in
the scanner. Other Settings
(→P. 45)
