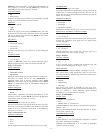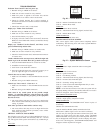
C. Step 3 — Installing Evolution Zone Control™
WARNING: ELECTRICAL SHOCK HAZARD
Failure to follow this warning could result in personal
injury or death.
Before installing Evolution Zone Control™, turn off all
power to equipment. There may be more than one power
source to disconnect.
1. Turn off all power to equipment.
2. If an existing User Interface or control is being replaced:
a. Remove existing control from wall.
b. Disconnect wires from existing control.
c. Discard or recycle old control.
NOTE: Mercury is a hazardous waste, if existing control contains
any mercury, it MUST be disposed of properly.
3. Select Evolution Zone Control™ mounting plastic (recess
mount or surface mount and decorative backplate if de-
sired).
4. Route wires through large hole in mounting plastic. Level
rear plastic against wall (for aesthetic value only - Evolution
Zone Control™ need not be level to operate properly) and
mark wall through two mounting holes.
5. Drill two 3/16 inch mounting holes in wall where marked.
6. Secure mounting plastic to wall using two screws and
anchors provided.
7. Adjust length and routing of each wire to reach each wire
entry on the connector backplate. Strip ¼ inch of insulation
from each wire.
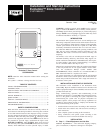
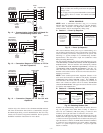
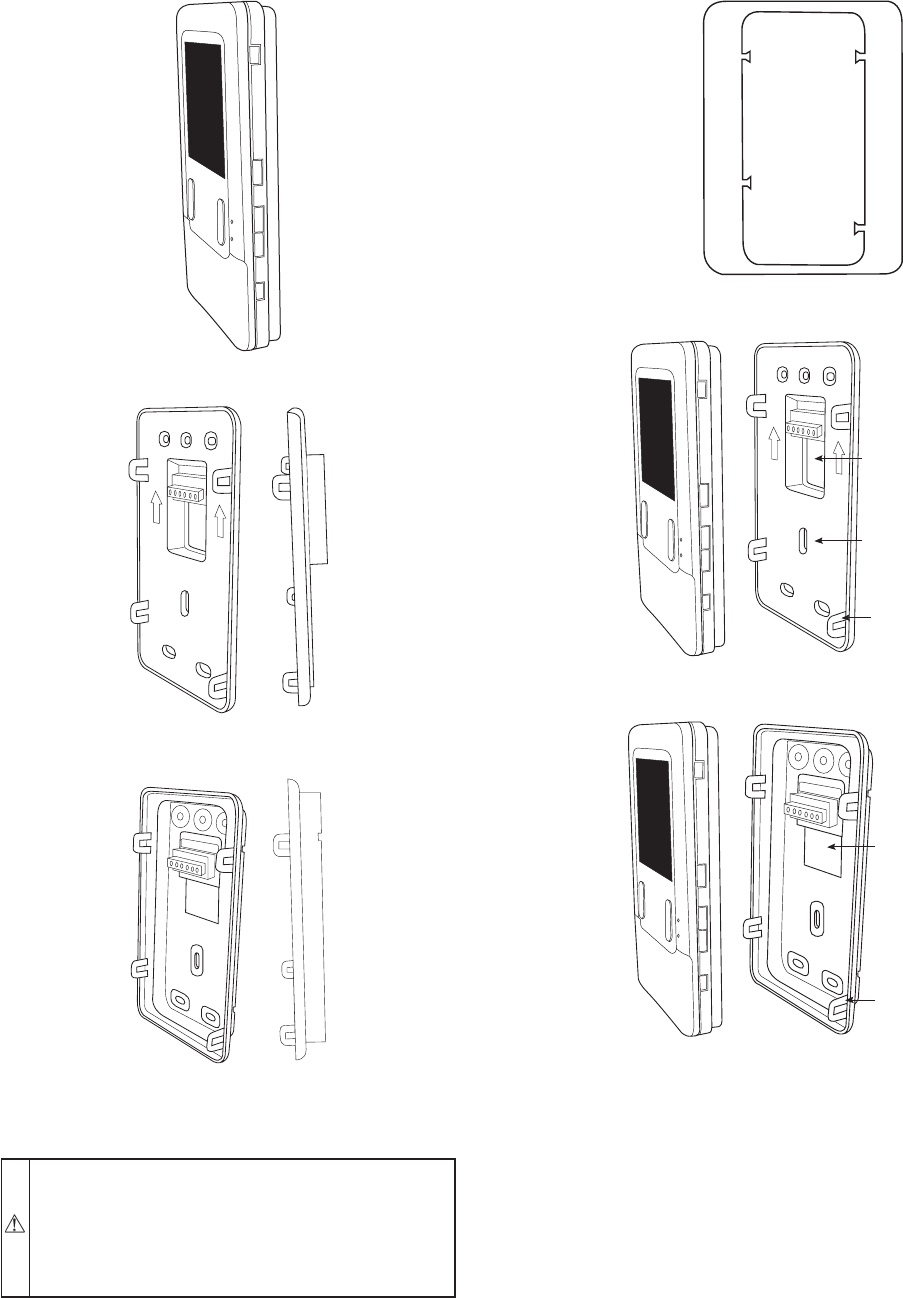
Fig. 2—Evolution Zone Control
A03185
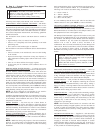
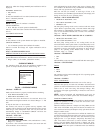
Fig. 3—Recessed Mount Backplate
A03186
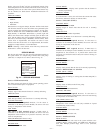
Fig. 4—Surface Mount Backplate
A03187
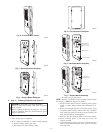
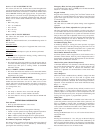
Fig. 5—Thin Decorative Backplate
A04017
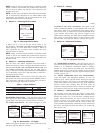
Fig. 6—Recessed Mount Assembly
A03190
Recessed terminal
block in wall 1
1
/2˝
wide by 2
1
/8˝ high
Recessed Mount
Interlocking Tabs (4)
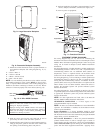
Fig. 7—Surface Mount Assembly
A03191
Surface Mount
Backplate to wall
Interlocking Tabs (4)
—3—


