


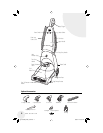


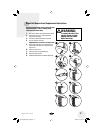
For best results, a few simple steps can assure
your machine is well maintained after your
cleaning is complete.
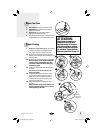
1. Turn power and heater switches OFF (O). Unplug
the machine and wrap the power cord.
2. After emptying the 2-in-1 water tank, rinse it out
at a faucet with running hand hot tap water, taking
care to clean underneath the heavy duty bladder
and all around it.
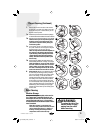
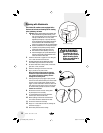
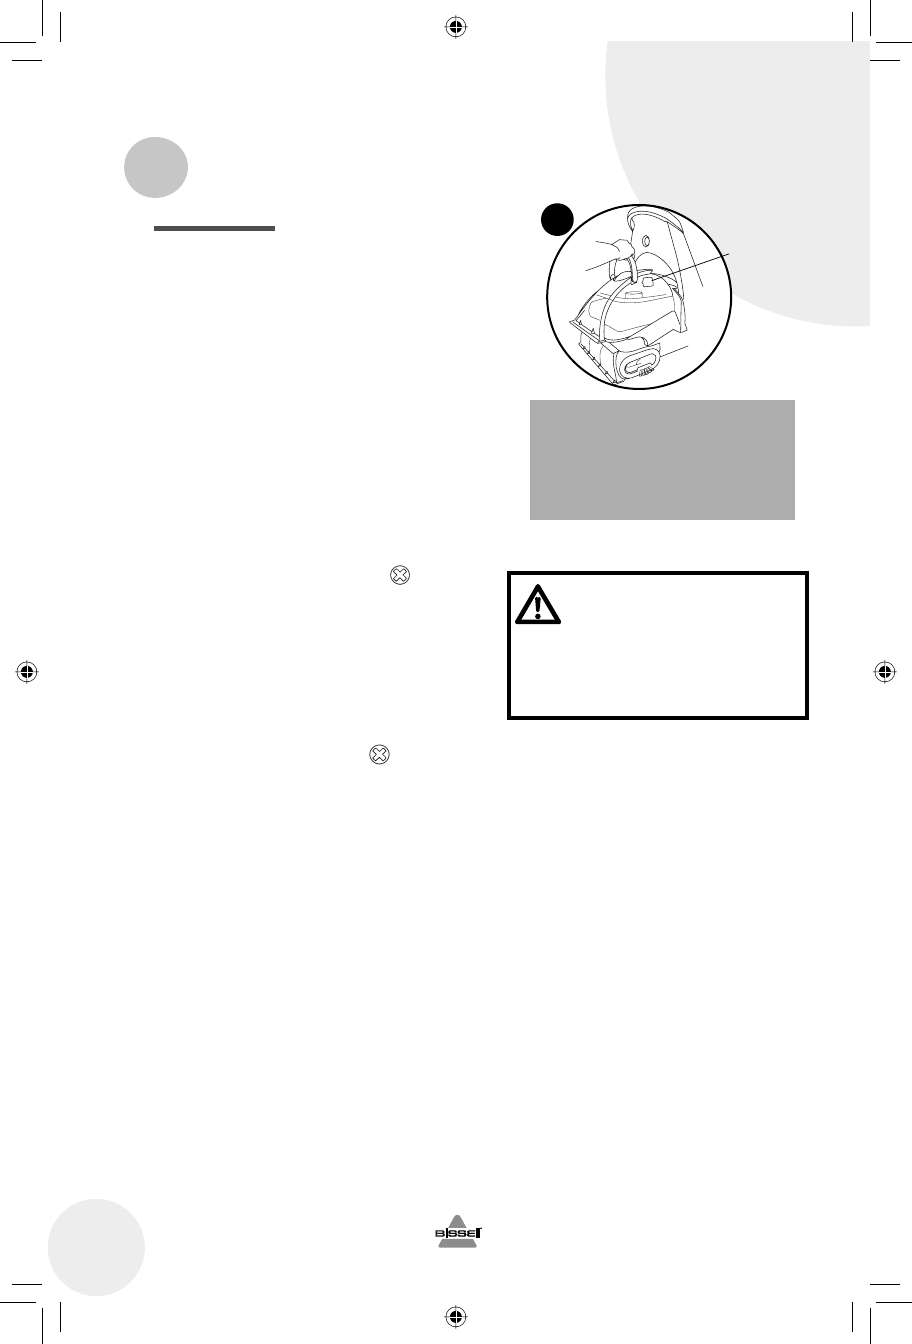
3. The top half of the tank can be rinsed clean
through the nozzle area. Also, pop out the red filter
underneath the top half of the tank and rinse that
out. Replace before putting the top and bottom
halves of the tank together.
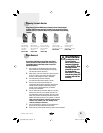
4. Before you place the cleaned 2-in-1 water tank
back onto the machine, simply unscrew the nozzle
using a Phillips head screwdriver . This can be
rinsed out at the faucet. Then replace back onto
the machine by starting from the bottom of the
nozzle and hooking the tabs into the holes on the
bottom sides of the machine. Secure into place
with the screw.
5. The inside of the end caps by the brush rolls can be
wiped out with a clean paper towel, or, if a more
thorough cleaning is desired, the end caps can be
taken off using a Phillips head screwdriver and
rinsed clean. Replace after cleaning.
6. Any loose hair or debris can be pulled from the brush
rolls and thrown away. For the most thorough clean
before storage, follow directions on pages 17 & 18 for
removal and replacement of the brush rolls and belts.
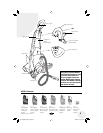
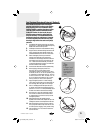
7. To clean attachments that may have been used,
remove from hose and rinse in clean, running water.
Dry and replace attachment in the tool caddy. Clean
the flex hose by suctioning clean water from the tap.
Before replacing, lift end of flex hose and stretch out
to ensure all water is cleared from flex hose. Refer to
page 14, illustrations 9 & 10.
8. After carpet is dry, vacuum again to remove hair
and fuzz.
After Cleaning (Continued)
12
www.bissell.com
3
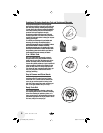
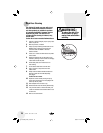
Filter
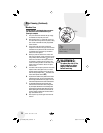
WARNING:
To reduce the risk of fire,
electric shock or injury,
unplug from the outlet
before servicing.
Machine Care
Tip:
Let all parts dry completely
before storing
ug310-5880_9200E_406.indd 12ug310-5880_9200E_406.indd 12 6/9/06 4:25:41 PM6/9/06 4:25:41 PM