


Mastering
Your
BERNINA
®
BERNINA
®
Sergers
MASTERING YOUR BERNINA
®
SERGER 2/15/03
62
Notes
©2003 BERNINA® of America, Inc. Permission to copy granted only to Authorized BERNINA
®
Dealers
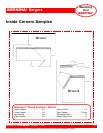
Outside Corners
OPTION I
Serge one edge of the fabric, stitching off the end of the fabric. Trim the
thread tail.
Continue serging around the square, crossing over previous stitching.
Use a seam sealant on the untrimmed thread tails (or use a tapestry
needle to weave the thread tail back through the stitching). When the
seam sealant is dry, trim the thread tails.
OPTION II
Before serging, trim away the seam allowance (¼”) for about 2” on each
corner of the square.
Beginning at one trimmed corner, serge (cutting ¼” as you sew) to the
end of the fabric. Take one stitch off the end of the fabric.
Locate the rolled hem lever on the stitch plate and pull the white lever
towards you. This will free the thread from the stitch finger.
Lift the presser foot and carefully pivot the fabric 90° clockwise.
Return the rolled hem lever to normal (away from you).
Place the needle one stitch into the fabric and lower the presser foot.
Continue serging until you are one stitch off the next corner.
Repeat the turning procedure and continue serging.
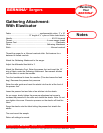
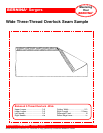
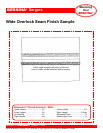
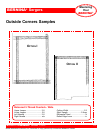
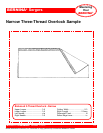
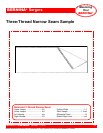
Trim and mount the samples.
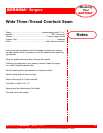
Fabric ................................................... 2 pieces firm fabric, 4” x 5” each
Needle............................................................................. 80/12 Universal
Thread...................................................................3 cones serger thread
Presser Foot .............................................................................. standard
Stitch ....................................................................wide 3-thread overlock