Mastering
Your
BERNINA
®
BERNINA
®
Sergers
MASTERING YOUR BERNINA
®
SERGER 2/15/03
114
Notes
©2003 BERNINA® of America, Inc. Permission to copy granted only to Authorized BERNINA
®
Dealers
Top & Bottom Coverstitch
(2500DCET only)
Following the instructions in your owner’s manual, thread the serger
for top and bottom cover stitch using Jeans Stitch in the looper and
wiper.
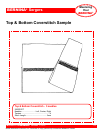
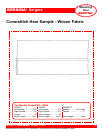
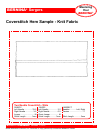
Fold up a 2” hem along one 6” edge. Position the fabric right side up
under the presser foot so that the needles will pierce the top edge of
the hem. Serge the hem in place.
At the end of the stitching, turn the handwheel counterclockwise until
the needles are at their lowest position. Then turn the handwheel
clockwise until the needles are at their highest position to release the
threads from the looper.
Raise the presser foot and carefully remove the work.
Cut the thread using the thread cutter.
Examine the serger stitch formation and compare it to the stitch graphic
in your owner’s manual. Read the tension adjustment information in
your owner’s manual for information about stitch formation and irregu-
larities. Adjust settings as necessary; stitch a second row of coverstitch.
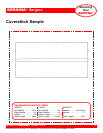
Trim and mount the sample.
Fabric ........................................................................... firm fabric, 6” x 6”
Needle............................................................................. 80/12 Universal
Thread...................................................................3 cones serger thread
......................................................................... 2 cones YLI Jeans Stitch
Presser Foot .......................................................standard or Coverstitch
Stitch ...................................wide 5-thread coverstitch (2500DCET only)


