Water Supply
• Turn water supply on; confirm drain valve is closed.
Power
• Turn the supply power on.
– Verify that the On/Off indicator light illuminates along with the Fill indicator light.
– Verify that the fill valve opens and adds water until the humidifier chamber is full, at which time the fill valve closes and the
Fill indicator light turns off.
– Verify that there are no leaks from the humidifier.
Create Water Seal
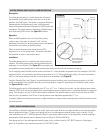
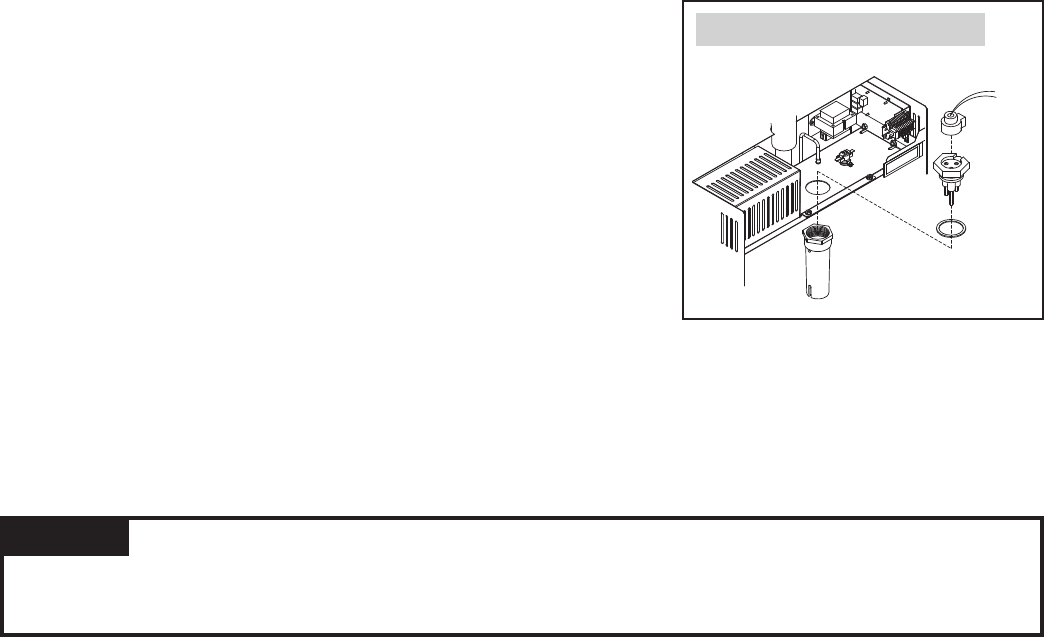
• Unplug the probe plug from the probe assembly (located on the chamber cover;
see Figure 24) to allow the fill valve to energize and overfill the chamber. This
ensures that the water seal (P-trap) is filled with water. When water is seen
coming from the drain line, plug the probe plug back into the probe assembly.
Initiate Fan Call
• Set up a fan call at the thermostat. If the humidifier is configured to bring on
the equipment fan with a humidity demand, skip to next step.
Initiate Humidity Demand
• For the default Model 1150 and 1160 controls, whether in Automatic or Manual Mode, rotate control knob of the Automatic
Steam Humidifier Control clockwise to the ‘Test’ position.
– Verify that the steam indicator light illuminates and energizes the heaters. In the ‘Test’ position, the humidity demand will
last for 1 minute only.
NOTE: Do not leave the Automatic Steam Humidifier Control in the ‘Test’ position. Refer to the Installation and Operation Manual
for the Automatic Steam Humidifier Control for more details.
OM-4052
Probe housing
Probe
assembly
Probe
plug
FIGURE 24 – Probe Rod Assembly
WARNING
In the event the humidifier chamber does not contain water and the heaters are energized, turn main power
off. Operation of the heaters without water may cause humidifier malfunction and/or fire, resulting in property damage,
personal injury or death.
28


