


27
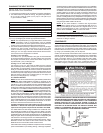
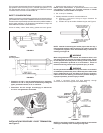
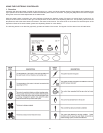
B. Deburring
Useaknife,plasticpipedeburringtool,orfiletoremoveburrsfrom
theendofsmalldiameterpipe.Besuretoremoveallburrsfrom
aroundtheinsideaswellastheoutsideofthepipe.Aslightchamfer
(bevel)ofabout10°-15°shouldbeaddedtotheendtopermiteasier
insertionofthepipeintotheendofthefitting.Failuretochamferthe
edgeofthepipemayremovecementfromthefittingsocket,causing
thejointtoleak.
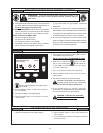
STEP B
C. Test dry t of the joint
Taperedttingsocketsaredesignedsothataninterfacedtshould
occurwhenthepipeisinsertedabout1/3to2/3ofthewayintothe
socket.Occasionally,whenpipettingdimensionsareatthetolerance
extremes,itwillbepossibletofullyinsertdrypipetothebottomof
thettingsocket.Whenthishappens,asufcientquantityofcement
mustbeappliedtothejointtollthegapbetweenthepipeandtting.
Thegapmustbelledtoobtainastrong,leak-freejoint.
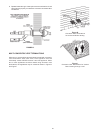
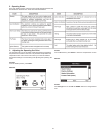
D. Inspection, cleaning, priming
Visuallyinspecttheinsideofthepipeandttingsocketsand
removealldirt,greaseormoisturewithacleandryrag.Ifwiping
failstocleanthesurfaces,achemicalcleanermustbeused.
Checkforpossibledamagesuchassplitsorcracksandreplace
if necessary.
Depth-of-entry
Markingthedepthofentryisawaytocheckifthepipehas
reachedthebottomofthefittingsocketinStepF.Measure
thefittingdepthandmarkthisdistanceonthepipeO.D.You
maywanttoaddseveralinchestothedistanceandmakea
secondmarkastheprimerandcementwillmostlikelydestroy
your first one.
Applyprimertothesurfaceofthepipeandttingsocketwith
anaturalbristlebrush.Thisprocesssoftensandpreparesthe
PVCorCPVCforthesolventcementingstep.Movequicklyand
withouthesitationtothecementingprocedurewhilethesurfaces
arestillwetwithprimer.
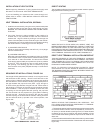
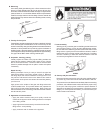
E. Application of solvent cement
• Applythesolventcementevenlyandquicklyaroundthe
outsideofthepipeatawidthalittlegreaterthanthedepth
ofthettingsocket.
• Applyalightcoatofcementevenlyaroundtheinsideofthe
ttingsocket.Avoidpuddling.
• Applyasecondcoatofcementtothepipeend.
STEP E
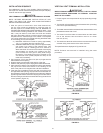
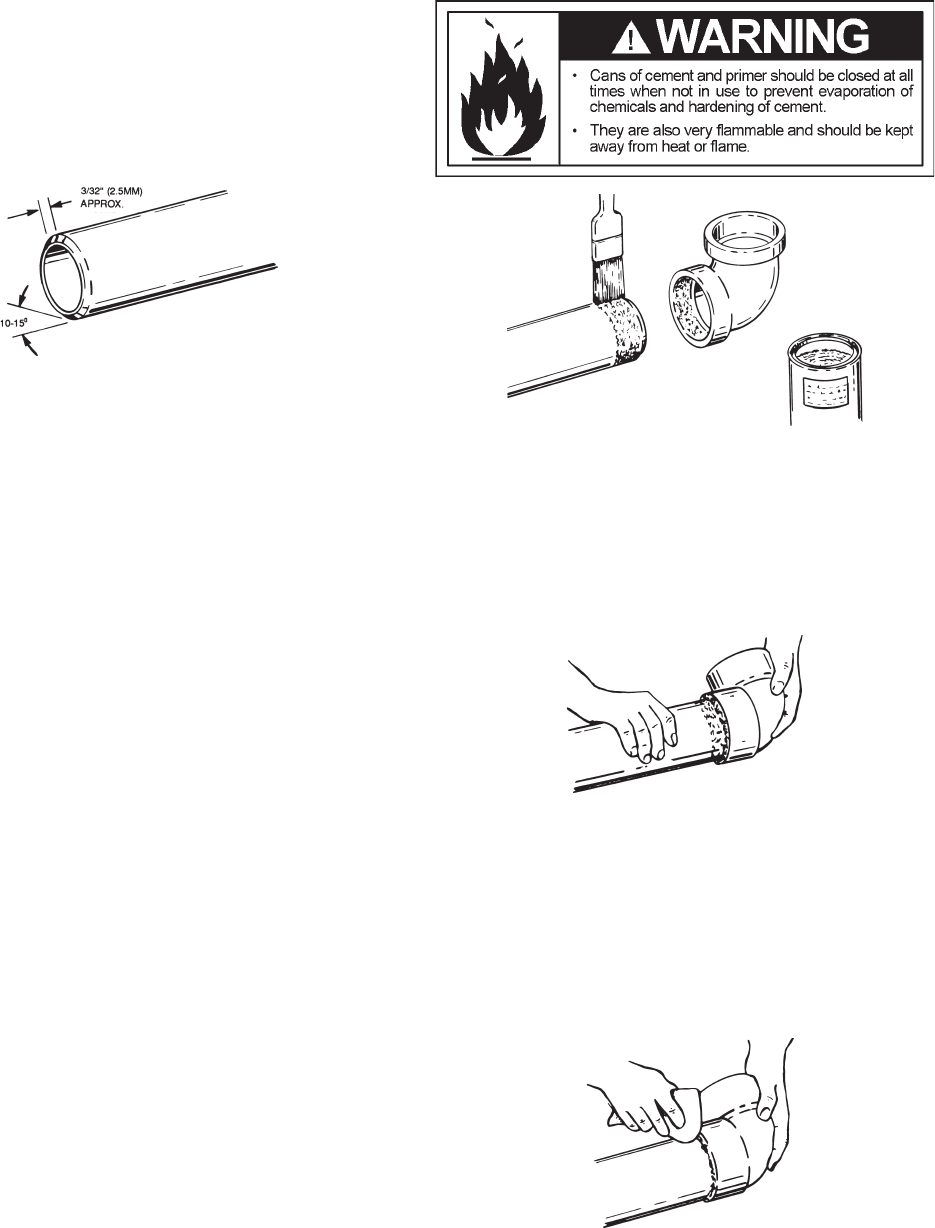
F. Joint assembly
Workingquickly,insertthepipeintothettingsocketbottomand
givethepipeorttinga1/4turntoevenlydistributethecement.
Donotcontinuetorotatethepipeafterithashitthebottomofthe
ttingsocket.Agoodjointwillhavesufcientcementtomakea
beadallthewayaroundtheoutsideofthettinghub.Thetting
willhaveatendencytoslidebackwhilethecementisstillwet
soholdthejointtogetherforabout15seconds.
STEP F
G. Cleanup and joint movement
Removeallexcesscementfromaroundthepipeandttingwitha
drycottonrag.Thismustbedonewhilethecementisstillsoft.
Thejointshouldnotbedisturbedimmediatelyafterthecementing
procedure,andsufcienttimeshouldbeallowedforpropercuring
ofthejoint.Exactdryingtimeisdifculttopredictbecauseit
dependsonvariablessuchastemperature,humidityandcement
integrity.Formorespecicinformation,youshouldcontactyour
solventcementmanufacturer.
STEP G