– 58 –
FILE NO. SVM-07008
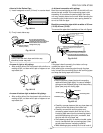
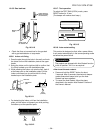
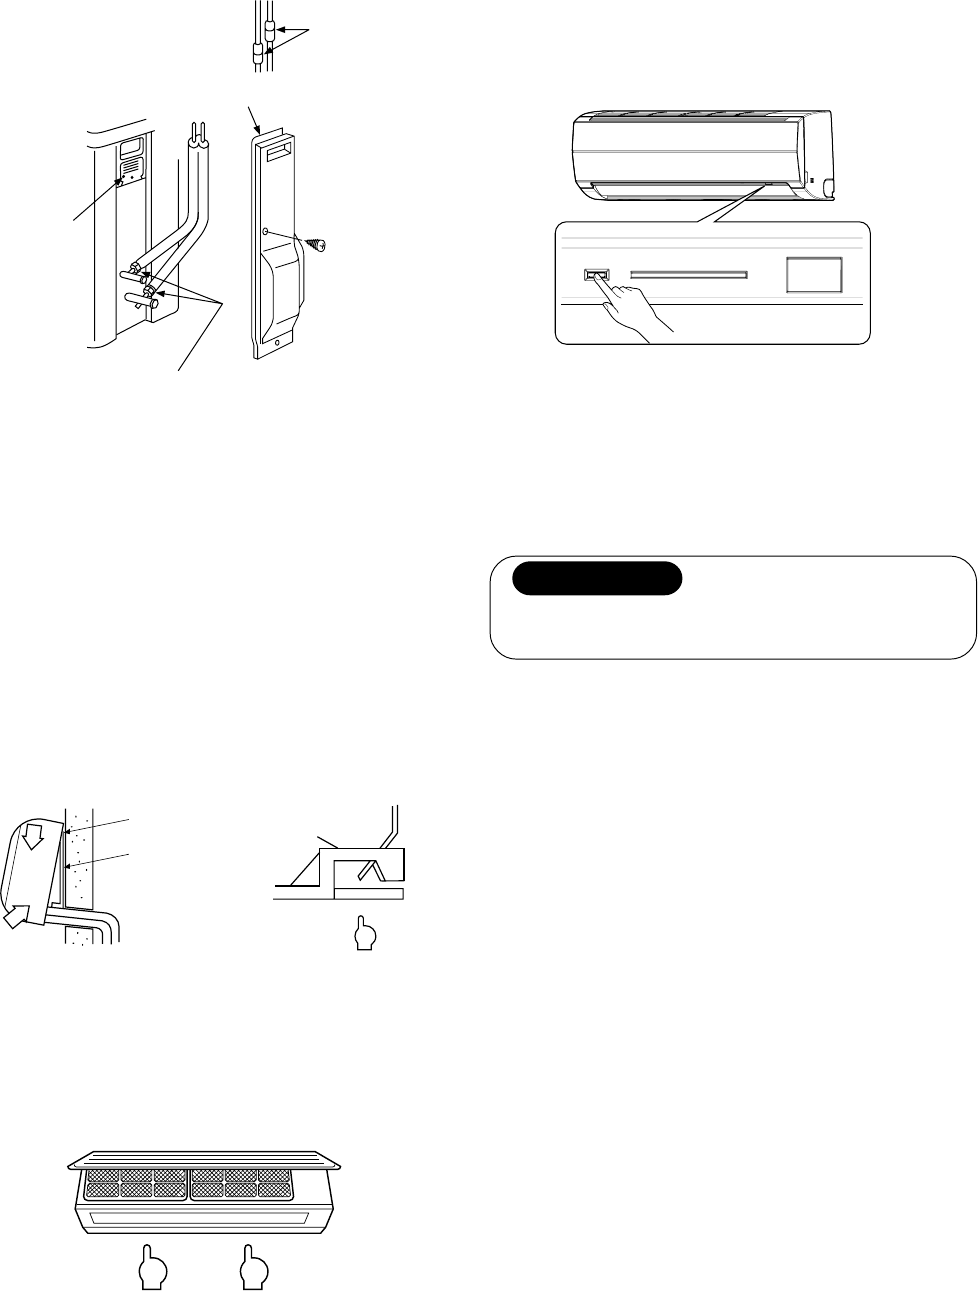
10-3-5. Gas leak test
Fig. 10-3-10
• Check the flare nut connections for the gas leak
with a gas leak detector or soap water.
Check places
for outdoor unit
Valve cover
Check places for
indoor unit (Flare
nut connection)
Electric parts
cover
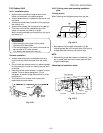
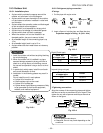
10-3-6. Indoor unit fixing
1. Pass the pipe through the hole in the wall, and hook
the indoor unit on the installation plate at the upper
hooks.
2. Swing the indoor unit to right and left to confirm that
it is firmly hooked up on the installation plate.
3. While pressing the indoor unit onto the wall, hook it
at the lower part on the installation plate. Pull the
indoor unit toward you to confirm that it is firmly
hooked up on the installation plate.
Fig.10-3-11
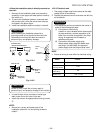
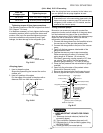
• For detaching the indoor unit from the installation
plate, pull the indoor unit toward you while pushing
its bottom up at the specified parts.
Fig. 10-3-12
Press
(unhook)
Hook
1 Installation
plate
Hook here
1
2
PushPush
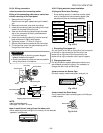
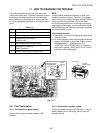
10-3-7. Test operation
To switch the TEST RUN (COOL) mode, press
RESET button for 10 sec.
(The beeper will make a short beep.)
10
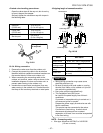
-3-8. Auto restart setting
This product is designed so that, after a power failure,
it can restart automatically in the same operating mode
as before the power failure.
Information
The product was shipped with Auto Restart function
in the off position. Turn it on as required.
<How to set the auto restart>
• Press and hold the RESET button for about
3 seconds. After 3 seconds, the electronic beeper
makes three short beeps to tell you the Auto
Restart has been selected.
• To cancel the Auto Restart, follow the steps
described in the section Auto Restart Function of
the Owner’s Manual.
Fig. 10-3-13


