1
2
VICTORY
B
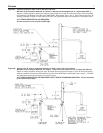
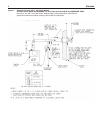
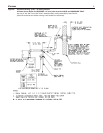
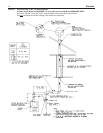
. PUMP LOCATION-Locating low-head pump(s) on
return to boiler is acceptable for smaller boiler sizes in
residences of one or two stories. The alternate pump
location shown in illustration on page 11 is required in
l
arge, multi-story building installations, especially when
high-head pumps are used. The compression tank
m
ust be at the boiler or between boiler and supply
main pump(s).
C
. On a hot water boiler installed above radiation level,
the boiler must be provided with a low water cutoff
device at the time of installation by the installer.
OPERATING INSTRUCTIONS, BASIC
I. FILLING AND VENTING WATER SYSTEMS
A. Fill the system with water. Vent or purge of air.
B. Fire the boiler as soon as possible (see following warn-
ing and instructions) and bring water temperature to at
least 180 degrees, while circulating water in the sys-
tem.
C. Vent air and add water as needed to achieve operating
pressure on boiler gauge. Pressure must be between
approximately 12 psi (cold water) and 25 psi at water
temperature setting of high limit control, for boilers
equipped with 30 psi relief valves. Boilers rated for a
higher pressure and equipped with a matching relief
valve may operate at a higher pressure, but no higher
than 5 psi below the relief valve opening pressure.
D. Check for and repair any leaks before placing system
in service.
BEFORE FIRING BOILER, make these checks:
1. System is full of water. Air is vented or purged.
2. Relief valve is installed in accordance with ASME
Boiler and Pressure Vessel Code, Section IV. Valve
opening is not closed or reduced in size.
3. Venting is installed according to instructions under
“FLUE GAS VENTING REQUIREMENTS”.
4. All wiring is completed, following applicable wiring
diagrams.
5. Using soap solution, check for gas leaks in all gas
piping from meter to boiler pilot and manifold.
DO NOT use open flame.
II. INITIAL START
Safe lighting and other performance criteria were met
when testing various gas manifold and control assemblies
used on the Victory Series Boilers under the ANSI
Z21.13- 1987 Standard.
Instructions
Follow the lighting instructions in this manual that apply to
the par
ticular ignition system equipped on this boiler
.
(Also
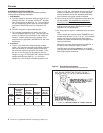
, see figures on page 2 f
or location of gas manif
old,
gas v
alv
e and control assembly
.)
These instructions are
also attached to the boiler.
S
AFETY INFORMATION
For Your Safety Read Before Operating
WARNING: If you do not follow these instructions exactly,
a
fire or explosion may result causing property damage,
personal injury or loss of life.
A. This appliance is equipped with an ignition device
which automatically lights the pilot. DO NOT try to
light the pilot by hand.
B. BEFORE OPERATING smell all around the appliance
a
rea for gas. Be sure to smell next to the floor because
some gas is heavier than air and will settle on the
f
loor.
WHAT TO DO IF YOU SMELL GAS
• DO NOT try to light any appliance.
• DO NOT touch any electric switch; DO NOT use
any phone in your building.
• Immediately call your gas supplier from a neighbor's
phone. Follow the gas supplier's instructions.
• If you cannot reach your gas supplier, call the fire
department.
C. Use only your hand to push in or turn the gas control
knob. NEVER use tools. If the knob will not push in or
turn by hand, don't try to repair it, call a qualified ser-
vice technician. Force or attempted repair may result
in a fire or explosion.
D. DO NOT use this appliance if any part has been
underwater. Immediately call a qualified service tech-
nician to inspect the appliance and to replace any part
of the control system and any gas control which has
been underwater.
OPERATING INSTRUCTIONS
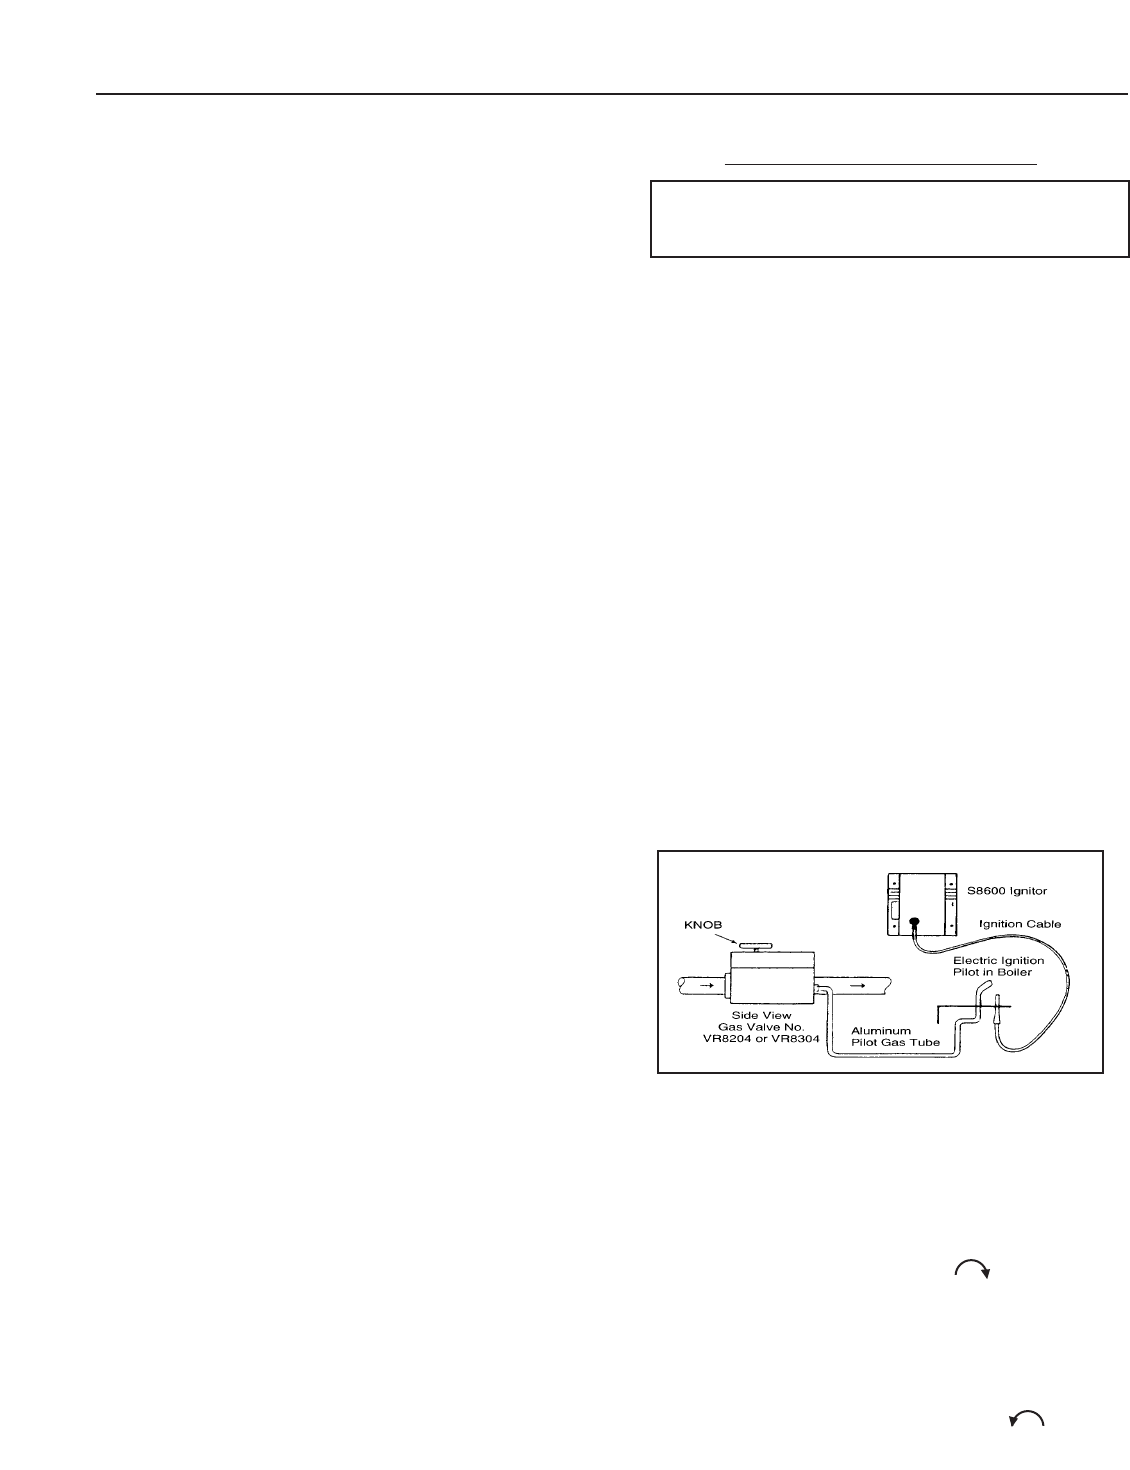
FOR VR8204 OR VR8304 VALVE
1. STOP! Read the safety information above.
2. Set the thermostat to lowest setting.
3. Turn off all electric power to the appliance.
4. This appliance is equipped with an ignition device
which automatically lights the pilot. DO NOT try to
light the pilot by hand.
5. Turn gas control knob clockwise to "OFF". DO
NOT force.
6. Wait five (5) minutes (longer for propane) to clear out
any gas, then smell for gas, including near the floor. If
you then smell gas, STOP! Follow "B" in the safety
information above. If you don't smell gas, go to next
step.
7.
Turn gas control knob counterclockwise to "ON".
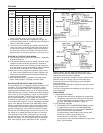
Figure 11.


