


30
1
2
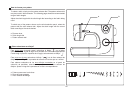
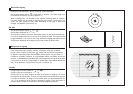
Multi-stitch zig-zag
0
1
2
3
4
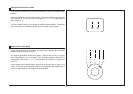
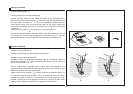
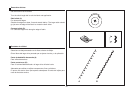
Sewing on lace and elastic, darning, mending, reinforcing edges.
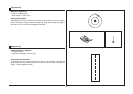
Set the stitch pattern dial to " ". Place patch in position. The stitch length can
be shortened to produce very close stitches. (1)
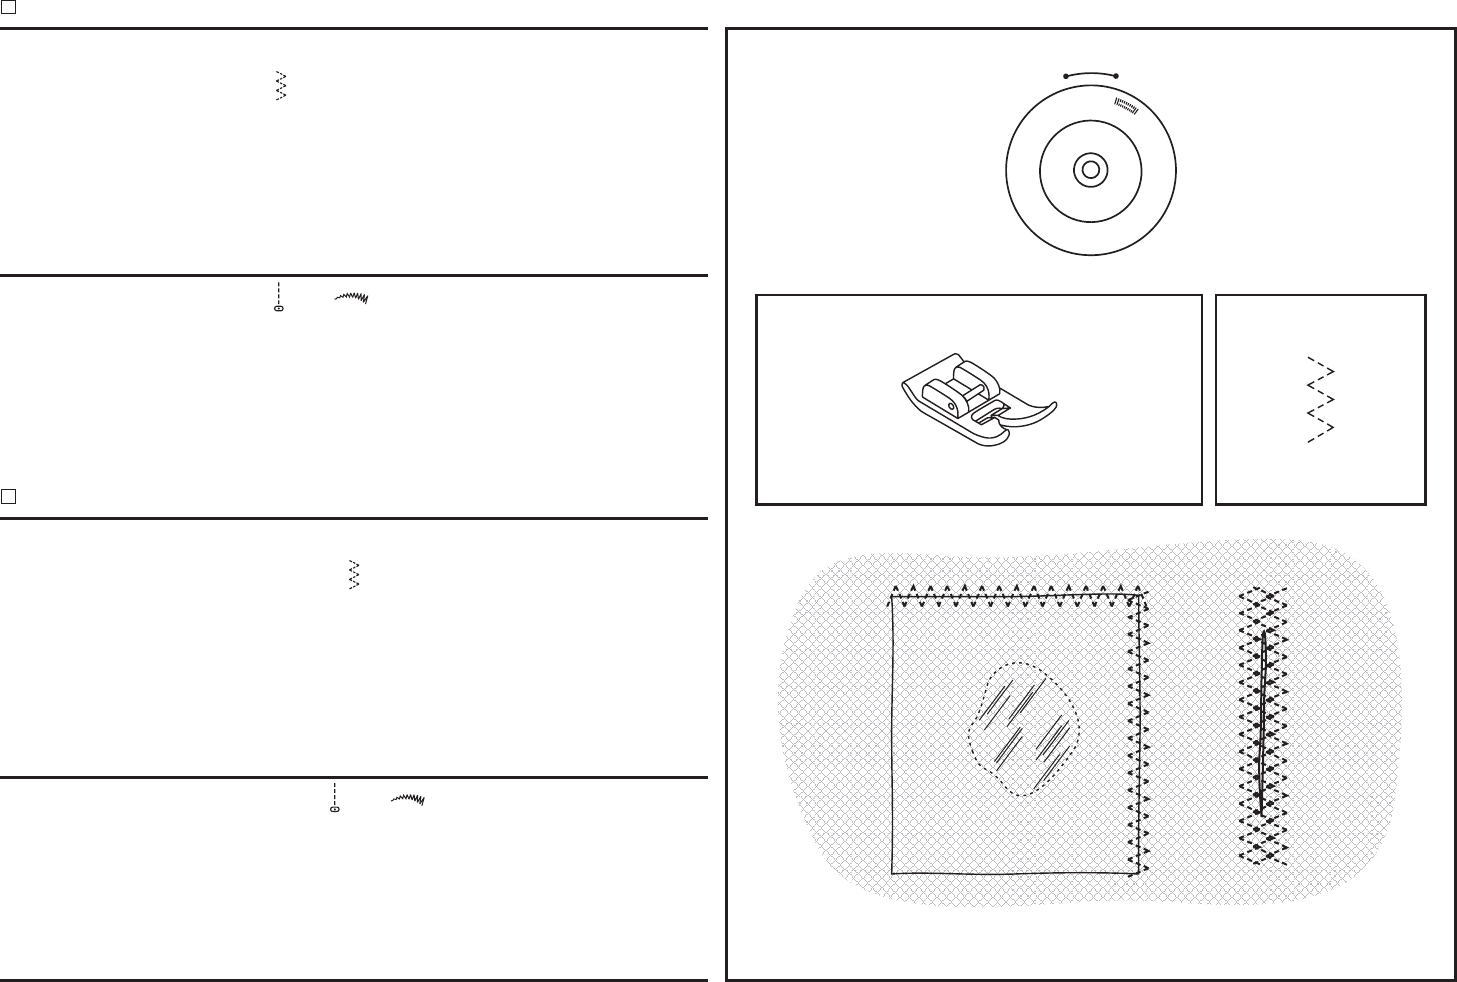
When mending tears, it is advisable to use a piece of backing fabric to reinforce.
The stitch density can be varied by adjusting the stitch length. First sew over the
center and then overlap on both sides. Depending on the type of fabric and
damage, sew between 3 and 5 rows. (2)
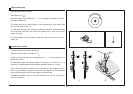
Para cosido de encaje y elástico, zurcido, remiendos, refuerzos y presillas.
Ponga el disco selector de dibujo en " ". Coloque el remiendo en su posición.
El largo de la puntada puede acortarse para obtener puntos muy próximos. (1)
Cuando se remienden rasgones, es recomendable utilizar una pedazo de tela de
refuerzo. La densidad de la puntada puede variarse ajustando el largo de la puntada.
Cosa primero en el centro y luego solape en ambos lados. Dependiendo del tipo de
tela y de los deterioros, hay que coser entre las3y5hileras. (2)
Multipunto en zig-zag
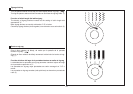
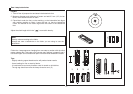
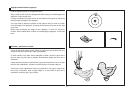
Bar tack
Set the stitch pattern dial to " " or " ".
Set the stitch length dial to "1" - "1.5".
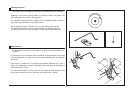
This function is used to secure the tops of kick pleats, as well as pocket openings.
First use a straight stitch across the top of the pocket or pleat. This seam should
be approximately 1/4 to 1/2 of an inch long. Set stitch to zigzag and stitch over the
straight stitch backstitch at the beginning and end of stitch to secure ends.
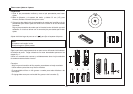
Presillar
Ponga el patrón de la puntada en: " " or " ".
Ponga el largo de la puntada en: "1" - "1.5"
Esta función se usa para asegurar la parte de arriba de los pliegues, así como
las aberturas de los bolsillos. Primero, use la puntada recta atravesando la parte
de arriba del bolsillo o el pliegue. Esta costura debe ser aproximadamente de
1/4 a ½ de pulgada de larga. Ponga la puntada en zigzag y cosa encima de la
puntada recta y remate al comienzo y al final para asegurar las puntas.