


26
3
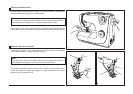
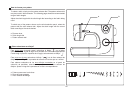
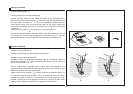
Sewing on buttons
2
1
Cosido de botones
Instalar la zurcida plancha. (1)
Combie el prensatelas al especial para coser botones.
Coloque la labor bajo el prensatelas.
Coloque el botón en la posición deseada, baje el prensatelas, ajuste el
ancho de la puntada a " " y cosa unas pocas puntadas de fijación. Ajuste el
ancho de la puntada a "3" - "5".
Gire el volante para comprobar que la aguja entra limpiamente en los
agujeros derecho e izquierdo de botón (ajuste el ancho de la puntada) y cosa
lentamente el botón con unas 10 puntadas.
Ajuste el ancho de la puntada a " " y cosa unas pocas puntadas de fijación. (2)
Si se precisa coser un tallo de botón, utilizar una aguja de zurcir en la parte
superior del botón y coser (3). Para botones con cuatro agujeros, coser
primero a través de los dos agujeros frontales (2), empujar la labor hacia
delante y coser luego a través de los dos agujeros posteriores (3).
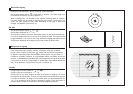
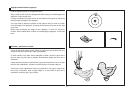
Install the darning plate. (1)
Change presser foot to button sewing foot.
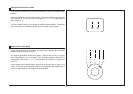
Position the work under the foot. Place the button on the marked position,
lower the foot. Adjust stitch width to " " and sew a few securing stitches. Set
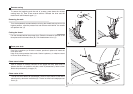
the stitch width to number "3" - "5". Turn the handwheel to check that the
needle goes cleanly into the left and right holes of the button (adjust the
stitch width according to the button), and slowly sew on the button with about
10 stitches.
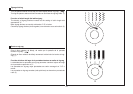
Adjust the stitch width to " " and sew a few securing stitches (2).
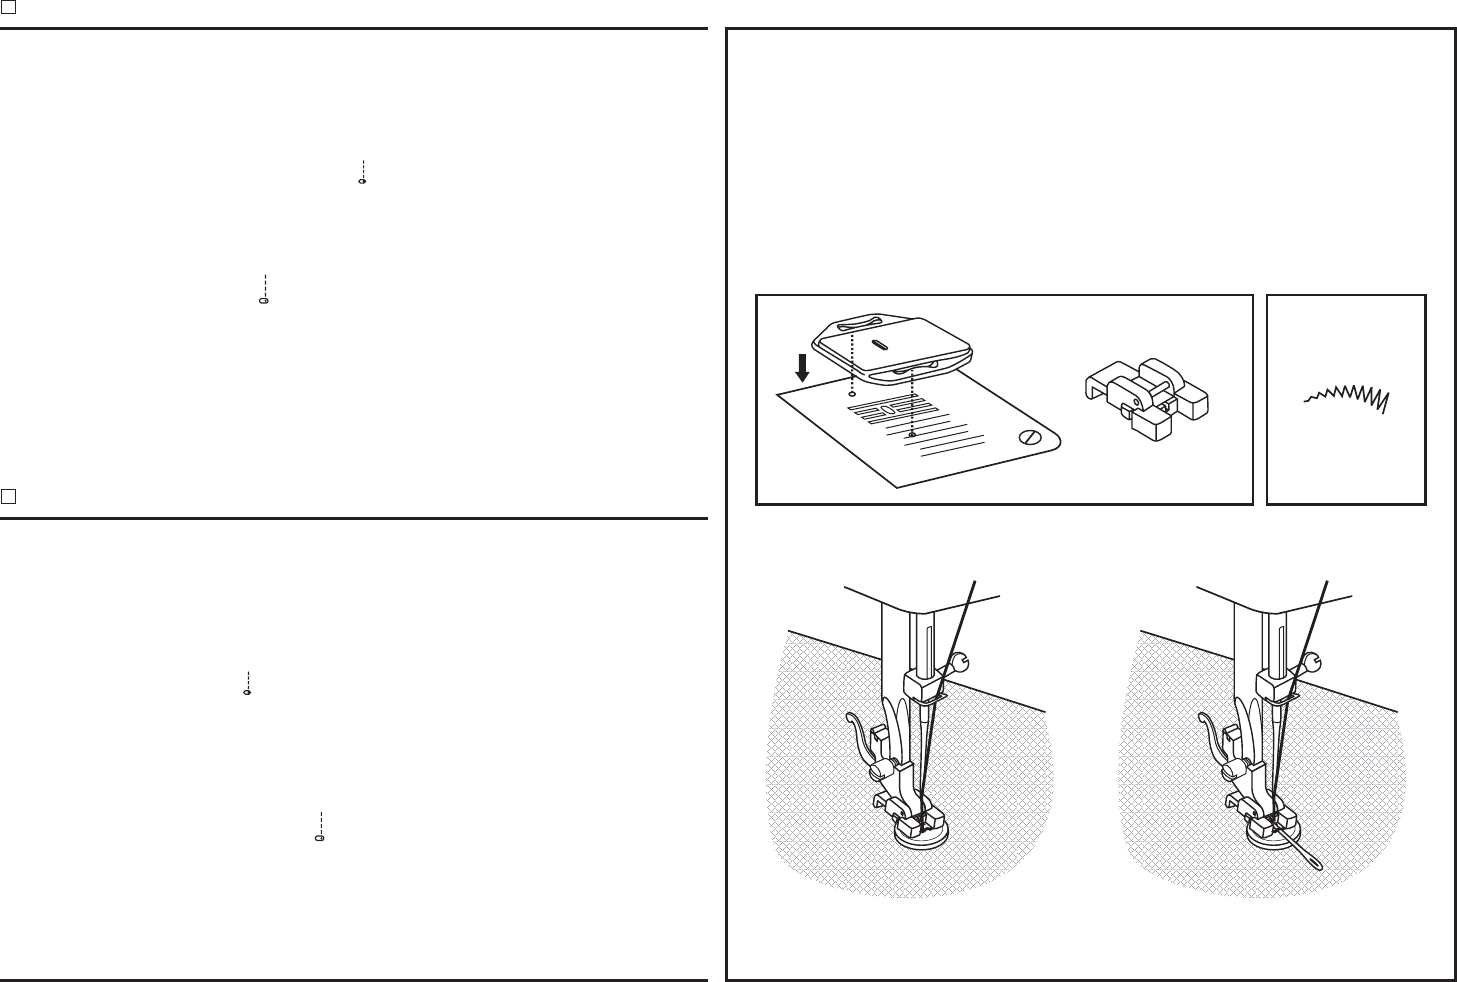
If a shank is required, place a darning needle on top of the button and sew (3).
For buttons with 4 holes, sew through the front two holes first (2), push the
work forward and then sew through the back two holes as described (3).