


4. ab
b.
C_
d.
eL
NOTE:
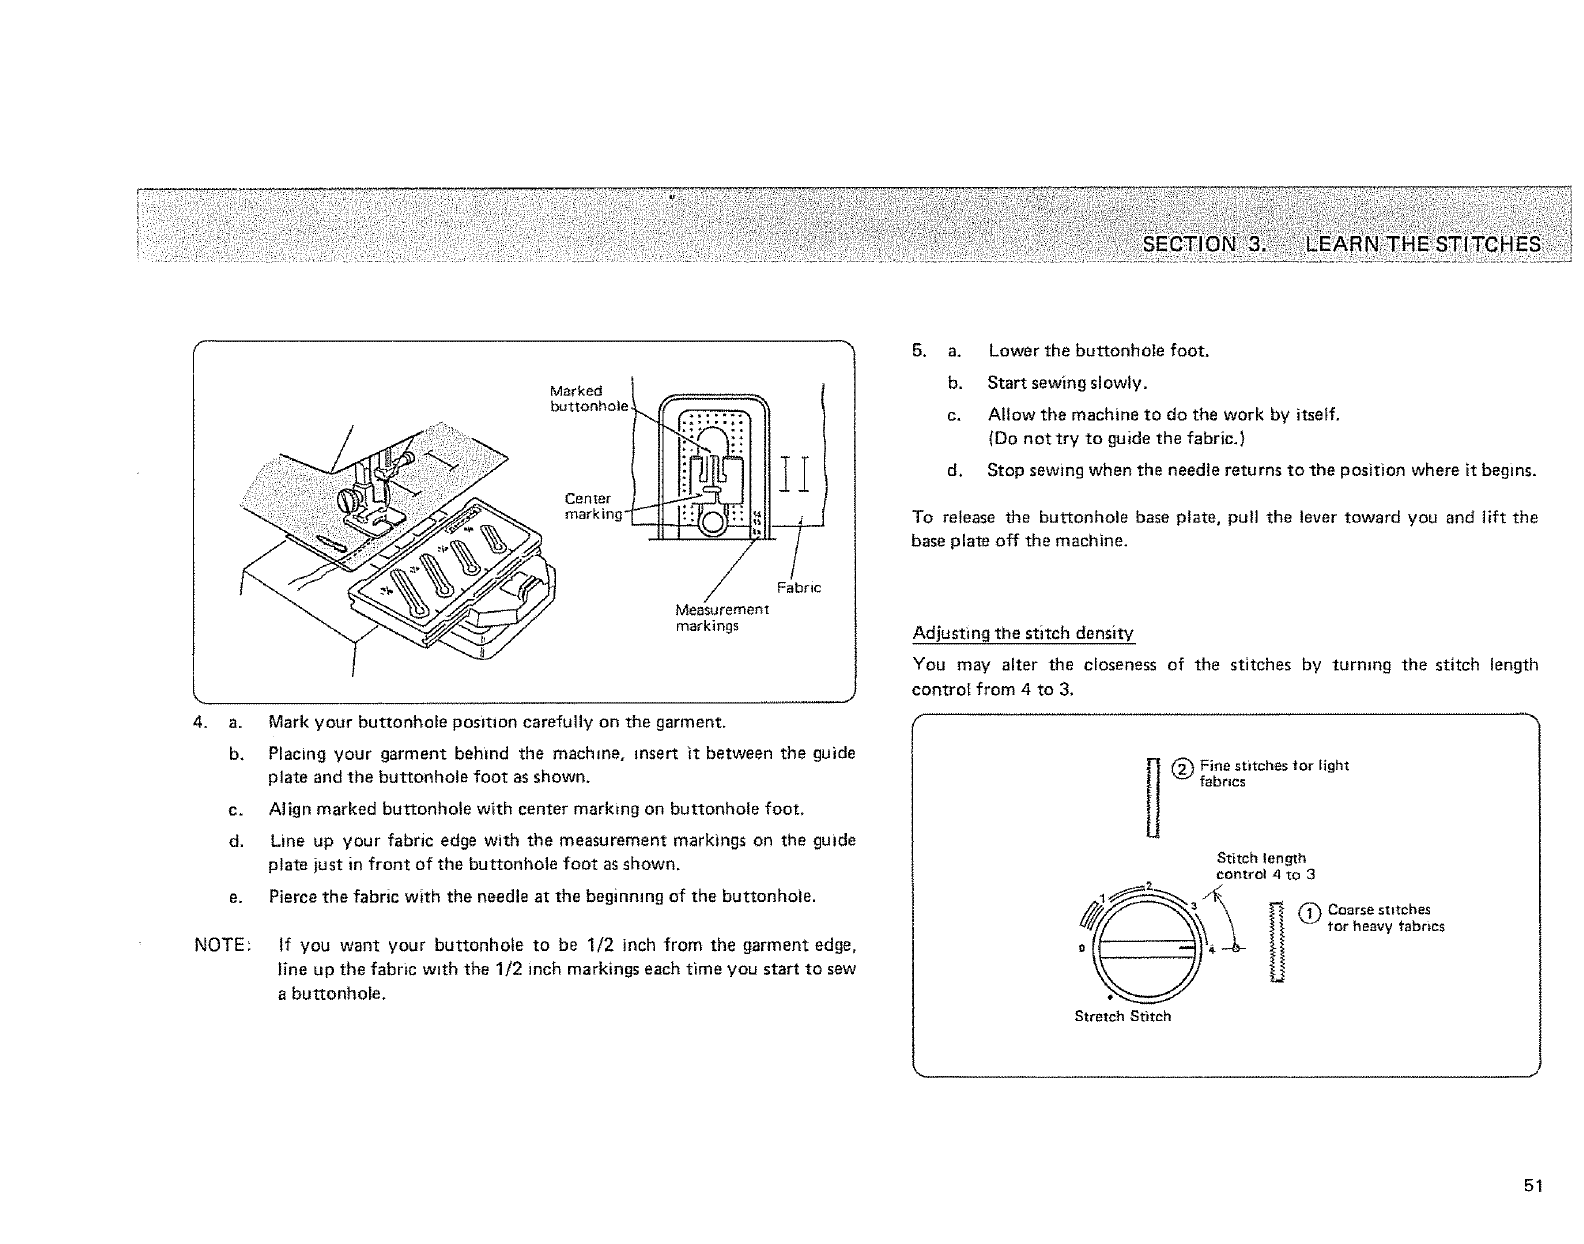
Marked
buttonhole
Cerl[er
marking"
Fabric
Measurement
markings
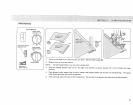
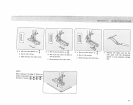
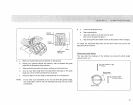
Mark your buttonhole position carefully on the garment.
Placing your garment behind the machine, insert it between the guide
plate and the buttonhole foot as shown.
Align marked buttonhole with center marking on buttonhole foot.
Line up your fabric edge with the measurement markings on the guide
plate just in front of the buttonhole foot as shown,
Pierce the fabric with the needle at the beginmng of the buttonhole.
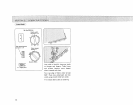
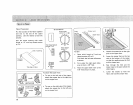
tf you want your buttonhole to be 1/2 inch from the garment edge,
line up the fabric with the 1/2 inch markings each time you start to sew
a buttonhole.
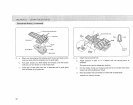
a. Lower the buttonhole foot.
b. Start sewing slowly.
c. Allow the machine to do the work by itself.
(Do not try to guide the fabric.)
d. Stop sewing when the needle returns to the position where it begins.
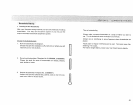
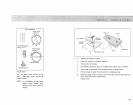
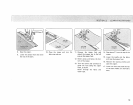
To release the buttonhole base plate, pull the lever toward you and lift the
base plate off the machine.
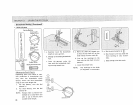
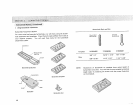
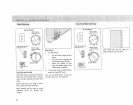
Adjusting the stitch density
You may alter the closeness of the stitches by turning the stitch length
control from 4 to 3.
L
(_ Fine stitches for figh_
fabrics
Stitch length
control 4 "_o3
0 _'4 -o-
Stretch Stitch
J
51