z O
m z
m I
r-
e m
t|
Jl
i|
&.-'S
f
€>';* >
G3-.<-_
m_
go
o
o
-n
_,m_m
z..__i
mlo
rni
:1:
p p
>i>
_-)_
o i i
-.<i
3o
_o
>__i__ -._
_ _i m_
m_
o_
P
m
i
*o
N
N
_. NI
_i _
3: "O
---1
b, m m L_ _'
o_o_ _
0 0= z
_o o
_ _'_ _ _ = _ -
_m
go
z zi-
o
0 0_
__ Io=o
_ Oft!
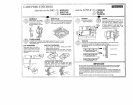
SETTING UP YOUR MACHINE
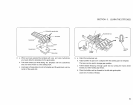
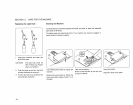
1o You'll find lh e spool pm on the top
cover. Tilt up the spoo[ pin. Place the
spool ot thread on lhe pm with the
thread coming o[f the back ot the
spool as shown.
2. Plug loot control _n|o machine
receptacle, Then connect cord I_to
any 110 - t 20 vol| A.C. wall o_t_et.
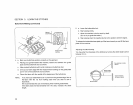
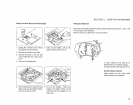
3. Your Kenmore sewing machine has
been tho_'oughty oiled at the factory.
Be sure to wipe o|t the needle plate
area, bed plate and shuttle caretu!l Li_ _
before sewing a garment. It _s w_se to
p_aclice on a scrap ot iabnc so any.
s_ptus oilis absorbed.
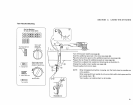
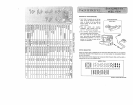
STITCH SELECTOR
Hodzontal Spool P}n
V
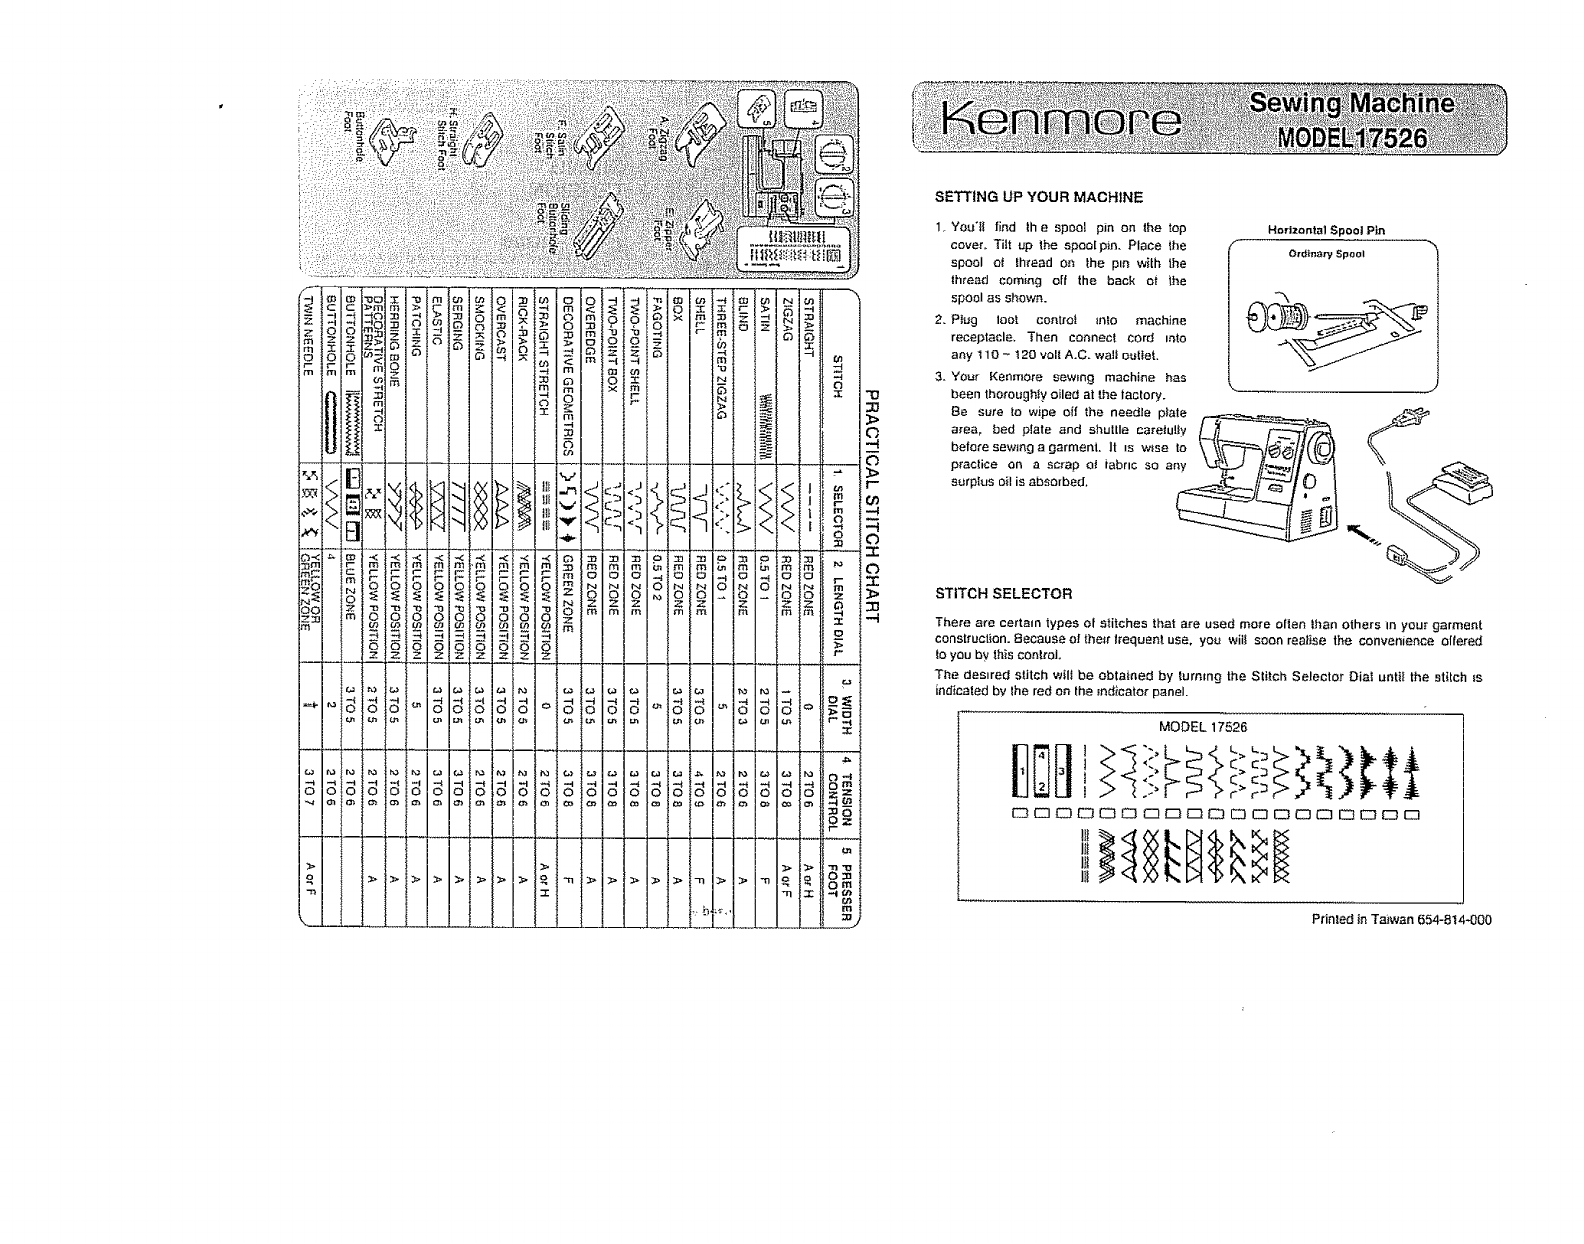
There ere certain types of stitches that are used mo_'e often than others in your garment
construct}on. Because o! the,r lrequent use, yo_ wit_ soon realise the convenience altered
to you by this control
The des=red stitch wilt be obtained by _urmng the Stitch Selector Dial until the stitch _s
indicated by lhe red on the _ndicator panel.
MODEL 17526
Printed inTa}wan 654-814--000


