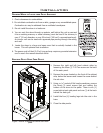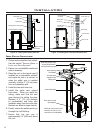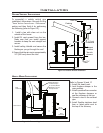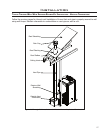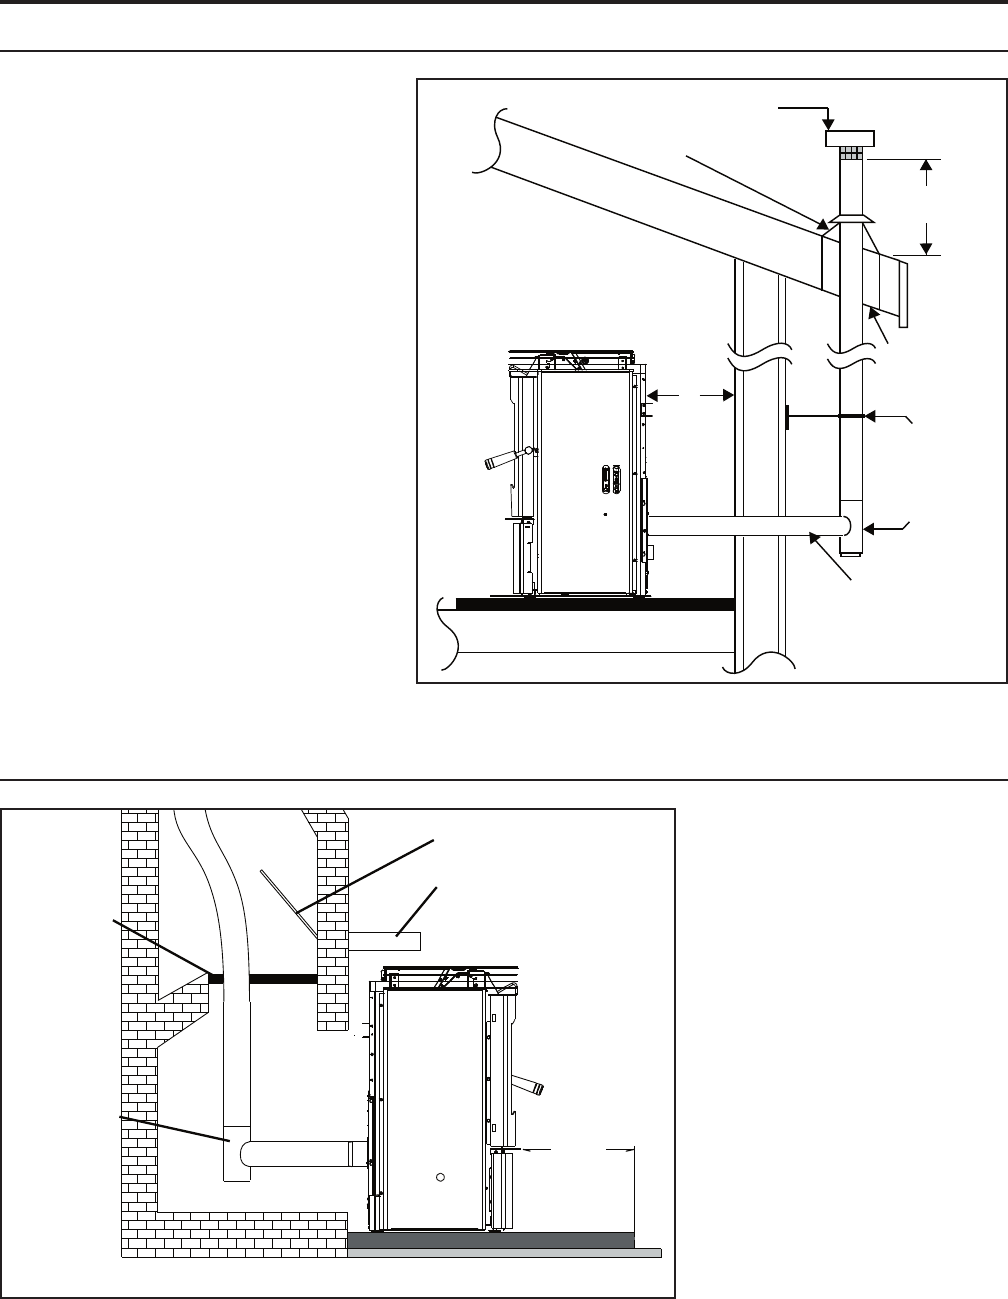
To accomplish a outside vertical pipe
installation, follow steps 1 through 5 in the
“INSIDE VERTICAL INSTALLATIONS - FREESTANDING”
section and then finish it by performing
the following (refer to Figure 15).
1. Install a tee with clean out on the
outside of the house.
2. Install PL vent upward from the tee.
Make sure that you install support
brackets to keep the vent straight and
secure.
3. Install ceiling thimble and secure the
flashing as you go through the roof.
4. Ensure that the rain cap is approximately
24” (600 mm) above the roof.
13
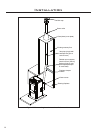
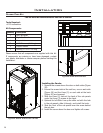
HEARTH MOUNT INSTALLATION:
Installation
OUTSIDE VERTICAL INSTALLATIONS:
Rain cap
Flashing
24"
(61 cm)
4"
(10 cm)
Tee with
cleanout
3" (7.5 cm)
Clearance
Support
bracket
Type "PL"
vent
Figure 15: Outside Vertical Installation.
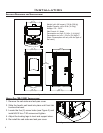
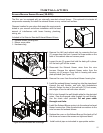
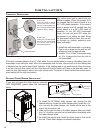
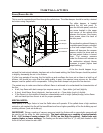
Refer to Figures 16 and 17.
1. Install the hearth pad.
2. Lock fireplace damper in the
open position.
3. Install a positive flue connector
at the fireplace dampers or
seal the chimney at the top.
4. Connect a tee to the exhaust
pipe.
5. Install flexible stainless steel
liner or listed pellet vent to
the top of the chimney.
Flue
Connector
Figure 16: Freestanding hearth mount installation.


