


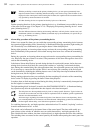


1.TECH.DIS 0003
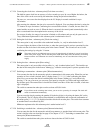
<zone text1>
<zone text2>
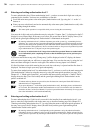
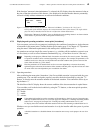
Figure 11: Example for the display of the disablement of a technical message, zone 3.
In this case, the '
↵
'-button has a special function: The part of the system whose disablement is cur-
rently displayed is enabled by using this button (Menu-quick-operation).
4.7.6 Displaying test conditions - menu point [Test conditions]
Scroll through all system parts in test condition by using the '
↑↓
'-buttons (details see from page 63 in
Chapter 5.7: "Test condition").
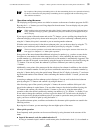
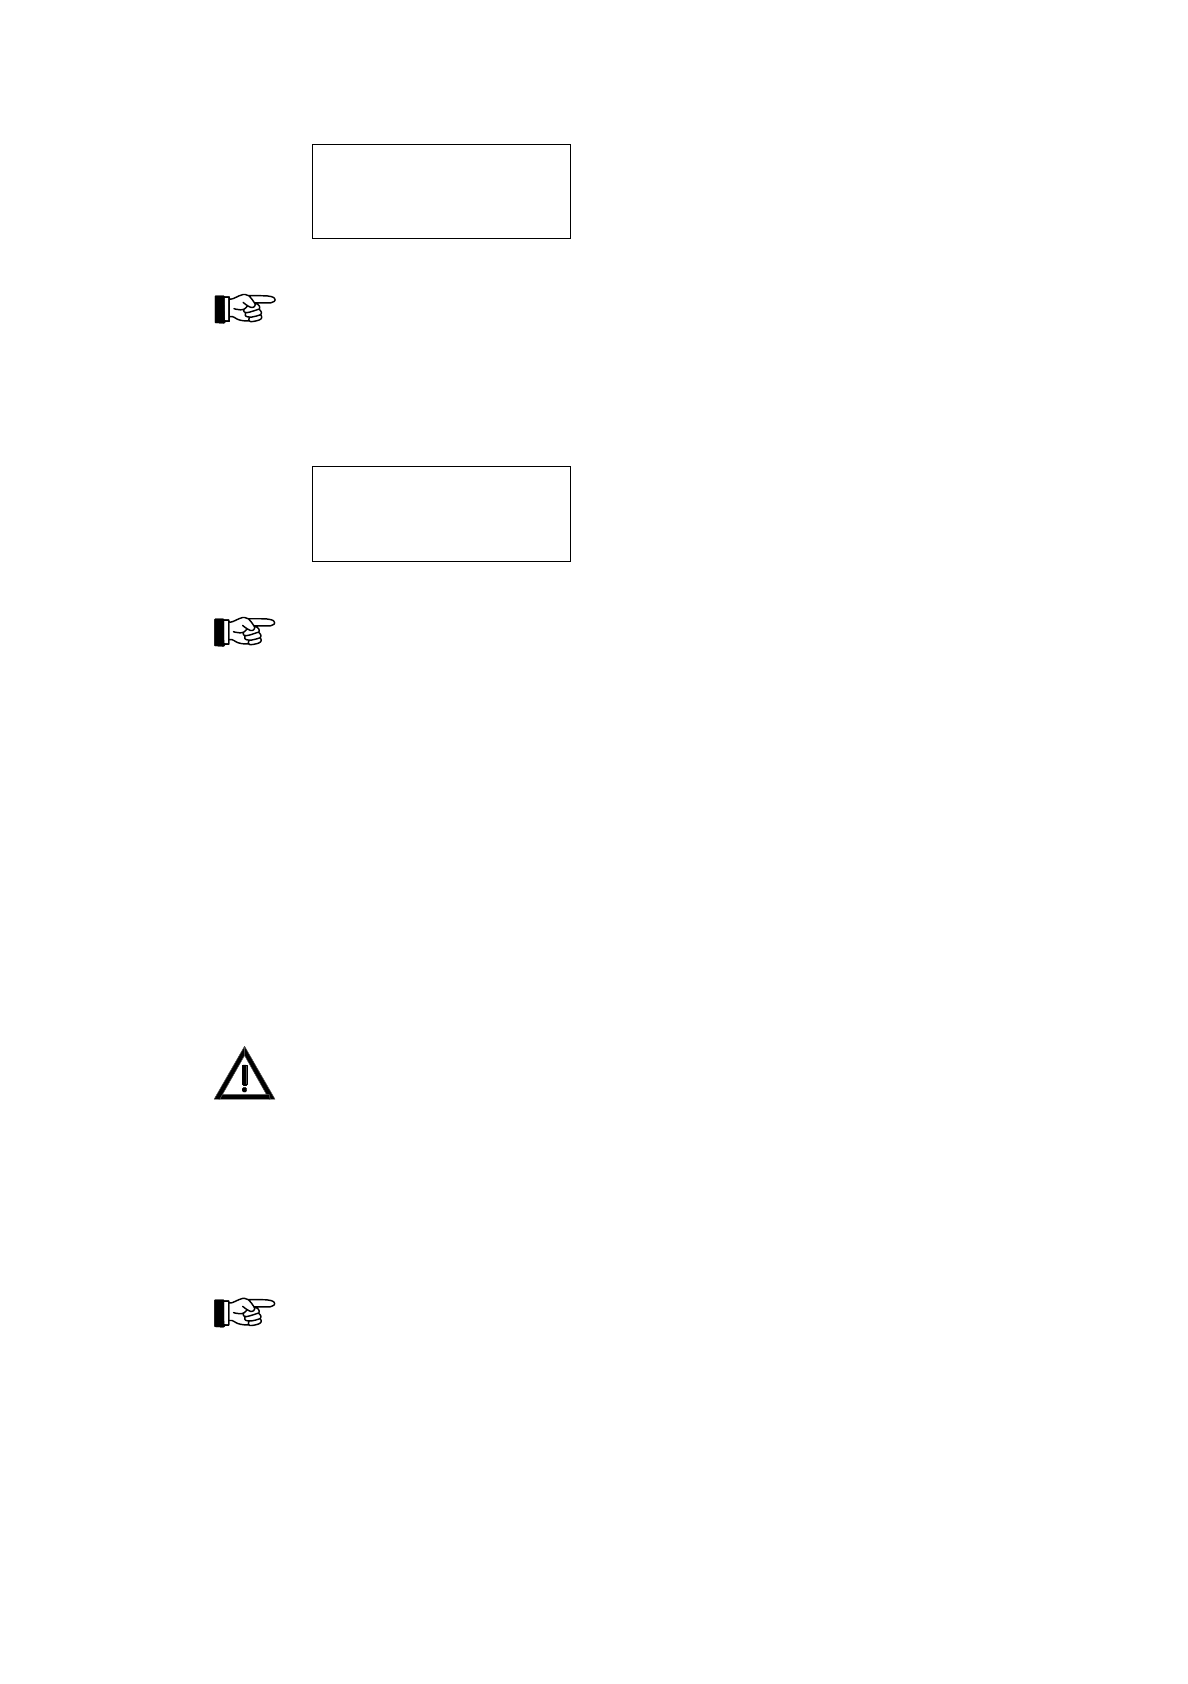
1.TEST COND 0003
<zone text1>
<zone text2>
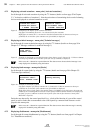
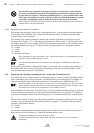
Figure 12: Example for the display of a test condition of zone 3.
In this case, the '
↵
'-button has a special function: The part of the system whose test condition is cur-
rently displayed is disabled by using this button (Menu-quick-operation).
4.7.7 Displaying and operating detector zones - menu point [Zone:]
In this menu point you can operate, activate (for test purposes) and display the condition of whole de-
tector zones as well as single elements of detector zones. Note the hints given starting page 33 in Chap-
ter 4.3: "Operations using the menu"! Minimum requirement for this menu point is authorization
level 2.
The installer sets the parameters of detector zones to zones for fire detection, for technical messages or
for fault messages while the system is put into operation. The differences between the different kinds
of detector zones lie basically in the kind of alarm given and in how the alarm is reset.
At the enablement of a detector zone or of elements of these zones, the control panel checks for
5 seconds if a criterion for an alarm currently exists in this zone. In such a case (e.g., a manual call
point has not been reset after an alarm activation), the enablement is refused and the LC-display shows
[Cannot be enabled!] or [Cannot be enabled completely!].
Before enabling a detector zone or a detector, you have to make sure that the local conditions cannot
cause an alarm situation during enablement. Not all automatic fire detectors that are on the market are
able to detect an alarm situation and contact the fire detection control panel within 5 seconds.
4.7.7.1 Operating whole detector zones
After confirming the menu point [Zone:], the first available detector zone is proposed with the corre-
sponding zone-text. You can either accept the proposal, search the desired detector zone by using the
'
↑↓
'-buttons, or directly enter the zone number of the desired zone. You confirm the choice by using the
button '
↵
'.
You can go directly to the menu point [Zone:] by using the menu-quick-operation. See from page 33 in
Chapter 4.3.1: "Menu-quick-operation".
The third line of the LC-display shows the current condition of the chosen zone in capital letters. If you
intend to change this condition you can either scroll to the desired condition by using the '
↑↓
'-buttons
or by the menu-quick-operation, using numeric buttons:
"0" - disable
"1" - enable
"2" - activate (for test purposes)
"3" - test condition on.
HB216AE.SAM / 0130 / AN9161202
ZN5002/73/39
User Manual Series BC216 / Part A Chapter 4 • Basic operation of the fire detection control panels Series BC216
39