


PROPANE CONVERSION
PAGE 15
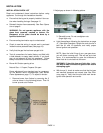
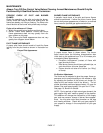
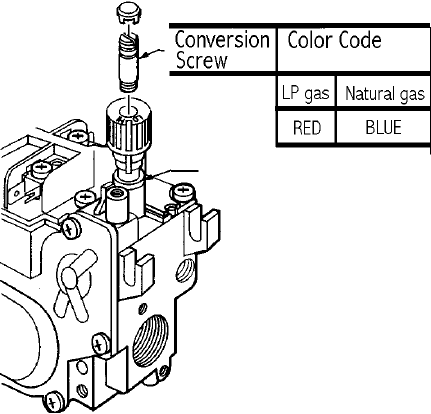
7. High / Low Pressure Regulator Installation Proce-
dure:
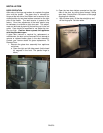
a.Remove regulator cap and conversion screw (see
following illustration).
b.Install the new conversion screw (Red = Propane
LP gas, Blue = Natural Gas). Ensure that the con-
version screw is finger tight. Install the new regu-
lator cap.
c.Affix conversion label on gas control valve body
where it can easily be seen.
8. Reinstall burner cover, logs, ember wool / ceramic
rocks and glass front.
9. Purging Air from Supply Line:
This should only be done by a qualified and li-
censed (where applicable) professional. Check with
your local building official for qualifications required
to perform this procedure.
10. Purge air from the gas line (see #9 above), then
connect propane gas line to the appliance. Connect
the fuel line to the insert inlet (1/2” NPT fitting) using
the fitting required.
11. Perform leak Test.
CAUTION
After this procedure is complete with appliance in-
stalled and connected to gas line, recheck the pilot
connection and manifold fittings for leaks, using
soapy water or a gas leak detector.
12. Lighting Procedure-See page 12.
Note: If the gas control knob is turned to the “off” posi-
tion after pilot has been lit, the appliance must be al-
lowed to cool for at least five minutes before pilot flame
can be relit.
13. Apply the propane conversion label to the rating
label.
The Appliance is ready for use with propane fuel as its
only fuel.
REFERENCE INFORMATION
See pages 4, 21 and 22 of this manual for the following
reference information:
Manifold Gas Pressure
Inlet Gas Pressure
Input Ratings
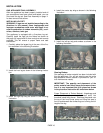
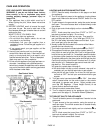
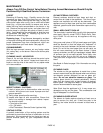
BURNER FLAME APPEARANCE
A periodic visual check of burner flames should be
performed. The burner flame should appear as indi-
cated on page 17 - Burner Flame Appearance.