


© 2004 Hunter Fan Company 41810-01 08/20/2004
7
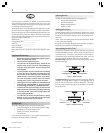
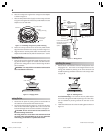
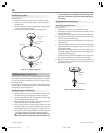
3. Raise the canopy, be sure the holes in the canopy and the ceil-
ing plate are aligned, and loosely assemble the canopy screws
one at a time. When all three screws are assembled, securely
tighten all three canopy screws. Refer to Figure 19.
Figure 19 - Installing the canopy
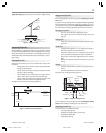
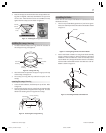
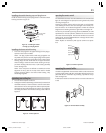
installing the canopy trim ring
1. To easily install the canopy trim ring, locate the two tabs on
the canopy trim ring. See Figure 20.
Figure 20 - Canopy trim ring
2. Take both hands and push the canopy trim ring up to the top
of the canopy. See Figure 20.
3. The canopy trim ring will snap and lock into place on the
canopy.
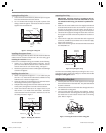
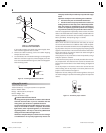
removing the canopy trim ring
1. Locate the tab indicators, small bumps on top of tabs. Refer
to Figure 21.
2. To remove the canopy trim ring, press firmly on opposite sides
of the ring towards the canopy as shown in Figure 21. The tabs
will flex out releasing the trim ring from the canopy.
Figure 21 - Removing the canopy trim ring
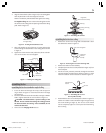
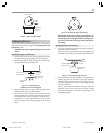
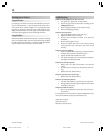
assembling the blades
Hunter fans use several styles of fan blade irons (brackets that hold
the blade to the fan).
1. Your fan may include blade grommets. If your fan has grom-
mets, insert them by hand into the holes on the blades as shown
in Figure 22.
Figure 22 - Inserting the grommets into the fan blades
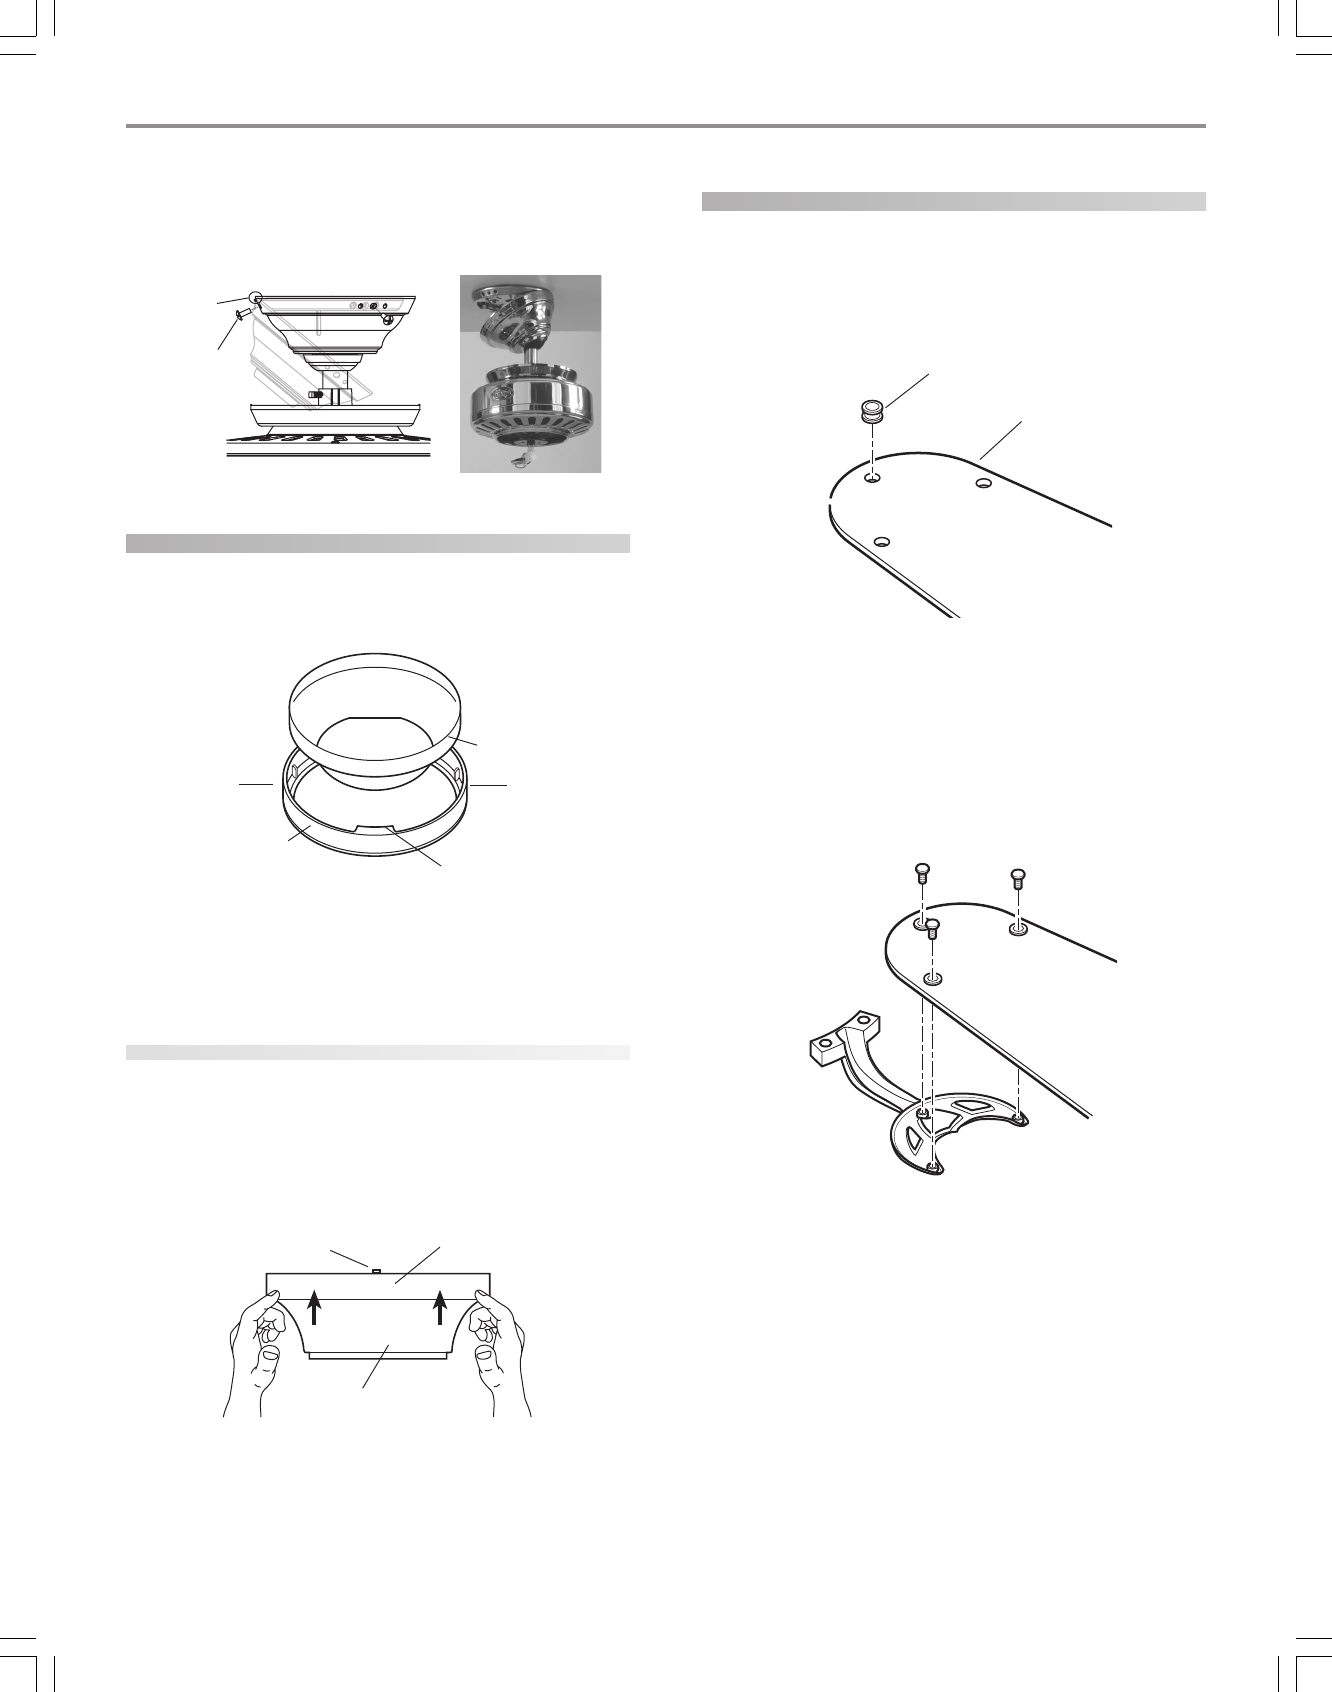
2. Attach each blade to blade iron using three blade assembly
screws as shown in Figure 23. Some fans feature a decorative
medallion as well as a blade iron. Insert the assembly screws
into the blade iron, through the blade and into the medallion,
with the blade sandwiched between the blade iron and me-
dallion as shown in Figure 24.
Figure 23 - Attaching the blade to the blade iron
Tab Hole
and Tab
Canopy
Screw
Grommet
Fan Blade
Canopy Trim Ring
Canopy
Tab Indicator
Canopy
Canopy
Trim Ring
Tab
Press Here when
Removing
Press Here when
Removing
41810-01_rev 8-20-04 v 3.pmd 8/21/04, 4:36 PM7