2. SETUP (ADVANCED OPTIONS) T775A/B/M SERIES 2000 CONTROLLER
17 62-0254–03
2. SETUP (ADVANCED OPTIONS)
Setup provides the ability to change the factory default
settings for the temperature sensors and outputs, to
enable/disable reset control, and to enable/disable
scheduling.
NOTE: The controller interface is intuitive. You may find
that you do not need the following setup
instructions for the sensors and outputs. You
may want to use this procedure simply as a
reference to locate the particular option or
parameter of interest.
NOTES:
1. If you press the HOME button or there is no
keypad activity for four minutes, you exit
Setup mode and return to the home screen.
2. If you press the MENU button, you exit Setup
mode and return to the menu.
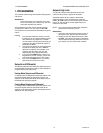
Setup Procedure
The Setup process uses a hierarchical menu structure
that is easy to use. You press the W and X arrow buttons
to move forward and backward through the menus.
NOTE: The menus can display only those relays that
are defined in Setup (see “2.3.2. NBR OF
RELAYS” on page 24). For example, if you con-
figure only two relays, then only two relays dis-
play on the appropriate menus.
Once in Setup mode, you use the —
• Left arrow button(W) to scroll backward through the
Setup menus
• Right arrow button (X) to select the highlighted menu
item and display its content
• Up and Down arrow buttons (S and T) to scroll up
and down through a list of items or to increase or
decrease the value of a displayed setup parameter
To change the controller’s sensors and output setup
parameters, perform the following procedures in the order
listed:
1. Enter Setup mode — see “2.1. Entering Setup
Mode”
2. Setup Sensors — see “2.2. Setting up the Sensors”
3. Setup Outputs — see “2.3. Setting up the Outputs”
on page 21
4. Exit Setup Mode — see “2.4. EXIT Setup Mode” on
page 29
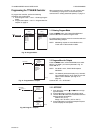
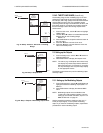
2.1. Entering Setup Mode
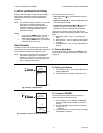
To enter Setup mode, press and hold the MENU button
for five seconds to display the Setup menu. See Fig. 25
on page 12.
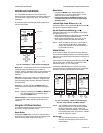
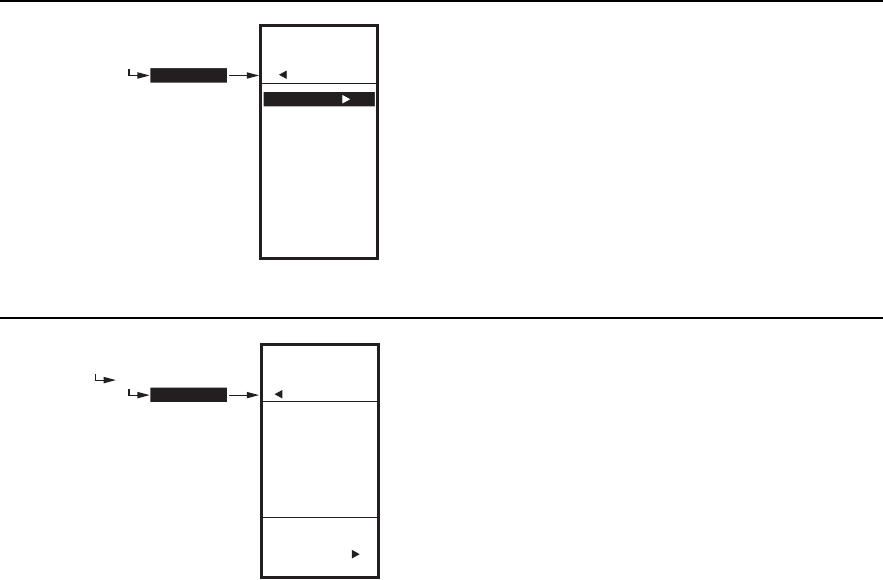
Fig. 34. Setup - Sensors Menu.
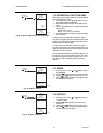
2.2. Setting up the Sensors
1. From the Setup menu, use the S and T buttons to
highlight SENSORS.
2. Press the X button to display the Sensors menu.
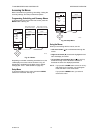
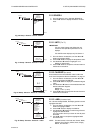
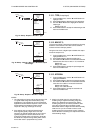
Fig. 35. Setup - Sensors - Number of Sensors.
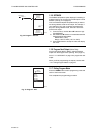
2.2.1. Number of SENSORS
The value entered here determines the number of
sensors displayed on the home screen.
1. From the Sensors menu, highlight # SENSORS
then press the X button to display the number of
sensors.
2. Use the S and T buttons to enter the number of
sensors (1 or 2).
Default: 2
3. Press the X button to accept the value and display
the SENSOR A selection.
SETUP
SENSORS
SETUP
SENSORS
# SENSORS
SENSOR A
SENSOR B
EXIT
M24500
ENTER
NUMBER OF
SENSORS
SETUP
SENSORS
# SENSORS
SETUP
SENSORS
# SENSORS
2
M24501


