


Page 1
5100-I ACT WOOD INSERT
R
438-0380D
September 1, 2008
Figure 21.1
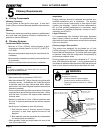
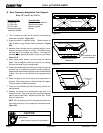
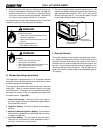
Figure 22.2
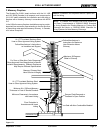
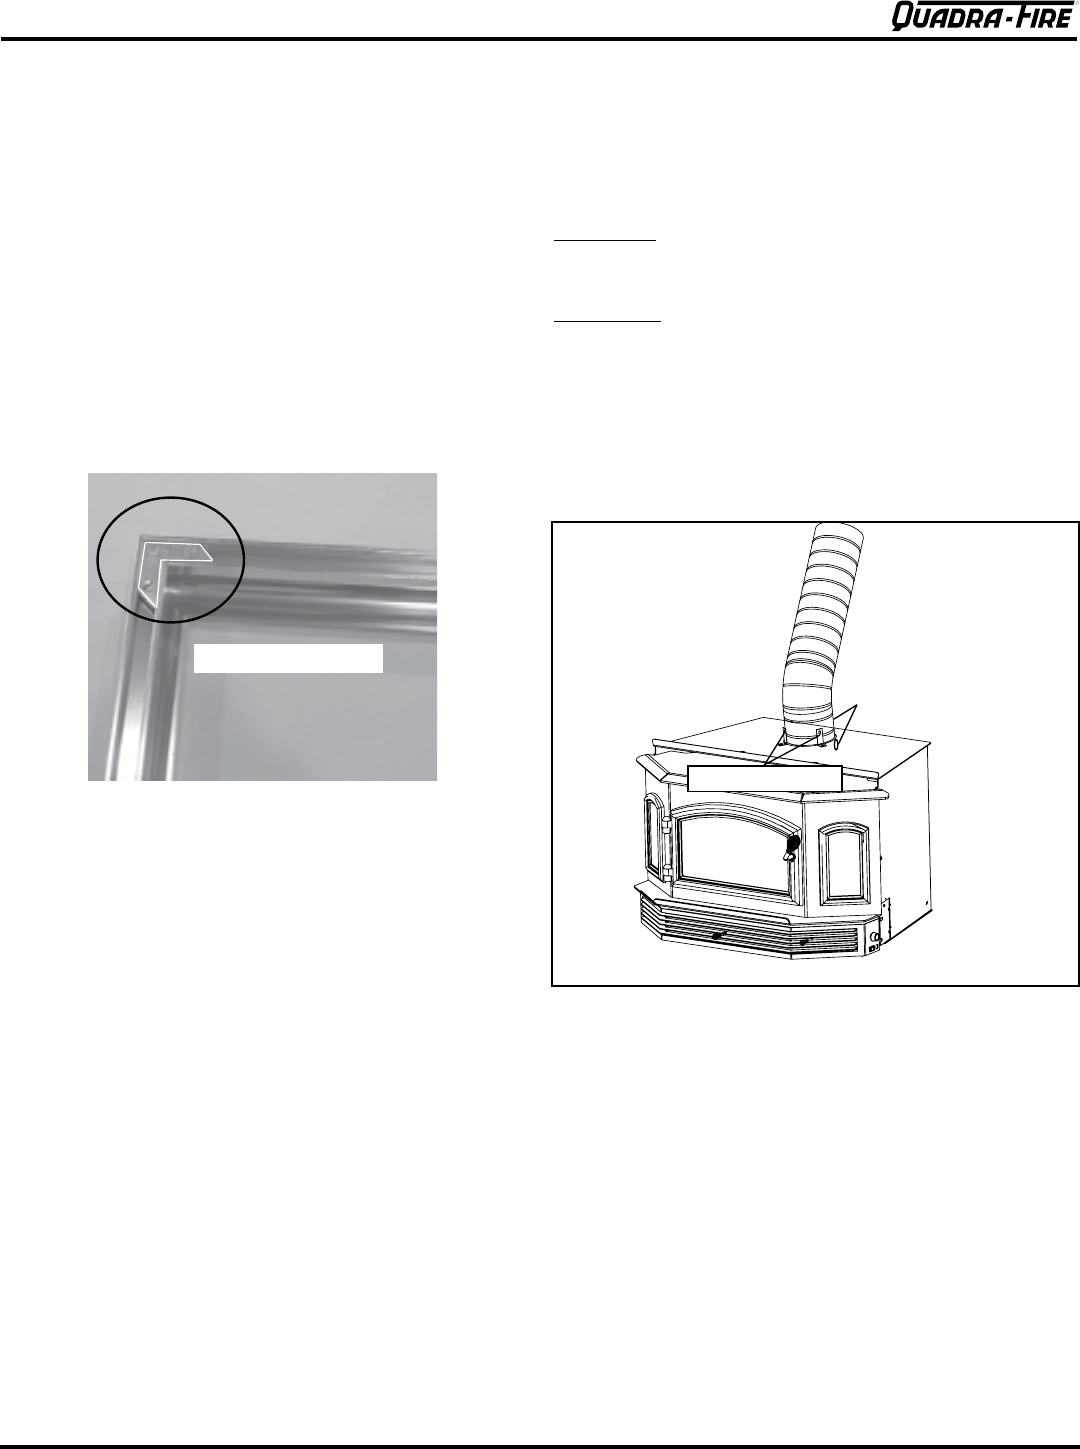
There are two options to secure the liner to the chimney
ring:
Option One: If there is enough room on the top of the insert
to work, hand bend the tabs upward 90°. Secure the liner
with the supplied hex head bolts 1/4-20-3/4.
Option Two: Remove the manifold tubes, berboard bafe
and ceramic blanket. From inside the rebox, pull liner down
through the chimney ring below the outer skin. There are
pre-drilled holes in the chimney ring 180° apart. Secure the
liner with the supplied hex head bolts 1/4-20-3/4. See Fig-
ures 32.3 and 32.4 on page 32 for details for removing the
manifold tubes, bafe and ceramic blanket.
NOTE: Tabs are shipped from factory in a at position.
Bend upwards 90 degrees as show in Figure 22.2
2 pre-drilled holes on flue
collar under outer skin
(access through firebox)
Attach liner with 2 tabs
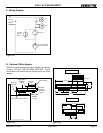
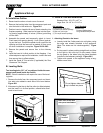
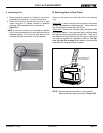
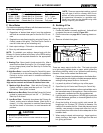
a.
Place protective covering on surface to be used to
assemble the trim pieces. Lay the trim face down.
b. Attach the 2 side trim pieces to the top trim at each
corner using the “L” bracket included in fasteners
package. Slide assembled trim over panel set.
Figure 21.1.
NOTE:
If you have a mantel, you may need to install the
trim on your panels before you push the insert into the
replace opening. If not, you can slide the trim over
the panel set after the insert is in its nal position.
2. Assembling Trim
View of “L” bracket installed
D. Securing Liner to Flue Collar