


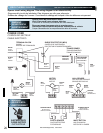
REMOTE CONTROL
BATTERY REPLACEMENT AND VISOR CLIP INSTALLATION
8
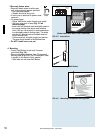
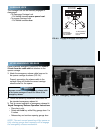
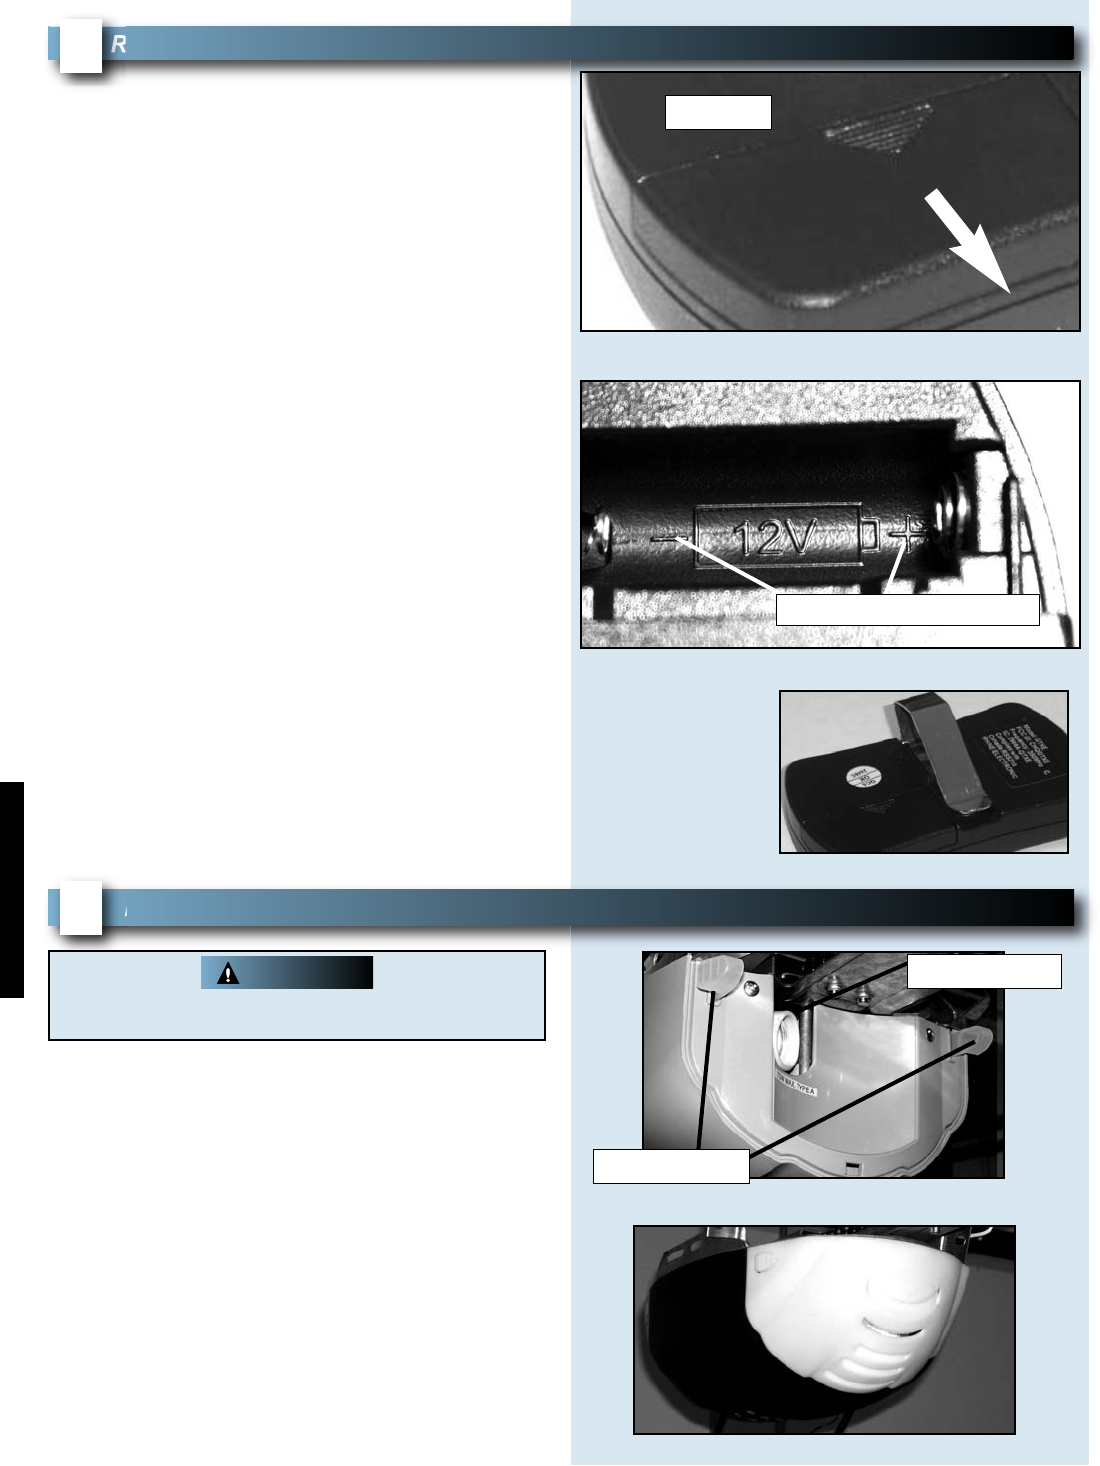
FIG. 8-1 Open battery cover.
1. Battery replacement.
• Use coin, ball-point pen or similar device.
– Gently push straight in on battery cover lock
tab as shown (Fig. 8-1).
• Flip open battery cover.
– Remove old battery.
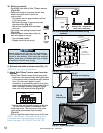
• Make sure new battery is facing proper direction
(Match battery polarity with symbols inside
battery cover) (Fig. 8-2).
– Recommended replacement battery type:
Alkaline A23, 12 volt.
NOTE: Batteries differ in care and maintenance.
Follow the manufacturer’s directions for battery
maintenance, replacement, and use.
• Slip new battery into place.
– Snap battery cover shut.
• Operate remote to make sure it is working
properly. (No re-programming is needed.)
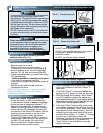
2. Visor clip.
You will have to install the visor clip if you
choose to attach your remote to the car visor.
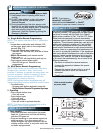
• Slide visor clip into back of remote control.
– It will snap into place (Fig. 8-3).
FIG. 8-3 Attach visor clip.
FIG. 8-2 Match battery polarity.
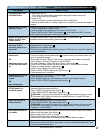
LIGHT BULB/LENS INSTALLATION
9
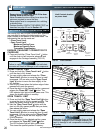
FIG. 9-2 Fasten lens.
NOTE: For lens cover locate Box 4.
1. Light bulb.
• Recommendations.
– Do NOT use a short neck bulb.
– Light bulb should be no more than 60 Watts.
– Use a heavy duty service bulb for longer life.
• Screw bulb into socket.
2. Lens.
• Select the white (lamp) cover. Do NOT use the
colored cover in this location.
• Line up lamp lens tabs on power head with
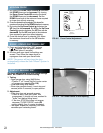
corresponding slots in lens (Fig. 9-1).
• Slide lens onto power head. Make sure the tabs
are fully engaged into lens slots (Fig. 9-2).
• Plug power cord back into electrical outlet.
– and + polarity marks
FIG. 9-1 Slide lens onto motor cover.
Lens tabs
Light bulb
Slide out
PN# 36420Supplement, 10/27/2008
24
For added safety and protection please unplug
opener before installing light bulb.
WARNING