5
U.L. Model No.: CF230
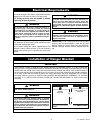
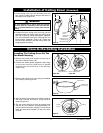
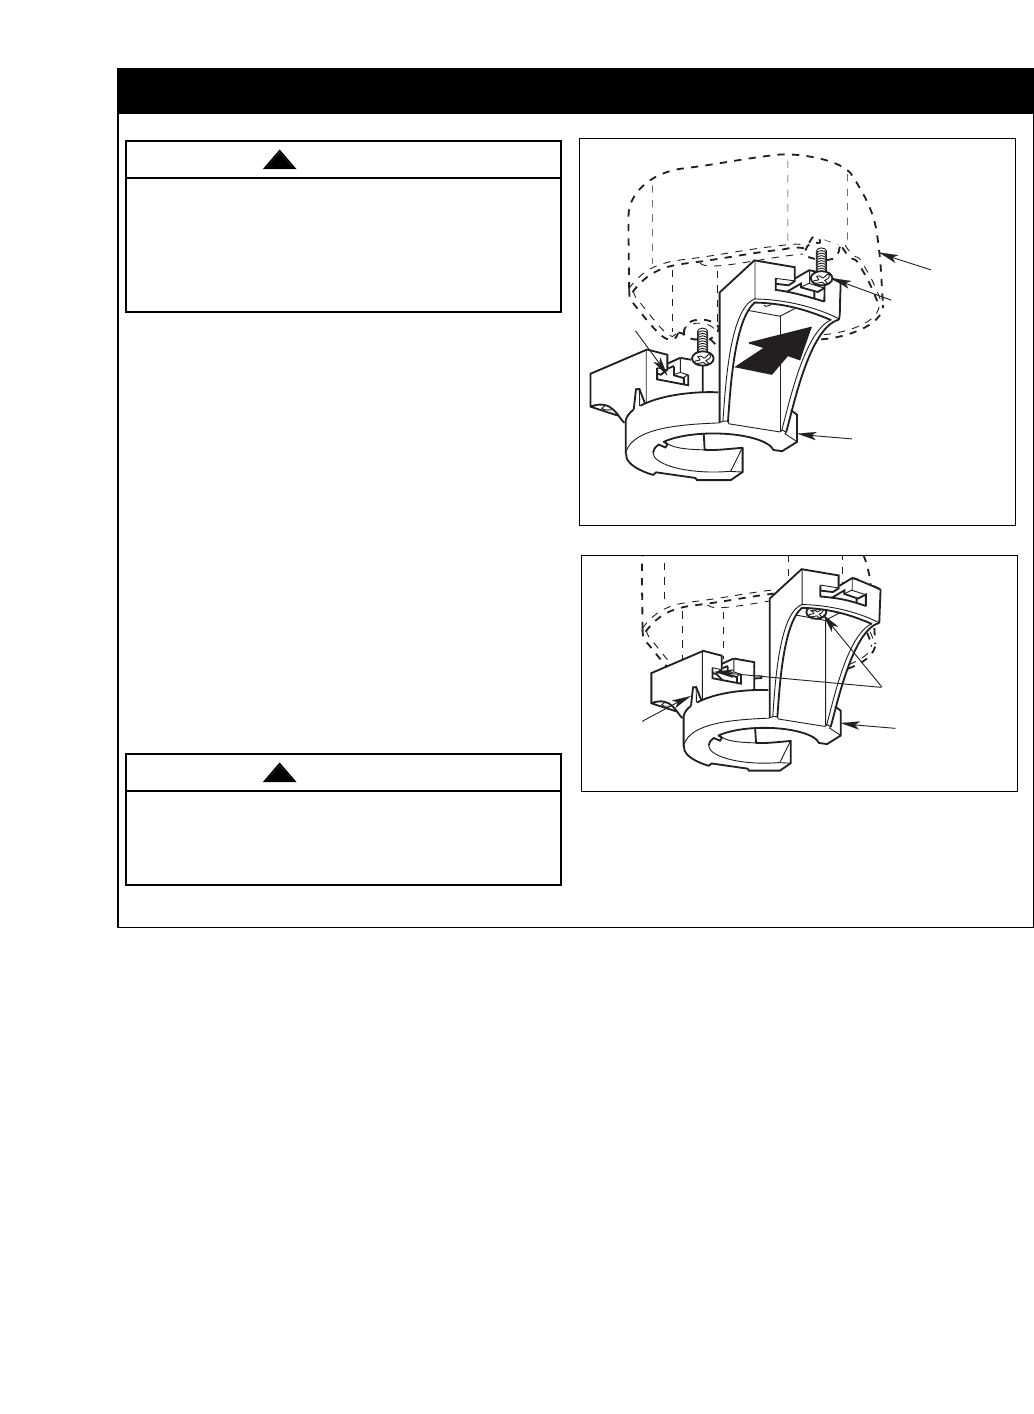
HANGER BRACKET
HOOK
SECURELY TIGHTEN
SCREWS
Figure 3
Installation of Hanger Bracket (continued)
Hanger bracket must seat firmly against outlet box. If
the outlet box is recessed, remove wall board until
bracket contacts box. If bracket and/or outlet box are
not securely attached, the fan could wobble or fall.
WARNING
!
NOTE: The hanger bracket must be mounted
flush with the ceiling in order for the ceiling cover
to install properly. If necessary, use leveling
washers (not supplied) between the outlet box
and the hanger bracket.
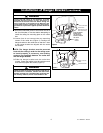
3. Slide the hanger bracket onto the outlet box
screws. Center the bracket over the outlet box and
then securely tighten the screws (Figure 3).
Turning off wall switch is not sufficient. To avoid
possible electrical shock, be sure electricity is
turned off at the main fuse box before wiring. All
wiring must be in accordance with National and
Local codes and the ceiling fan must be properly
grounded as a precaution against possible electrical
shock.
WARNING
!
1. Disconnect electrical power to the branch circuit at
the circuit breaker or fuse box before attempting to
install the ceiling fan mounting plate on the outlet
box.
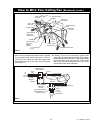
2. Loosen (but do not remove) the two mounting
screws in the outlet box (Figure 2). Position the
hanger bracket on the outlet box so that the T-slots
in the hanger bracket are aligned with the outlet
box screws.
HANGER
BRACKET
LOOSEN TWO
SCREWS (SUPPLIED
WITH OUTLET BOX)
OUTLET BOX
SLIDE THE HANGER
BRACKET ONTO
THE OUTLET BOX
SCREWS, THROUGH
THE T-SLOT
T-SLOT
Figure 2


