


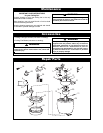
15
U.L. Model No.: CF230
Remote Control Procedures (cont.)
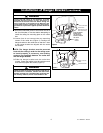
CODE
SWITCHES
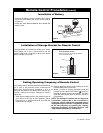
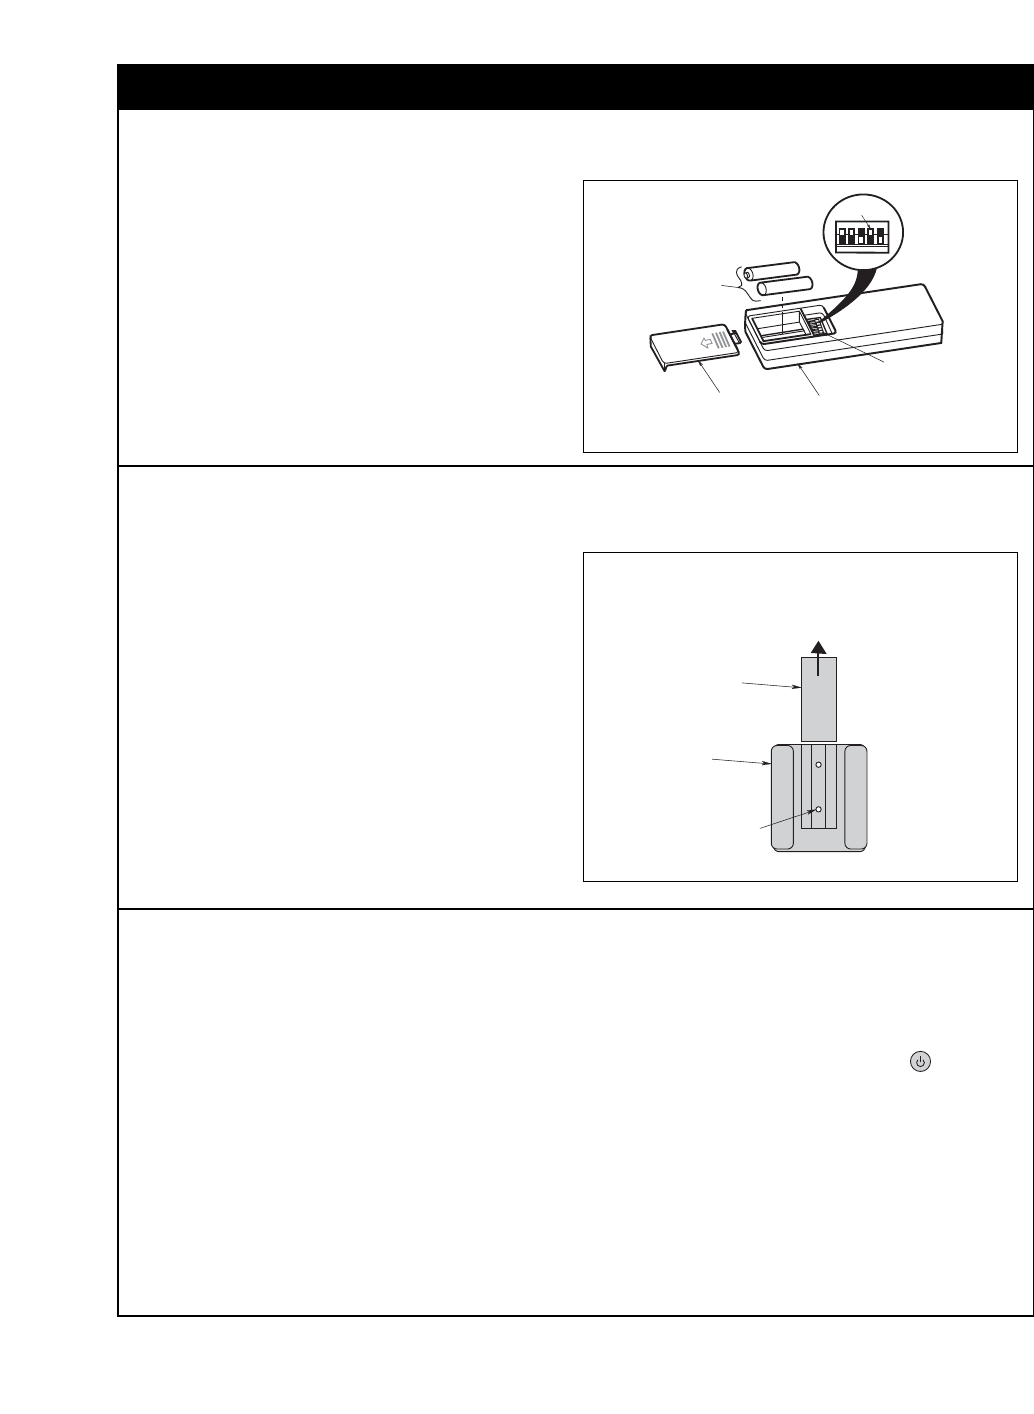
REMOTE CONTROL
BATTERY
COMPARTMENT
COVER
TWO AAA
BATTERIES
REMOTE CONTROL
LEVERS
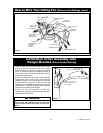
1
234
5
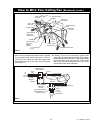
Figure 27
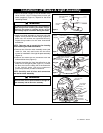
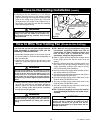
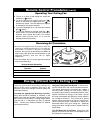
TO INSTALL BRACKET TO WALL:
SLIDE THE COVER UP TO EXPOSE THE SCREW
HOLES FOR INSTALLATION
COVER
WALL
BRACKET
SCREW
HOLES (2)
Figure 28
1. Remove the battery cover by pressing firmly below
the arrow and sliding the cover off the control
(Figure 27).
2. Install two AAA alkaline batteries and reinstall the
battery cover.
A storage bracket is provided for holding your remote
control when not in use. If you desire to use the
bracket, install it on a wall that is away from excess
heat or humidity (Figure 28).
Installation of Storage Bracket for Remote Control
Installation of Battery
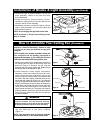
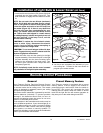
Setting Operating Frequency of Remote Control
Your remote control has code switches which must be
set in one of 32 possible code combinations
(Figure 29). The five levers (numbered 1, 2, 3, 4,
and 5) on the switches are factory-set in the ON (up)
position. Change the switch settings as follows
(Figure 29):
1. Slide the five switch levers in the remote control to
your choice of ON (up) or down positions. Use a
ball-point pen or small screwdriver and slide the
levers firmly up or down.
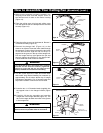
2. Restore electrical power to the ceiling fan at the
circuit breaker panel or fuse box.
3. Within 1 minute of restoring electricity, push and
hold the remote control OFF button ( ) for 3 to 5
seconds to set the code in the receiver. The fan's
lights will blink several times to confirm the fan is
programmed.
NOTE: The ceiling fan receiver will not respond to
transmitter commands if the transmitter’s
frequency switch settings are changed without
reprogramming the receiver. Program the receiver
to the new frequency by repeating the “Setting
Operating Frequency of Remote Control” and
“High Speed Conditioning” instructions.