


Dayton Operating Instructions and Parts Manual
6
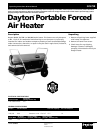
Dayton Portable
Forced Air Heater
®
3VG79B
7. Place setscrew on flat of shaft. Tighten
setscrew firmly (40-50 inch-pounds).
8. Replace fan guard and upper shell.
AIR OUTPUT, AIR INTAKE, AND LINT
FILTERS
1. Remove upper shell (See Figure 5, page 5).
2. Remove filter end cover screws using
5/16" nut-driver (See Figure 7).
3. Remove filter end cover.
4. Replace air output and lint filters.
5. Wash or replace air intake filter (See
Preventative Maintenance Schedule,
page 9).
6. Replace filter end cover.
7. Replace fan guard and upper shell.
IMPORTANT: Do not oil filters.
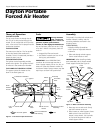
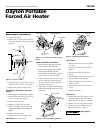
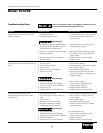
Fan
Setscrew
Motor
Shaft
Motor
Flush
Figure 6 - Fan Cross Section
5. Dry fan thoroughly.
6. Replace fan on motor shaft. Place fan
hub flush with end of motor shaft (See
Figure 6).
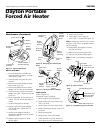
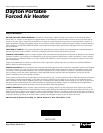
PUMP PRESSURE ADJUSTMENT
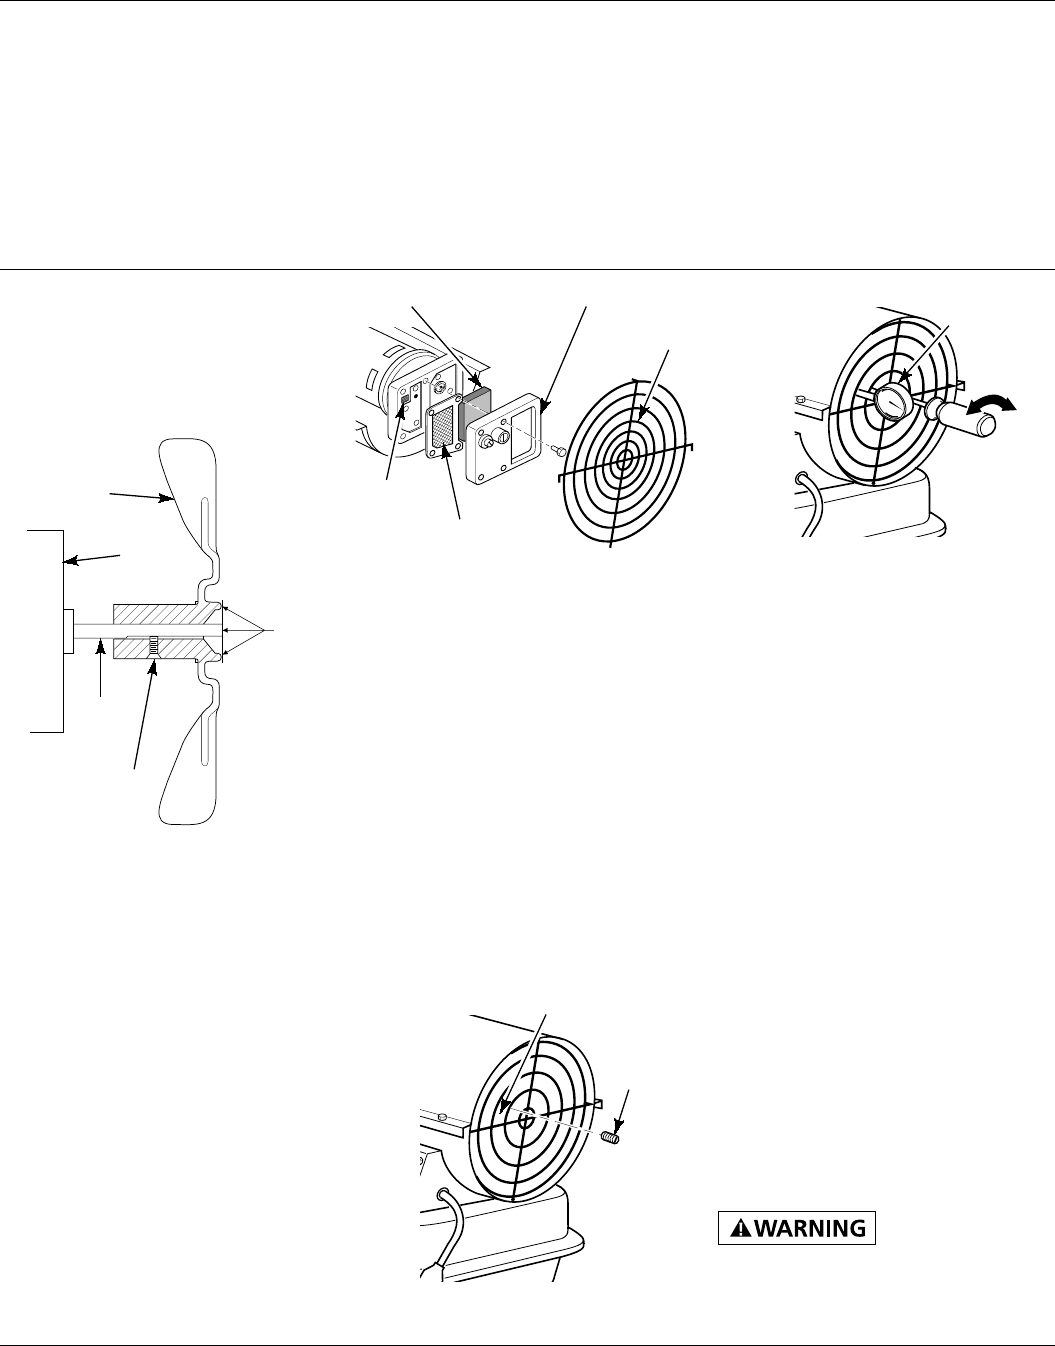
1. Remove pressure gauge plug from
filter end cover (See Figure 8).
2. Install accessory pressure gauge (Part
Number HA1180) (See Figure 9).
3. Start heater (See Operation, page 5).
Allow motor to reach full speed.
4. Adjust pressure to 6.2 psi. Turn relief
valve to right to increase pressure.
Turn relief valve to left to decrease
pressure (See Figure 9).
5. Stop heater. Remove pressure gauge.
Replace pressure gauge plug in filter
end cover.
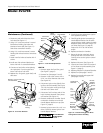
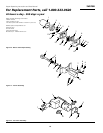
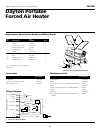
Figure 7 - Air Output, Air Intake, and Lint
Filters
Fan Guard
Air Intake Filter
Air Output
Filter
Filter End Cover
Lint Filter
Pressure
Gauge Plug
Figure 8 - Pressure Gauge Plug Removal
Relief Valve
Figure 9 - Adjusting Pump Pressure
Pressure
Gauge
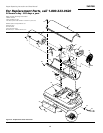
FUEL FILTER
1. Remove side cover screws using 5/16"
nut-driver.
2. Remove side cover (See Figure 10,
page 7).
3. Pull lower fuel line off fuel valve
fitting.
4. Carefully pry bushing, lower fuel line,
and fuel filter out of fuel tank.
5. Wash fuel filter with clean fuel and
replace in tank.
6. Attach lower fuel line to fuel valve
fitting.
7. Replace side cover.
High Voltage.
FUEL VALVE
1. Remove side cover (See Figure 10), fan
guard, and upper shell (See Figure 5,
page 5) screws using 5/16" nut-driver.
2. Remove fan (See Fan, pages 5 and 6).
3. Pull lower fuel line off the fuel valve
fitting (See Figure 11, page 7).
Maintenance (Continued)