


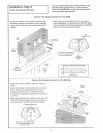

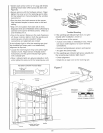
Figures2 and3 showassemblyofbracke_and
°C" wrap based on the recommended instafiation of
the sensors as shown on page 21
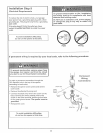
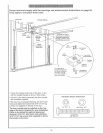
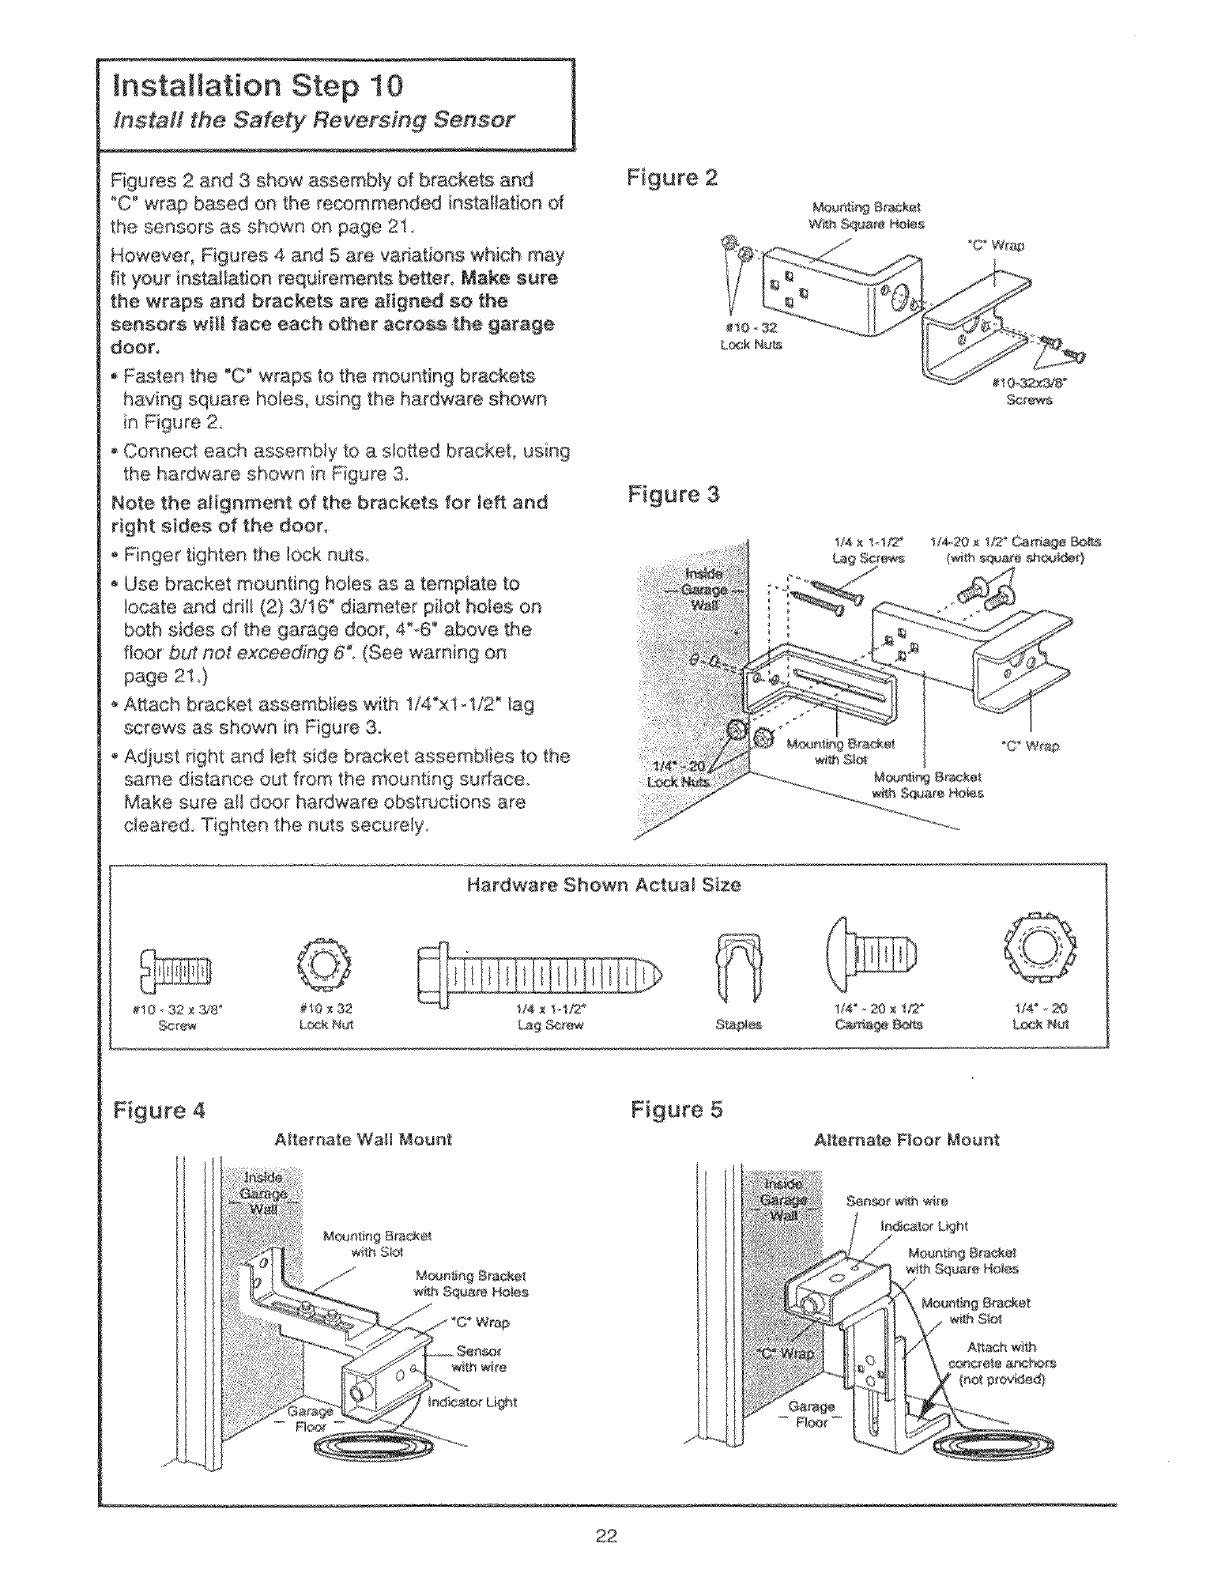
However, Figures 4 and 5 are variations which may
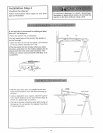
ins_i_ation requirements baser Make sure
the wraps and brackets are align_ so the
sensors will face each other across _e garage
door,
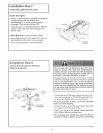
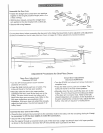
Fasten the "C_ wraps to the mounting brackets
having square holes, using the hardware shown
n Figure 2
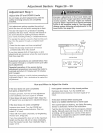
Connect each assembly to a slo_ed bracket, using
the hardware shown in Figure 3_
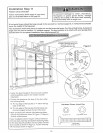
Note the alignment of the brackets for left and
right stdes of the door_
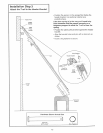
, Finger tighten the lock nuts
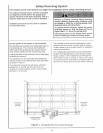
o Use bracket mounting holes as a template to
locate and drill (2) 3/16 _diameter pilot holes on
both sides d the g_age door, 4%6` above the
floor but not exceeding 6t (See warning on
AEach bracket assemblies with 1/4"xl-1/2 __ag
_crews as shown in Figure 3.
Adiust dght and le_ side bracket assemblies to the
same distance out from the mounting sudace.
Make sure all door hardware obstructions are
cleared Tighten the nuts securely.
Figure 2
Figure 3
Me#_tk_ Br_k_t
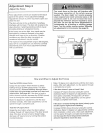
Hardware Shown Actual Size
#10 32 _ :_8" #10 x 32 1/4 x 1_1_ 1/4" -
_o_& Nut
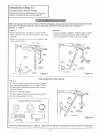
A_ternate Wall Mount
_i_h Sq_e Ho e8
f f:_ A,¢> &/ wlb_te
: r :i ' ,o
"Z_:....
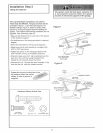
Figure 5
A_temate FIoo_ Mount
22