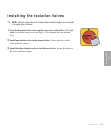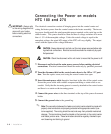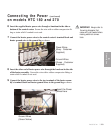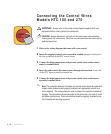
Connecting the HTC Heater
Assembly to the Dryer or Blower
and Hopper
The inlet of the HTC heater assembly should be plumbed to the air source (usually
a blower or central dehumidification dryer). This inlet hose should be at least the
size of the heater inlet (lower) connection size (hoses provided). Also, the hose
should be as short and straight as possible to prevent unnecessary frictional losses.
This hose is the un-insulated and will normally be at ambient temperature plus 50
to 90°F. This hose should be properly supported so no weight will be on the
heater inlet connection.
The connection between the heater assembly outlet and the hopper should
be made with the supplied insulated hose. The insulation is important from
an energy standpoint and for personnel protection. Be careful not to block
off any heater sensor mounting locations.
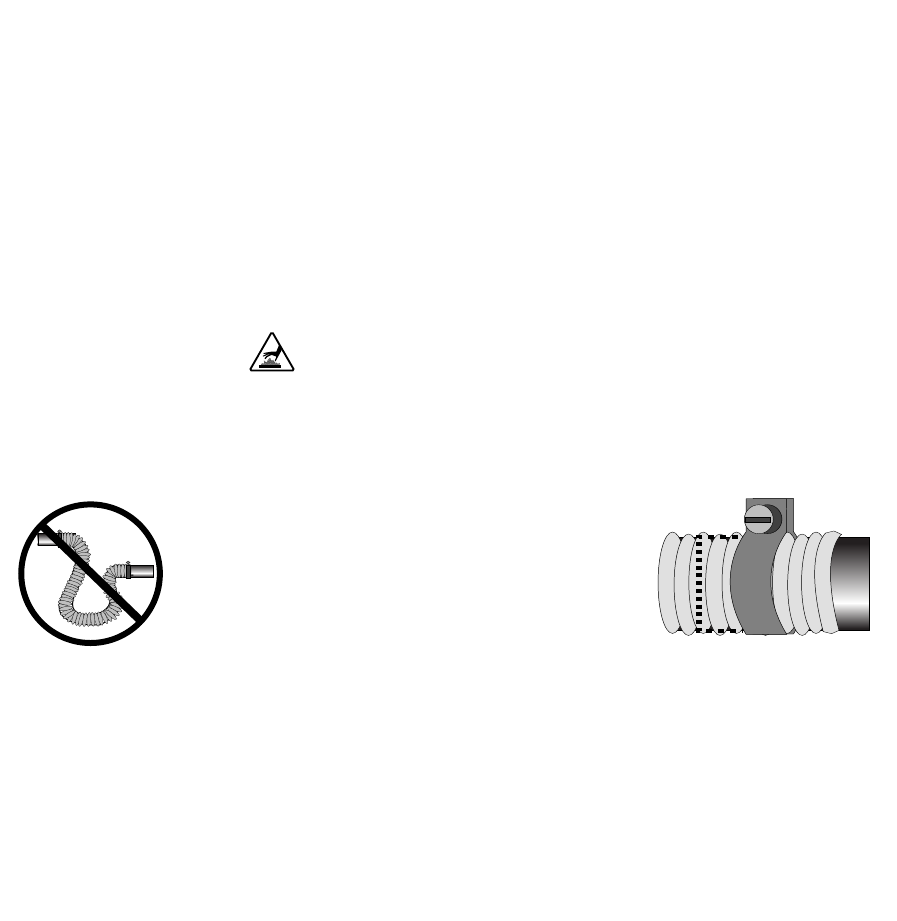
Make sure all hoses are securely clamped to
prevent wasteful leaking. The hoses should be
routed neatly and supported where possible to
prevent undue stress on the heater and hopper
assemblies. Also, the bends should be made
with gradual radiuses. Sharp turns will cause
undue pressure drop.
✒
TIP: Units with elliptical or oval shaped inlets or outlets require forming the hose to fit
this shape. When tightening the hose clamp, position the screw head on the long radius
portion of the duct.
Connect the filter sock or optional dust collector or cyclone to the hopper dis-
charge. Verify the connections are secure and do not leak.
NOTE: Do not allow the
flexible hoses to kink or
crimp.
✐
3-6 l Installation


