


10
7
SERVICE FUNCTIONS
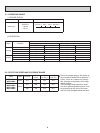
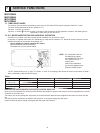
7-2. P.C. BOARD MODIFICATION FOR INDIVIDUAL OPERATION
A maximum of 4 indoor units with wireless remote controllers can be used in a room.
In this case, to operate each indoor unit individually by each remote controller, P.C. boards of remote controller must be
modified according to the number of the indoor unit.
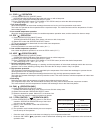
7-1. TIMER SHORT MODE
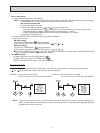
For service, set time can be shortened by short circuit of JPG and JPS the indoor electronic control P.C. board.
The time will be shortened as follows. (Refer to 9-7.)
Set time : 1-minute 1-second
Set time : 3-minute 3-second (It takes 3 minutes for the compressor to start operation. However, the starting time is
shortened by short circuit-of JPG and JPS.)
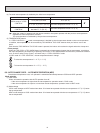
How to set the remote controller exclusively for particular indoor unit
After you turn the breaker ON, the first remote controller that sends the signal to the indoor unit will be regarded as the remote
controller for the indoor unit.
The indoor unit will only accept the signal from the remote controller that has been assigned to the indoor unit once they are
set.
The setting will be cancelled if the breaker has turned off, or the power supply has shut down.
Please conduct the above setting once again after the power has restored.
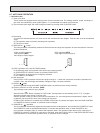
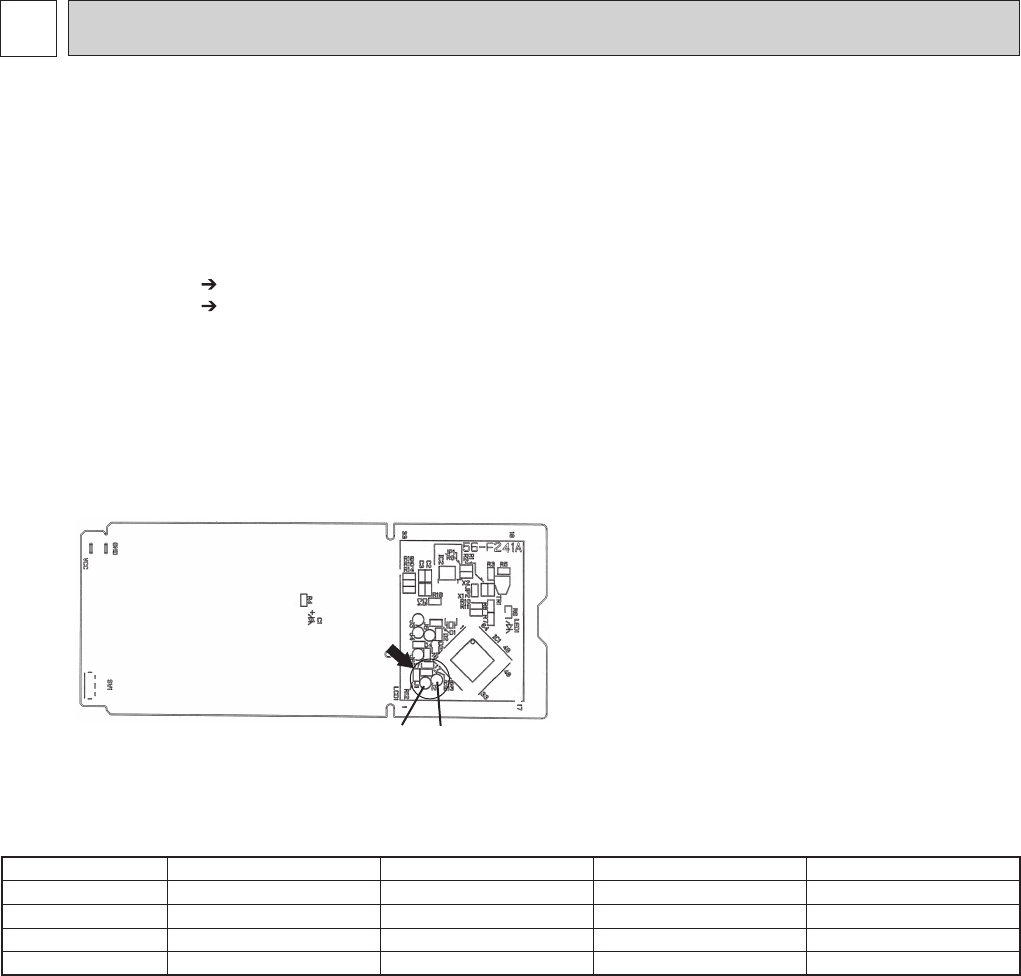
How to modify the remote controller P.C. board
Remove batteries before modification.
The board has a print as shown below :
The P.C. board has the print “J1” and “J2”. Solder “J1” and “J2” according to the number of indoor unit as shown in Table 1.
After modification, press the RESET button.
NOTE : For modification, take out
the batteries and press
the OPERATE/STOP (ON/
OFF) button twice or 3
times at first.
After finish modification,
put back the batteries then
press the RESET button.
J2
J1
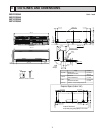
MSZ-D30NA
MSZ-D36NA
MSY-D30NA
MSY-D36NA
Table 1
1 unit operation 2 units operation 3 units operation 4 units operation
No. 1 unit No modifi cation Same as at left Same as at left Same as at left
No. 2 unit — Solder J1 Same as at left Same as at left
No. 3 unit — — Solder J2 Same as at left
No. 4 unit — — — Solder both J1 and J2