


56
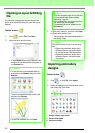
Arranging Embroidery Designs (Layout & Editing)
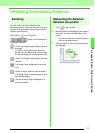
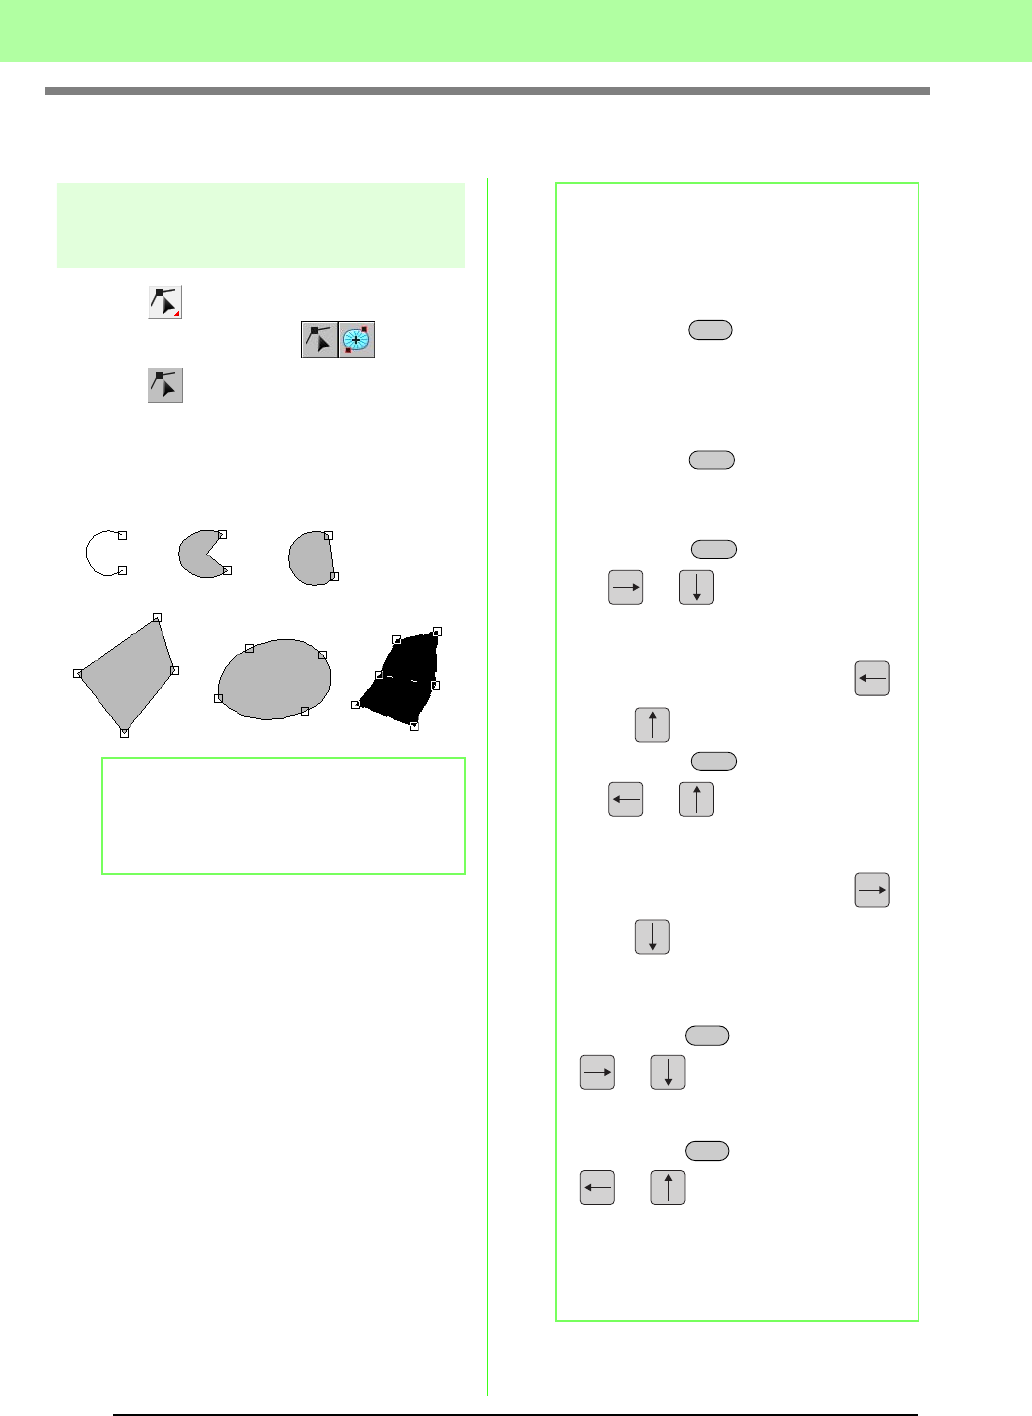
Reshaping Embroidery Patterns
Selecting points
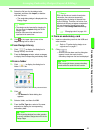
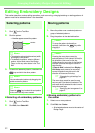
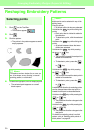
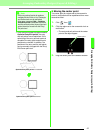
1. Click on the Tool Box.
→ Two buttons appear .
2. Click .
3. Click the pattern.
→ The points in the pattern appear as small
empty squares.
4. To select a single point, click an empty square.
• The selected point appears as a small
black square.
b Memo:
The pattern can be a broken line, a curve, an
arc, a fan shape, an arc & string, a manual
punching pattern, or stitch data.
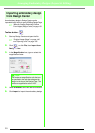
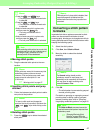
b Memo:
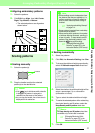
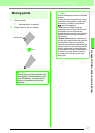
Multiple points can be selected in any of the
following ways.
• Drag the pointer.
→
All points within the box are selected.
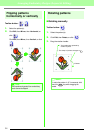
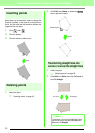
• Hold down the key while clicking the
points.
→
Each point that is clicked is added to
the selection.
→
To deselect a point, click the selected
point.
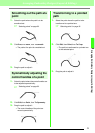
• Hold down the key while clicking the
points.
→
All points between those that were
clicked are selected.
• Hold down the key while pressing
the or key.
→
The next point toward the end point is
added to the selection.
→
To deselect a point, press the
or key.
• Hold down the key while pressing
the or key.
→
The next point toward the start point is
added to the selection.
→
To deselect a point, press the
or key.
In addition, the direction for selecting points
can be changed toward the start point or
toward the end point as described below.
• Hold down the key while pressing the
or key.
→
The selection direction changes to the
end point.
• Hold down the key while pressing the
or key.
→
The selection direction changes to the
start point.
• For details on selecting points in a stitch
pattern, refer to “Selecting stitch points of
stitch pattern” on page 62.
Ctrl
Shift
Shift
Shift
Ctrl
Ctrl