


115
Arranging Embroidery Designs (Layout & Editing)
Arranging Embroidery Designs (Layout & Editing)
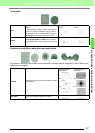
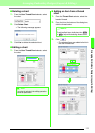
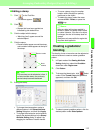
■ Editing a stamp
1. Click on the Tool Box.
→ Two buttons appear: .
2. Click .
→ Stamps that have been applied are
indicated by pink dotted lines.
3. Click the object with the stamp.
→ “Marching lines” appear around the
selected object.
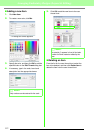
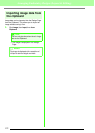
4. Click the stamp.
→ Round handles appear around the stamp,
and a rotation handle appears at the top of
the stamp.
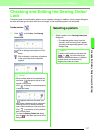
5. Editing the stamp.
• To change the stamp pattern, select a
different pattern in the Stamp Attribute
Setting dialog box, and then click Apply.
• To change the stamp size and orientation,
specify the desired settings in the Stamp
Attribute Setting dialog, or adjust it by
dragging the handles or rotation handle.
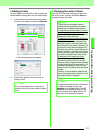
• To move a stamp, drag it to another
location within the object or partially
positioned on the object.
• To delete the stamp, select the menu
command Edit – Delete, or press the
key.
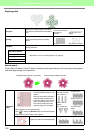
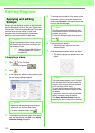
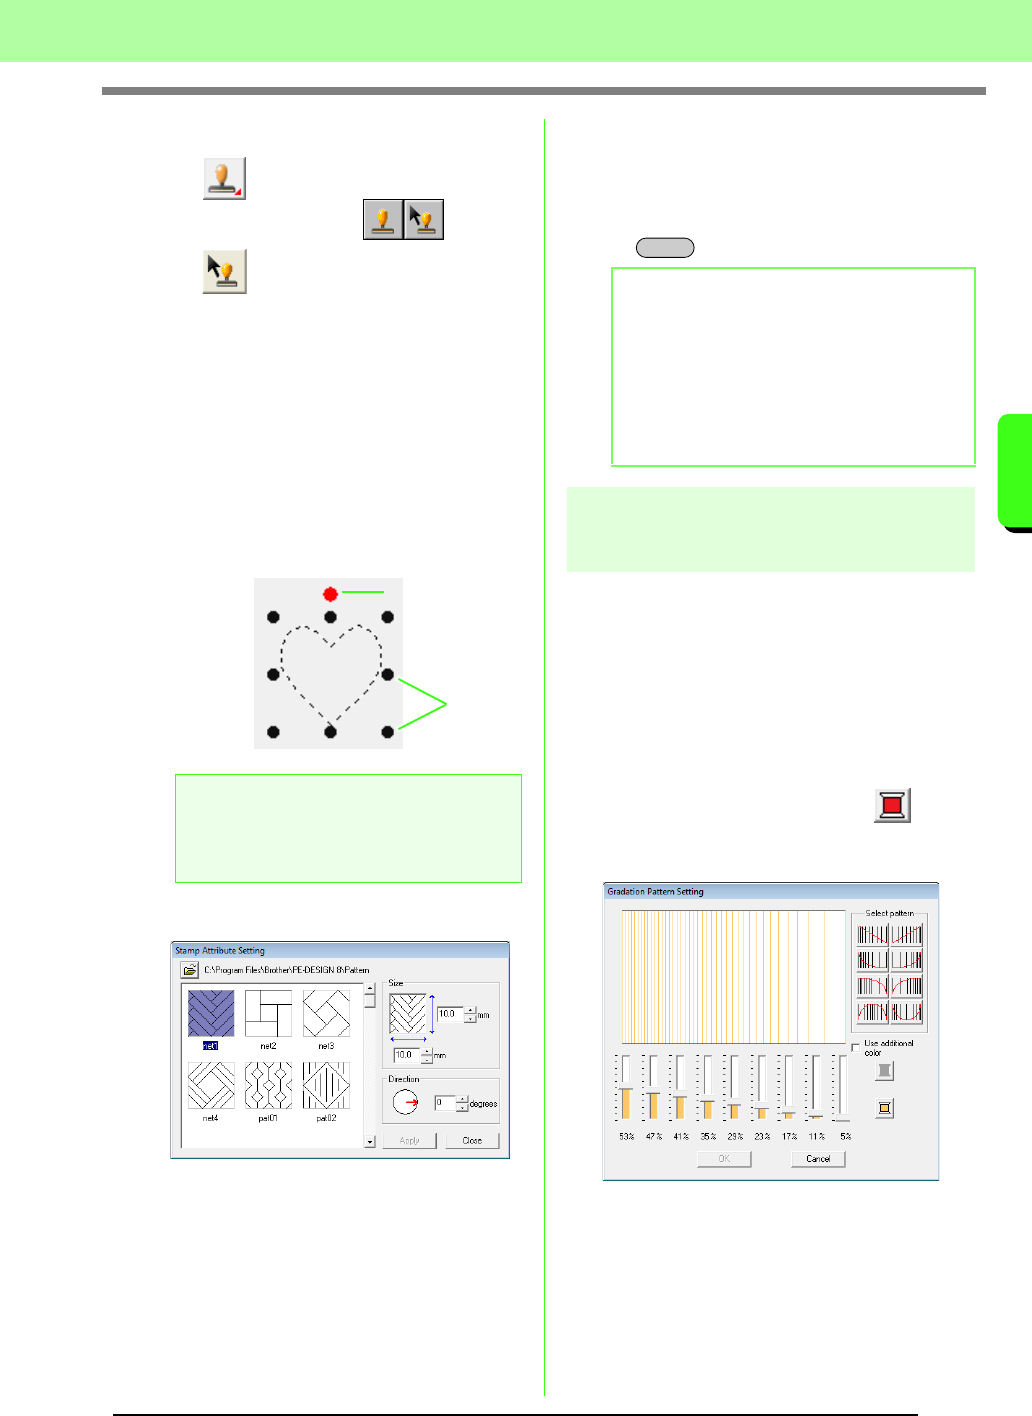
Creating a gradation/
blending
The density of one or two colors can be adjusted at
various locations to create a custom gradation
pattern.
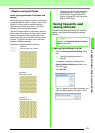
1. In Expert mode of the Sewing Attribute
Setting dialog box, select the Gradation
check box under Region sew.
2. Click Pattern.
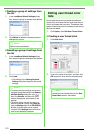
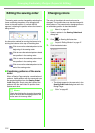
3. To change the thread color, click . Select
a color in the Thread Color dialog box that
appeared, and then click OK.
4. To select a preset gradation pattern, click the
desired pattern under Select pattern.
a Note:
Only one stamp can be selected at a time. If
you select another stamp, the previously
selected stamp becomes deselected.
Rotation handle
Scale
handles
b Memo:
• When an object with a stamp applied is
moved or rotated, the stamp is also moved
or rotated. However, if the size of an object
is changed, the size of the stamp does not
change.
• Stamps are only sewn within the region that
they have been applied to.
Delete