


52
Arranging Embroidery Designs (Layout & Editing)
Editing Embroidery Designs
This section describes various editing operations, such as moving, enlarging/reducing or rotating patterns. A
pattern must first be selected before it can be edited.
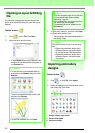
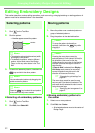
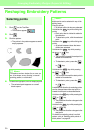
Selecting patterns
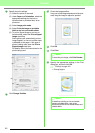
1. Click on the Tool Box.
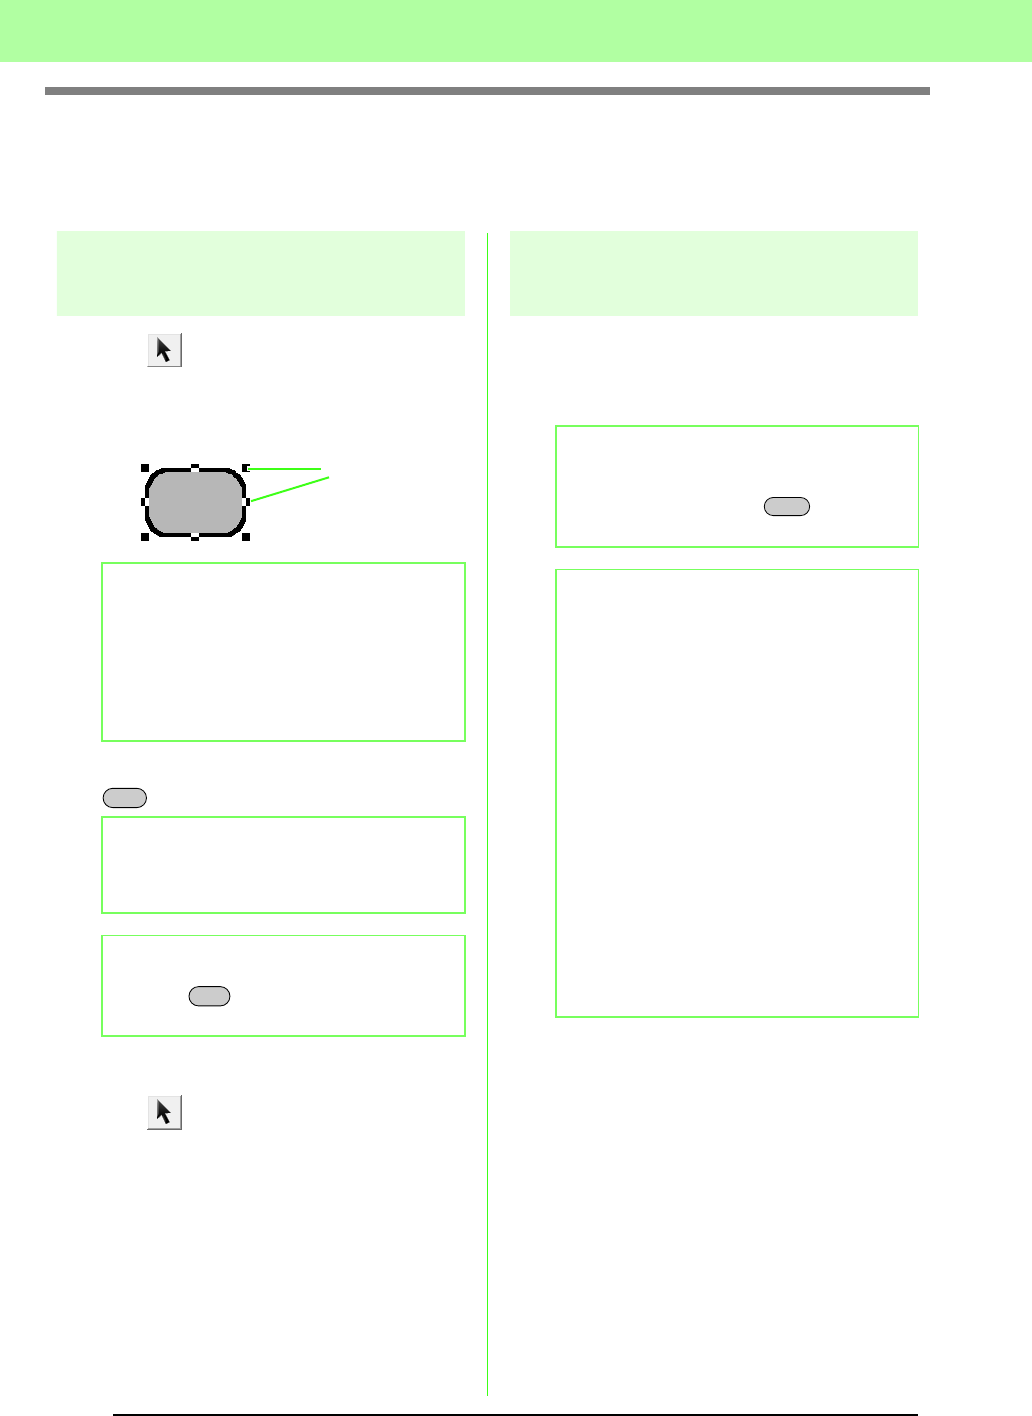
2. Click the pattern.
→ Handles appear around the pattern.
3. To select an additional pattern, hold down the
key and click the other pattern.
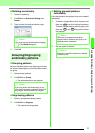
■ Selecting all embroidery patterns
1. Click on the Tool Box.
2. Click Edit, then Select All.
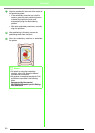
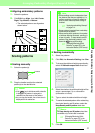
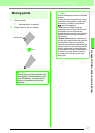
Moving patterns
1. Move the pointer over a selected pattern or
group of selected patterns.
2. Drag the pattern to the desired location.
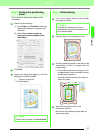
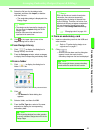
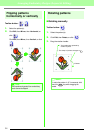
■ Moving embroidery patterns to
the center
1. Select one or more patterns.
2. Click Edit, then Center.
→ All selected patterns move to the center of
Design Page.
b Memo:
• The status bar shows the dimensions (width
and height) of the pattern.
• To deselect the pattern, select a different
pattern, click a blank area of the Design
Page, or click any other button in the Tool
Box.
b Memo:
You can also select patterns by dragging the
pointer across the pattern.
b Memo:
Press the key to select the next pattern
in the order that they were created.
Handles
Ctrl
Tab
b Memo:
• To move the pattern horizontally or
vertically, hold down the key while
dragging it.
b Memo:
• Pressing the arrow keys moves the
selected pattern 0.5 mm (about 0.02 inch) in
the direction of the arrow on the key.
Holding down the arrow key for the desired
direction continues moving the outline in
that direction.
• If
Snap to Grid
is selected from
Display :
Grid setup
, each press of an arrow key
moves the pattern one grid mark in the
direction of the arrow on the key.
c
“Changing the grid settings” on
page 69.
• The arrow keys cannot be used to move
text on a path if just the text is selected. The
path must also be selected in order to move
using the arrow keys.
c
“Specifying text arrangement” on
page 87.
Shift