


133
Arranging Embroidery Designs (Layout & Editing)
Arranging Embroidery Designs (Layout & Editing)
■
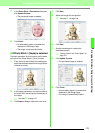
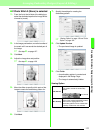
If Photo Stitch 2 (Mono) is selected
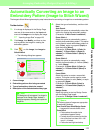
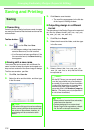
1. From the list at the left side of the dialog box,
select the desired shape that the image will be
trimmed to (mask).
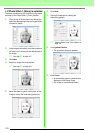
2. In the image preview box, move the handles of
the mask until it surrounds the desired part of
the image.
c
See step
2.
on page 127.
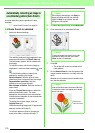
3. Click Next.
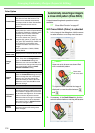
4. Adjust the image size and position.
c
See step
4.
on page 128.
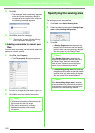
5. Move the slider to specify which parts of the
image to create the embroidery pattern for.
6. Click Next.
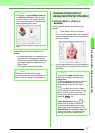
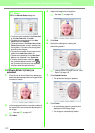
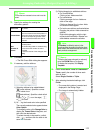
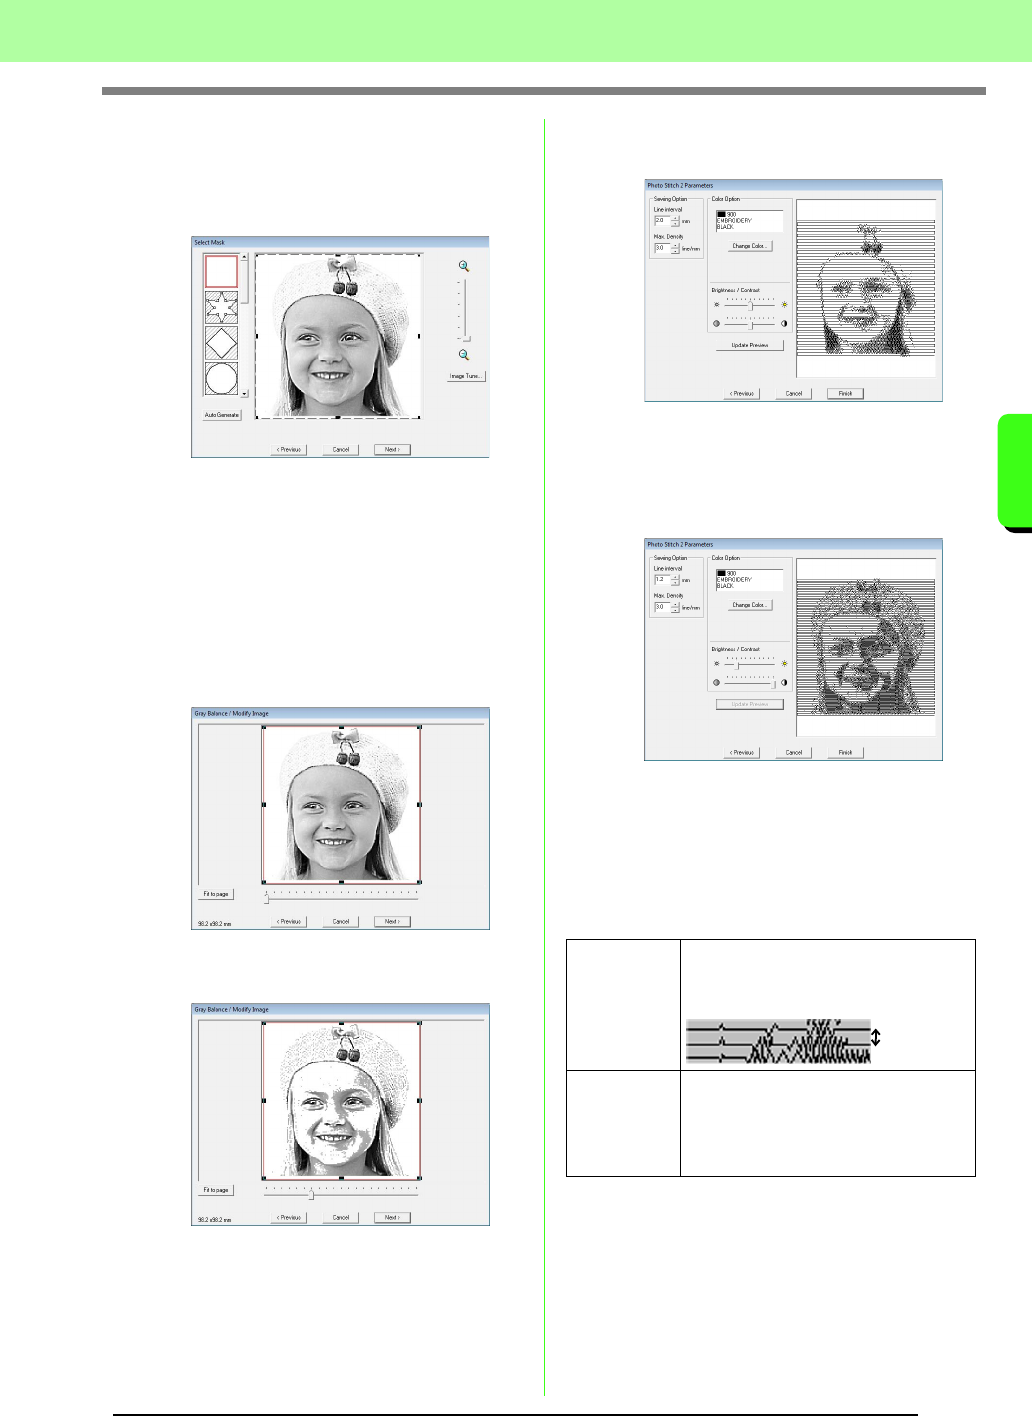
7. Specify the settings for creating the
embroidery pattern.
c
“Sewing Option” on page 133 and “Color
Option” on page 134.
8. Click Update Preview.
→ The previewed image is updated.
9. Click Finish.
→ An embroidery pattern is created and
displayed in the Design Page.
→ The image is automatically hidden.
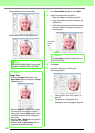
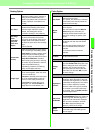
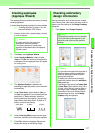
Sewing Option
Line interval
Specifies the interval between parallel
lines used to create the embroidery
pattern.
Max. Density
Specifies the maximum density for
areas of the created embroidery pattern
sewn with the zigzag stitch. The
embroidery pattern will be created with
a density smaller than that set here.
Line interval