RPX ASSEMBLY INSTRUCTIONS
41
Clean and Test Cooler.
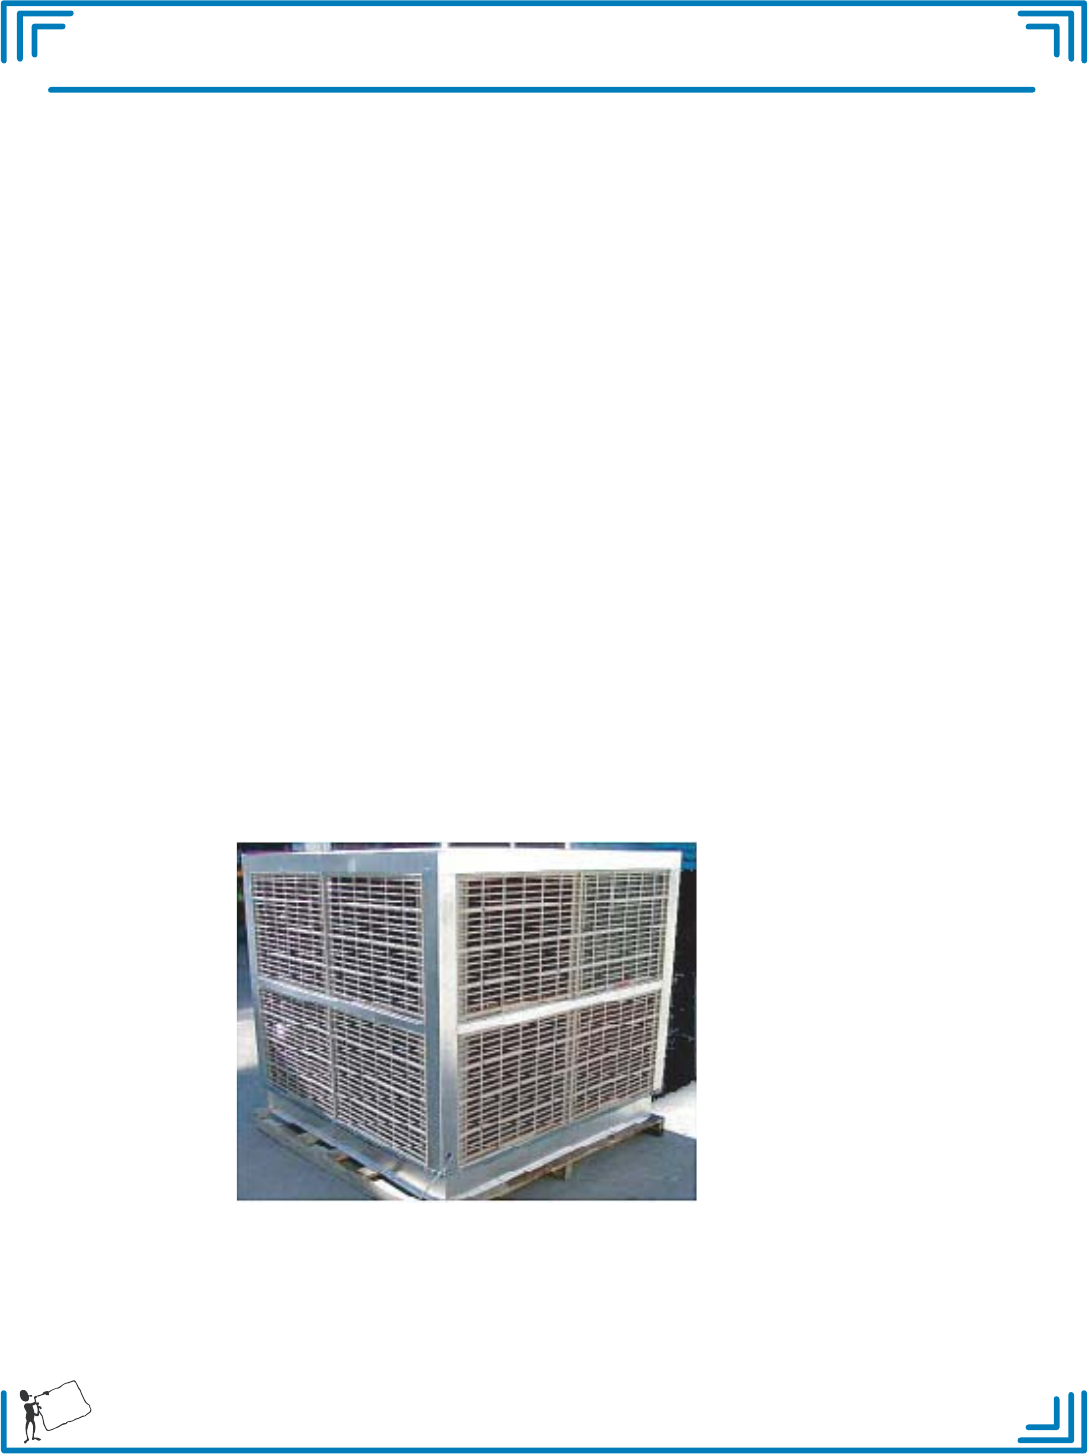
Completed RPX 900D
Step 1: Check that all fasteners are tightly secured,
and all riveting is completed.
Step 2: Remove all plastic covering from panels.
Step 3: Vacuum clean inside tank.
Step 4: Use cloth and suitable cleaning solution,
wipe down inside and outside of cooler.
Step 5: Set overloads for High and Low speeds,
as per electric motor ratings.
Step 6: Test cooler for normal running conditions.
refer to Appendix 1 - RPX Test Procedure
Step 7: Apply Serial Number to unit.
Step 8: Fit pads to cooler.


