Optional Equipment 43
© Travis Industries 93508061 4050526
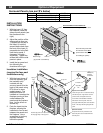
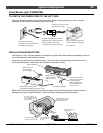
Outside Air Boot Installation (Part number 99200134)
The outside air boot routes outside air to the stove for combustion. Refer to the section "Outside Air
Requirements" on page 11 for installation concerns. The directions below detail installation.
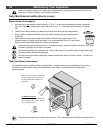
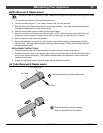
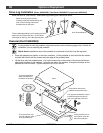
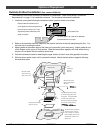
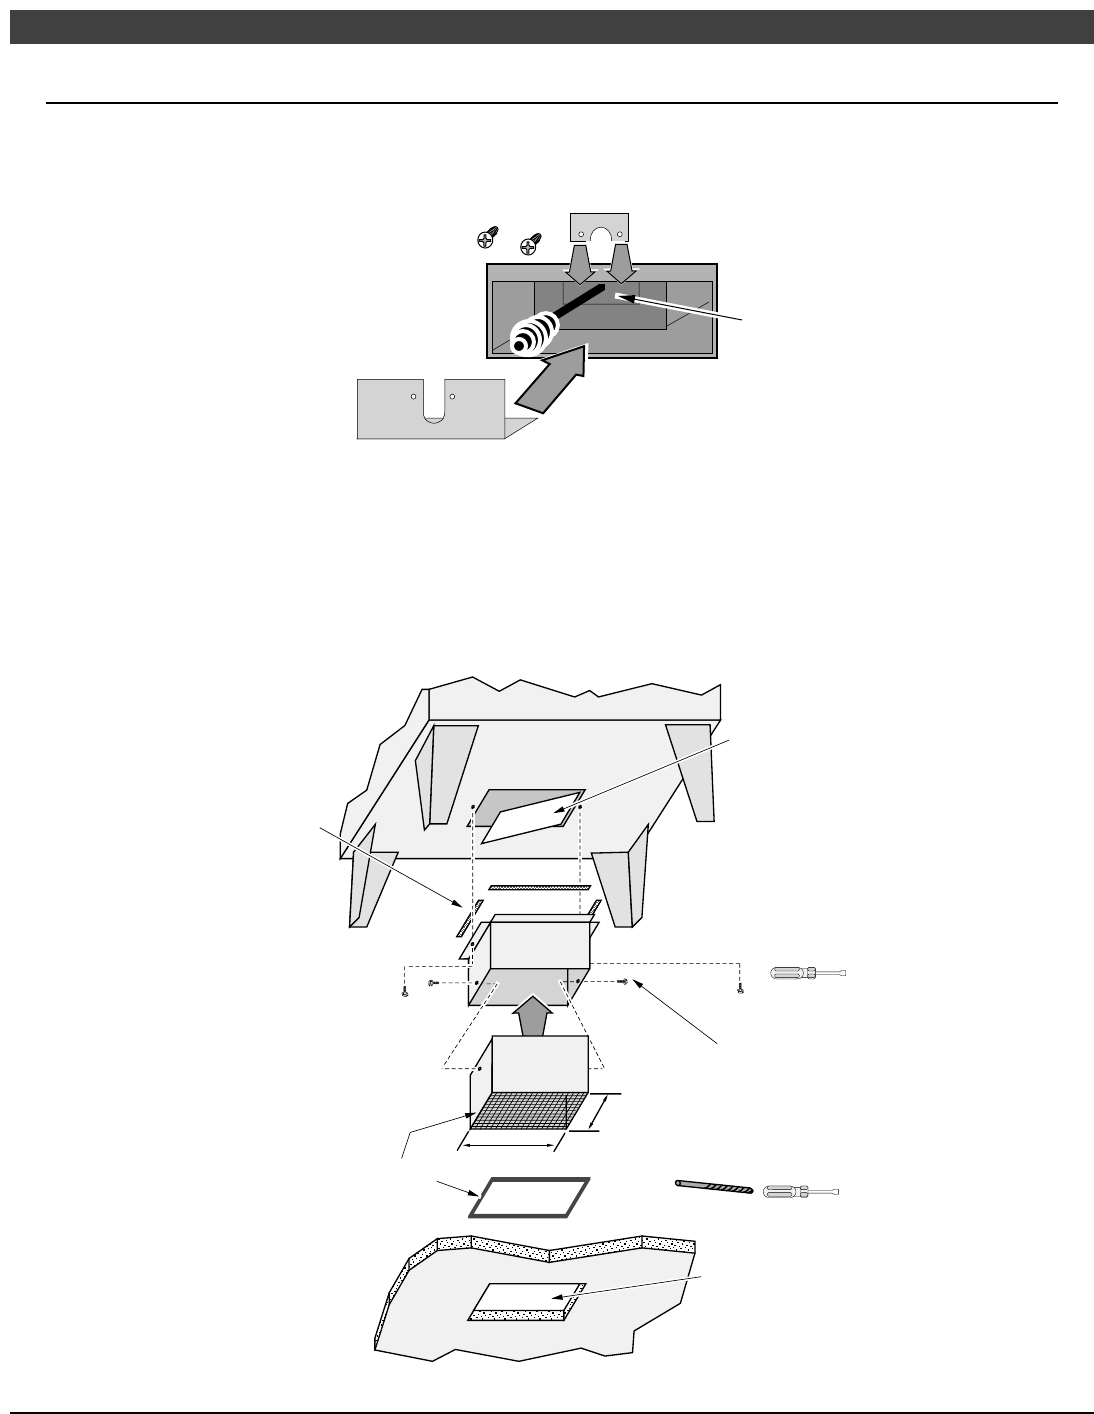
1. Install the cover plate following the directions below (use the correct cover plate).
The cover plate has a clip which attaches
it underneath the air control.
Remove the two screws on the
cover plate to remove the piece that
fits over the air control rod. Then
replace the piece when the cover
plate is in place.
Air Control Rod
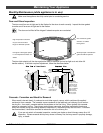
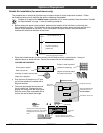
2. Refer to the illustration below to determine the location and size of the hole penetrating the floor. Cut
the hole prior to locating the stove.
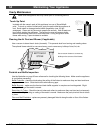
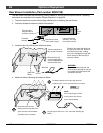
3. Attach gasket to the bottom edge of the lower air boot section (near the screen). Attach gasket on top
of the flanges on the upper air boot section. Slide the two sections together with both seams facing
the rear (do not attach the two sections at this time).
4. Follow the directions below for attaching the upper section of the air boot (with gasket) to the stove.
5. Slide the lower section down until it contacts the hearth. Attach the two sections together following
the directions below
Bottom of Stove
8-7/8”
5-1/8”
Attach the air boot with
the two screws included
with the kit.
1/4" Nutdriver
Attach gasket to the bottom
edge of the air boot.
Attach the included
gasket to all four top
edges of the air boot.
Use the included screws to attach
the two telescoping portions of air
boot together. The included drill bit
should be used to drill the hole.
Make sure the air boot is expanded
to the correct size before drilling.
5/16" Nutdriver
9/64” Drill Bit
Floor (and hearth)
The hole in the floor (and hearth)
must be a minimum 16 square
inches. It should be 1/2” smaller
than the footprint of the air boot in
each dimension to allow for the
gasket to seal.
Use a
screwdriver to
pry out the
knock-out.


