6
SECTION B
Jacketed Cable Preparation
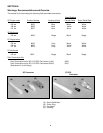
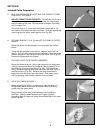
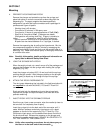
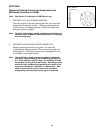
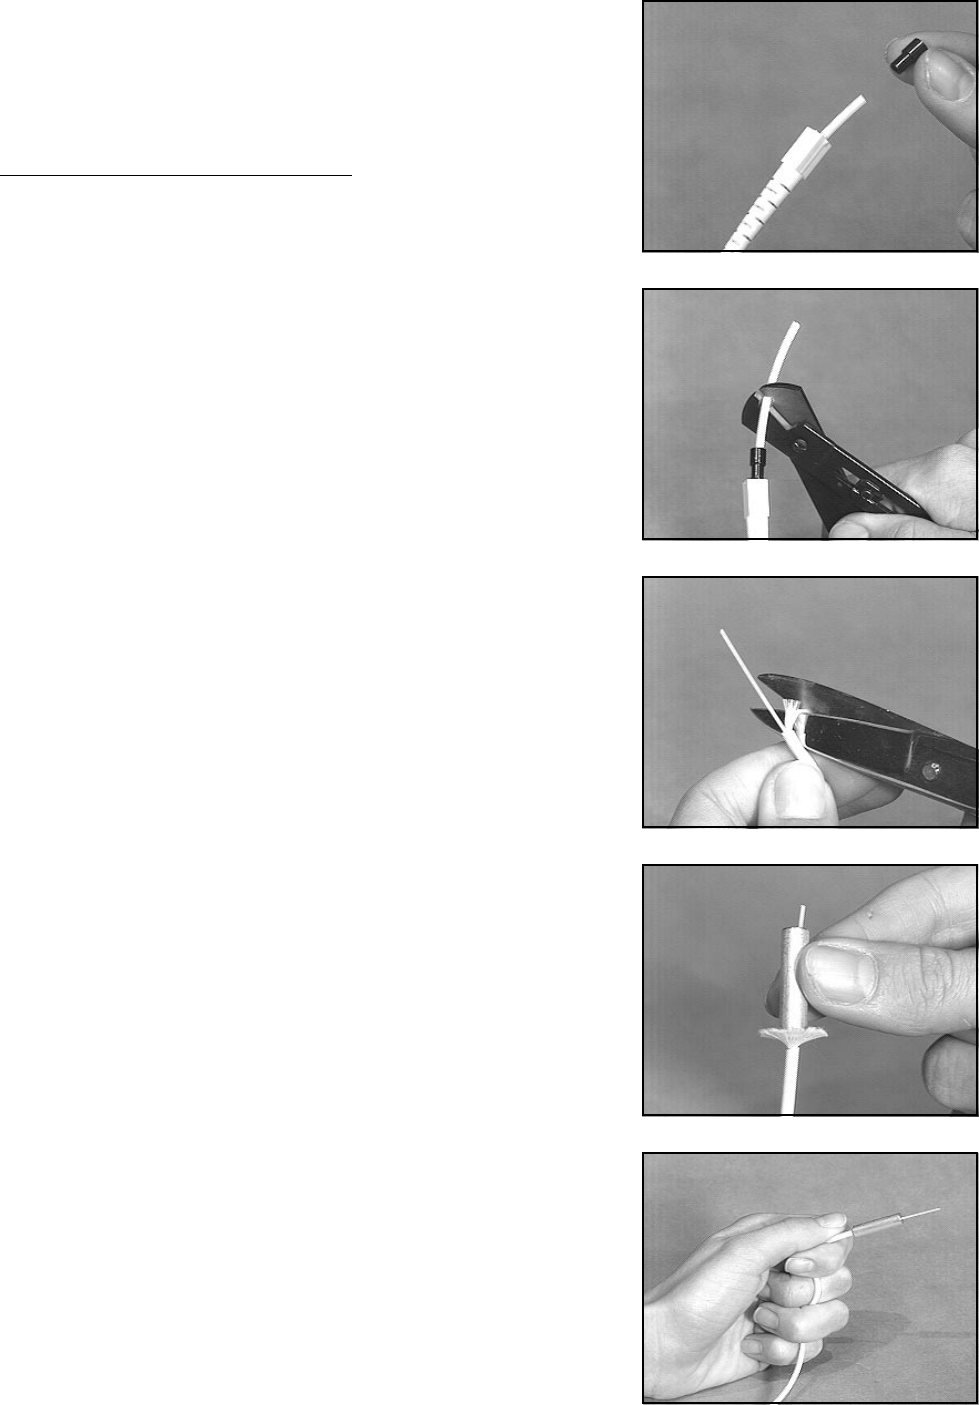
5. SLIP THE STRAIN RELIEF BOOT AND THE CORRECT CRIMP
RING ONTO THE CABLE
DO NOT FORGET TO DO THIS STEP. The boot will not fit over a
mounted connector assembly so it is essential that it be slipped
onto the cable at this time. Slip the smaller diameter of the boot
onto the cable first.
Red crimp rings for 2.4 mm cable and black crimp rings for 3.0
mm cable are provided with each connector. Slide the appropriate
crimp ring onto the cable, small opening first (Fig. B2).
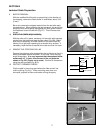
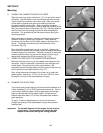
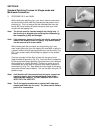
6. CUT AND REMOVE 1 3/16" (30 mm) OF THE CABLE'S OUTER
JACKET
Adjust the yellow handled stripper to cut the jacket and not the
Kevlar
1
.
Using the ruler supplied in the field kit, measure and mark the
cable 1 3/16" (30 mm) from the end of the jacket. Close the yellow
handled stripper on the cable until the outer jacket is cut (Fig. B3).
Remove the jacket with your fingers.
Fig. B2
Fig. B3
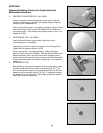
Fig. B4
Fig. B5
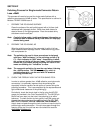
Fig. B6
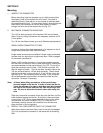
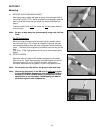
7. CUT AND FLARE THE STRENGTH MEMBERS
Gather the Kevlar and pull it off to one side giving it a slight twist.
Using the serrated scissors cut the Kevlar leaving about 5/16" (8
mm) sticking out of the outer jacket (Fig. B4). Slip the smaller
hole of the blue stripping collar over the buffer and flare out all of
the Kevlar evenly (Fig. B5). Reverse the collar and slide the
larger hole over the buffer and outer jacket. Push down gently
until the stripping collar folds the Kevlar back and seats.
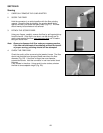
8. HOLD THE CABLE SECURELY
Before stripping the buffer it is important to hold the cable in a
configuration which will prevent the buffered fiber from being
pulled out of the outer jacket.
Grasp the end of the outer jacket between your thumb and
forefinger. Wind the cable between your fingers (Fig.B6).
Squeezing with all fingers will clamp the buffered fiber in the outer
jacket (Fig. B6).


