5
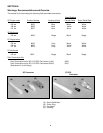
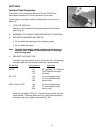
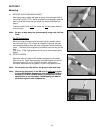
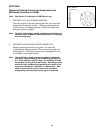
Fig. B1
SECTION B
Jacketed Cable Preparation
This section is for mounting the 3M brand SC and FC/PC3 field-
mountable connectors on 2.4 mm cable and 3.0 mm cable.
The process for mounting on 900 ϑm buffered fiber can be found in
Section H.
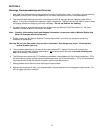
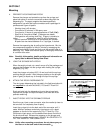
1. TURN THE OVEN ON
When the oven is heated to the proper temperature the heater
light will go off.
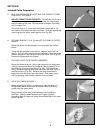
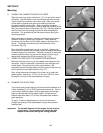
2. ASSEMBLE THE CURING STAND ACCORDING TO FIGURE B11
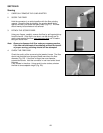
3. PREPARE CONTAINERS AS LABELED
a. Fill one bottle with isopropyl alcohol (reagent grade).
b. Fill one bottle with water.
Note: Carefully follow safety, health and disposal information on
container label or Material Safety Data sheet for isopropyl
alcohol being used.
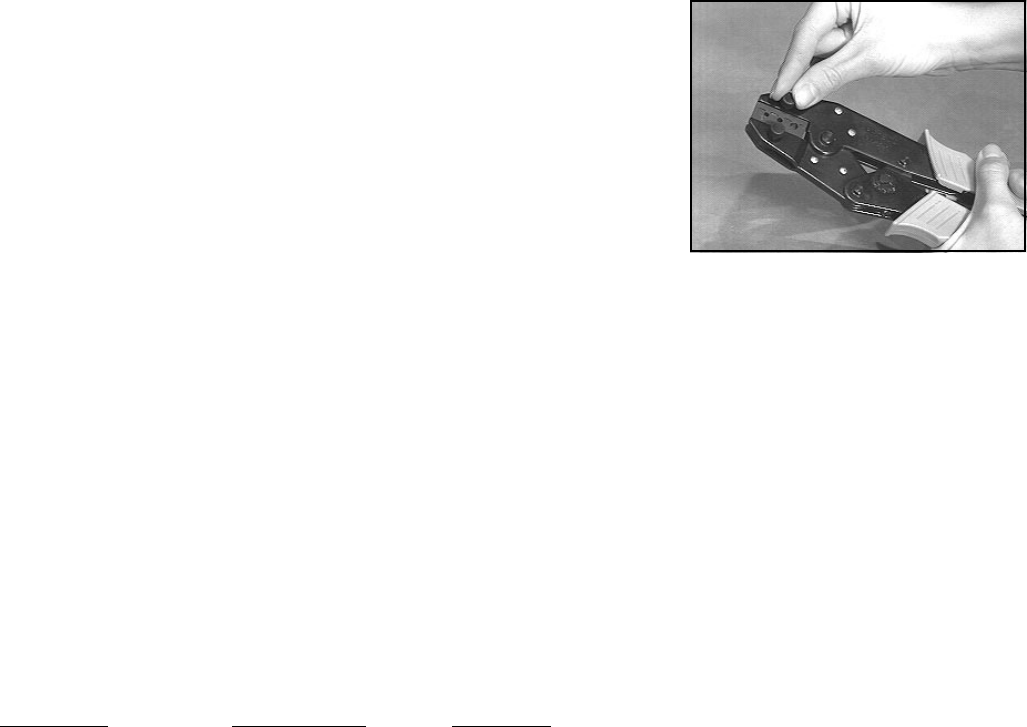
4. PREPARE THE CRIMP TOOL
Included in the field termination kit is a crimp tool set. The package
includes a base tool and three die sets to be used as follows:
Die Marking Cavity Marking Application
BIC/ST .151 ST* Bayonet, FC-1 & Biconic
.213 TECS 200/230 connector
.178 Not used
SC / FC3 .120 2.4 mm Jacketed Cable
.137 3.0 mm Jacketed Cable
.190 Kevlar crimp
PPST (Push-Pull ST) .120 2.4 mm Jacketed Cable
.137 3.0 mm Jacketed Cable
.226 Kevlar crimp
Select the jaw labeled "SC/FC3." Secure the jaws loosely with the
thumb screws. Close the jaws to the fully closed position allowing
the jaws to align, then tighten the screws (Fig. B1).


