


1 n
back I’I
_
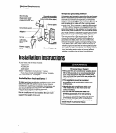
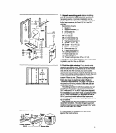
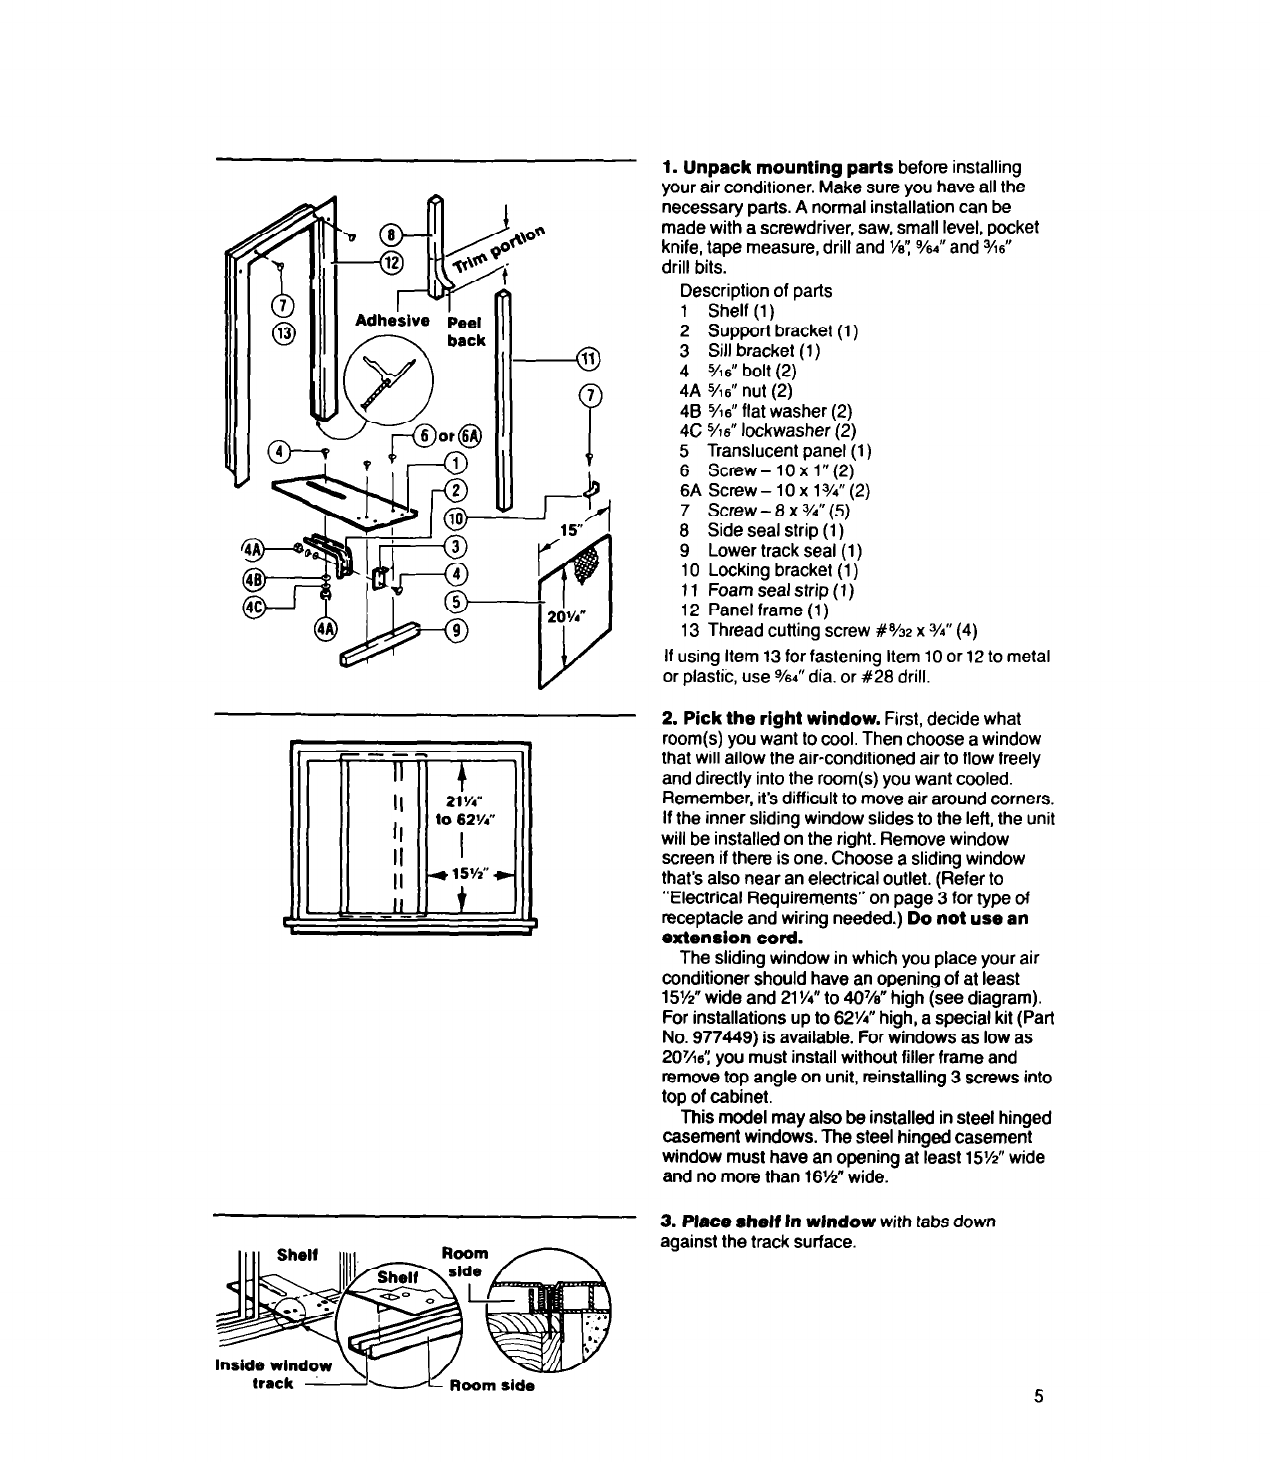
1. Unpack mounting parts before installing
your air conditioner. Make sure you have all the
necessary parts. A normal installation can be
made with a screwdriver, saw, small level, pocket
knife, tape measure, drill and W:
9/64”
and
%6”
drill bits.
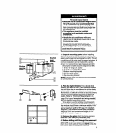
Description of parts
1 Shelf (1)
2 Support bracket (1)
3 Sill bracket (1)
4
%6”
bolt (2)
4A %” nut (2)
48
%6”
flat washer (2)
4C
%6”
lockwasher (2)
5 Translucent panel (1)
6 Screw-10x1”(2)
6A screw - 10 x
13/4”
(2)
7 Screw - 8 x 34” (5)
8 Side seal strip (1)
9 Lower track seal (1)
10 Locking bracket (1)
11 Foam seal strip (1)
12 Panel frame (1)
13 Thread cutting screw #% x %” (4)
If using Item 13 for fastening Item 10 or 12 to metal
or plastic, use
‘h4”
dia. or #28 drill.
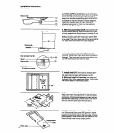
2. Pick the right window. First, decide what
room(s) you want to cool. Then choose a window
that will allow the air-conditioned air to flow freely
and directly into the room(s) you want cooled.
Remember, it’s difficult to move air around corners.
If the inner sliding window slides to the left, the unit
will be installed on the right. Remove window
screen if there is one. Choose a sliding window
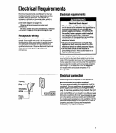
that’s also near an electrical outlet. (Refer to
“Electrical Requirements” on page 3 for type of
receptacle and wiring needed.) Do not use an
extension cord.
The sliding window in which you place your air
conditioner should have an opening of at least
15%” wide and 21%” to 40%” high (see diagram).
For installations up to 62%” high, a special kit (Part
No. 977449) is available. For windows as low as
207/re’: you must install without filler frame and
remove top angle on unit, reinstalling 3 screws into
top of cabinet.
This model may also be installed in steel hinged
casement windows. The steel hinged casement
window
mUSt
have an opening at least 15%” wide
and no more than 16%” wide.
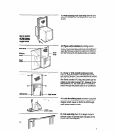
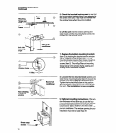
3. Place shelf In wlndow with tabs down
against the track surface.