9
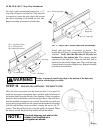
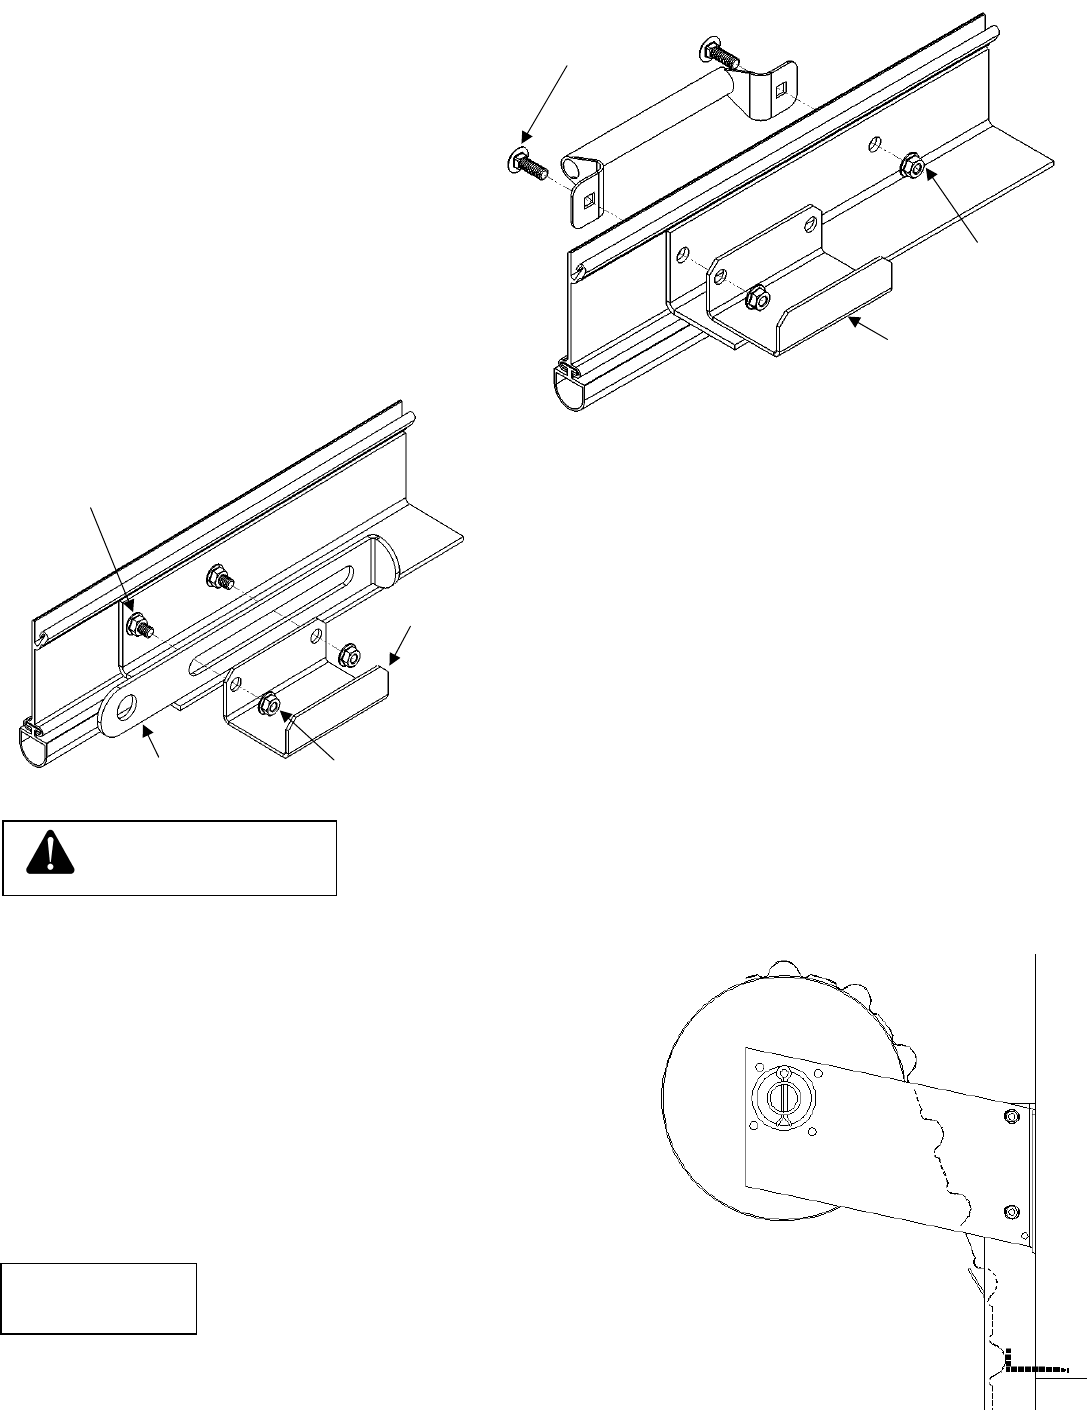
II: DS-50 & 100 ‘C’ Stop-Clip Attachment:
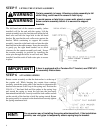
For doors with an aluminum bottom bar, a ‘C’
stop-clip will need to be installed. Only one bolt
is required to secure the stop-clip to the bottom
bar when attaching a lift handle on that side.
Repeat assembly procedure for both sides.
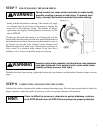
III: ‘C’ Stop-Clip w/ Inside Slide Bolt Attachment:
Install slide bolt locks, if provided, as shown. The
bottom bar will have (4) carriage bolts & flange nuts pre-
attached. Verify that the flat sides of the nuts are
horizontal to the bottom bar. This ensures smooth
operation of the slide bolt. Place the slide bolt lock so
that the slot rides on the flange nuts. Then, add the stop-
clip and attach, using the flanged nuts. Repeat assembly
procedure for both sides.
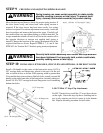
Failure to properly install stop-clips to the bottom of the door may
result in serious injury or death
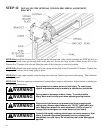
STEP 11 INSTALLING OPTIONAL TOP DRAFT STOP
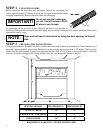
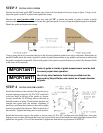
Close the door and secure it in the down position. Use a pencil to
mark the door panel corrugation that is parallel with the bottom of
the header/lintel from the outside of the opening. If this corrugation
protrudes below the header, mark the one just above. Open the door
until the marked corrugation is accessible. Stretch the top draft stop
across the door and attach it to the curtain on the marked corrugation
with the self-drilling screws provided, locating the screws on 12”
centers. Trim the top draft stop to clear the guides if required. When
the door is closed, the draft-stop should seal on the header.
Top draft stop may not seal on the
header if not installed on a
corrugation as shown.
NOTE:
WARNING
(2) ‘C’ stop-clips
(4) ¼ - 20
flange nuts
(4) ¼ - 20 carriage bolts
(
2
)
inside slide
(
4
)
¼ - 20 flan
g
e
(
2
)
‘C’ sto
p
-cli
p
s
(4) ¼ - 20 carriage bolts
(4) ¼ - 20 flange nuts
*pre-attached to btm bar


