15. Commissioning
15.1 Initial filling of the system:
• Remove the front
panel of the case.
• Unscrew the cap on
the automatic air
purger valve 3 (Fig
15.1) one full turn and
leave open
permanently.
3
2
Figure 15.1
• Open the installer
supplied automatic fill
valve between the
cold water inlet and
Central Heating
System (See 28 on
piping diagrams in
previous section).
• Open each radiator
air vent starting at the
lower point and close
it only when clear
water, free of
bubbles, flows out.
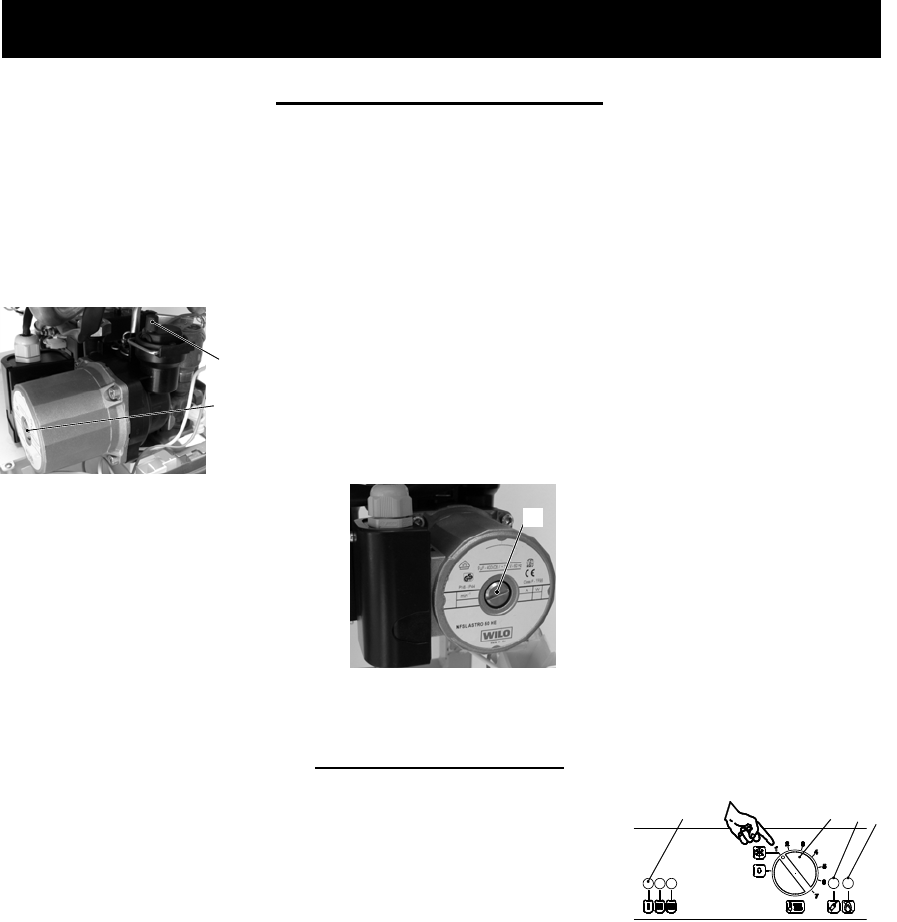
• Purge the air from the
pump by unscrewing
the pump plug 2 (Fig.
15.2); release the
pump by turning the
rotor in the direction
indicated by the arrow
on the information
plate.
2
figura 15.2
• Close the pump plug.
• Continue filling the
system. The actual
reading should ideally
be 1.3 bar (19 psi)
and not less than 0.3
bar (4.3 psi).
• Close all air release
valves on the c.h.
system.
• Inspect the boiler and
the system for water
soundness and
remedy any leaks
discovered.
• Cold flush the system
to remove any loose
particles and any
system debris before
starting the boiler for
the first time.
• Reassemble the front
panel of the case.
• Return fill valve to
automatic position.
15.2 Lighting the boiler:
Note: If external controls are fitted (e.g. room thermostat) ensure they "call for heat".
• Turn on the electricity
supply to the boiler,
switching on the circuit
breaker switch. The
appliance operation
light A will flash every 4
seconds.
• Turn the function
selector B as in Fig.
15.3. The appliance
operation light A will
flash every 2 seconds.
BA
C D
Figure 15.3
The boiler will now go through an ignition sequence and the burner will light.
If during the ignition attempt period the boiler fails to light, the full sequence control p.c.b.
will go to lockout and the lock-out signal lamp D will appear.
To reset the boiler turn the knob B (figure 15.3) on the 0 position and then
press and
release the boiler reset button C (Fig. 15.3).
RIVA HEAT ONLY MANUAL - REV A
30


