– 36 –
9. INSTALLATION PROCEDURE
9-1. Safety Cautions
For general public use
Power supply cord of parts of appliance for outdoor use shall be more
than polychloroprene sheathed flexible cord (design H07 RN-F), or
cord designation 245 IEC 66. (2,0mm² or more)
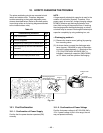
CAUTION New Refrigerant Air Conditioner Installation
• This air conditioner adopts the new HFC refrigerant (R410A) which does not destroy ozone layer.
R410A refrigerant is apt to be affected by impurity such as water, oxidizing membrane, and oils because pressure of
R410A refrigerant is approx. 1,6 times of refrigerant R22. Accompanied with adoption of the new refrigerant,
refrigerating machine oil has been also changed. Therefore, during installation work, be sure that water, dust, former
refrigerant, or refrigerating machine oil does not enter into the refrigerating cycle of new-refrigerant air conditioner.
To prevent mixing of refrigerant or refrigerating machine oil, the sizes of connecting sections of charging port of the main
unit or installation tools are different from those for the conventional refrigerant. Accordingly, the exclusive tools are
required for the new refrigerant (R410A) as shown below.
For connecting pipes, use new and clean piping materials with high pressure-tight force, which were made for R410A
only, so that water or dust does not enter. Moreover, do not use the existing piping because there are problems about
pressure-tight force and inner impurity in the existing piping.
CAUTION To Disconnect the Appliance from the Mains Supply.
This appliance must be connected to the mains by means of a circuit breaker or a switch with a contact separation of at
least 3 mm.
If this is not possible, a power supply plug with earth must be used. This plug must be easily accessible after
installation. The plug must be disconnected from the power supply socket in order to disconnect the appliance
completely from the mains.
DANGER
• FOR USE BY QUALIFIED PERSONS ONLY.
• TURN OFF MAIN POWER SUPPLY BEFORE ATTEMPTING ANY ELECTRICAL WORK. MAKE SURE ALL POWER
SWITCHES ARE OFF. FAILURE TO DO SO MAY CAUSE ELECTRIC SHOCK.
• CONNECT THE CONNECTING CABLE CORRECTLY. IF THE CONNECTING CABLE IS CONNECTED BY WRONG
WAY, ELECTRIC PARTS MAY BE DAMAGED.
• CHECK THE EARTH WIRE IS NOT BROKEN OR DISCONNECTED BEFORE INSTALLATION.
• DO NOT INSTALL NEAR CONCENTRATIONS OF COMBUSTIBLE GAS OR GAS VAPORS.
FAILURE TO FOLLOW THIS INSTRUCTION CAN RESULT IN FIRE OR EXPLOSION.
• TO PREVENT OVERHEATING THE INDOOR UNIT AND CAUSING A FIRE HAZARD, PLACE THE UNIT WELL AWAY
(MORE THAN 2M.) FROM HEAT SOURCES SUCH AS RADIATORS, HEAT REGISTORS, FURNACE, STOVES, ETC.
• WHEN MOVING THE AIR-CONDITIONER FOR INSTALLING IT IN ANOTHER PLACE AGAIN, BE VERY CAREFUL
NOT TO GET THE SPECIFIED REFRIGERANT (R-22) WITH ANY OTHER GASEOUS BODY INTO THE REFRIG-
ERATION CYCLE. IF AIR OR ANY OTHER GAS IS MIXED IN THE REFRIGERANT, THE GAS PRESSURE IN THE
REFRIGERATION CYCLE BECOMES ABNORMALLY HIGH AND IT RESULTINGLY CAUSES BURST OF THE PIPE
AND INJURIES ON PERSONS.
• IN THE EVENT THAT THE REFRIGERANT GAS LEAKS OUT OF THE PIPE DURING THE INSTALLATION WORK,
IMMEDIATELY LET FRESH AIR INTO THE ROOM. IF THE REFRIGERANT GAS IS HEATED BY FIRE OR
SOMETHING ELSE, IT CAUSES GENERATION OF POISONOUS GAS.
WARNING
• Never modify this unit by removing any of the safety guards or by by-passing any of the safety interlock switches.
• Do not install in a place which cannot bear the weight of the unit. Personal injury and property damage can result if
the unit falls.
• Before doing the electrical work, attach an approved plug to the power supply cord. And make sure the equipment to
be earthed.
• Appliance shall be installed in accordance with national wiring regulations.
If you detect any damage, do not install the unit. Contact your Toshiba dealer immediately.
CAUTION
• Exposure of unit to water or other moisture before installation will result in an electrical short.
Do not store in a wet basement or expose to rain or water.
• After unpacking the unit, examine it carefully for possible damage.
• Do not install in a place that can increase the vibration of the unit. Do not install in a place that can amplify the noise
level of the unit or where noise and discharged air might disturb user’s neighbors.
• To avoid personal injury, be careful when handling parts with sharp edges.
• Please read the installation manual carefully before installing the unit. It contains further important instructions for
proper installation.
Remark per EMC Directive 89/336/EEC
For to prevent flicker impressions during the start of the compressor (technical process) following installation
conditions do apply.
1. The power connection for the air conditioner has to be done at the main power distribution.
This distribution has to be of an impedance.
Normally the required impedance is reached at a 32A fusing point. Air conditioner fuse has to be 16A max.!
2. No other equipment has to be connected to this power line.
3. For detailed installation acceptance please refer to your contact with the power supplier, it restriction do apply
for products like washing machines, air conditioners or electrical ovens.
4. For power details of the air conditioner refer to the rating plate of the product.
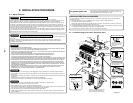
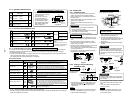
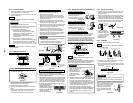
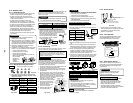
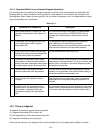
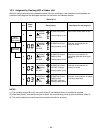
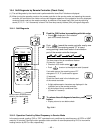
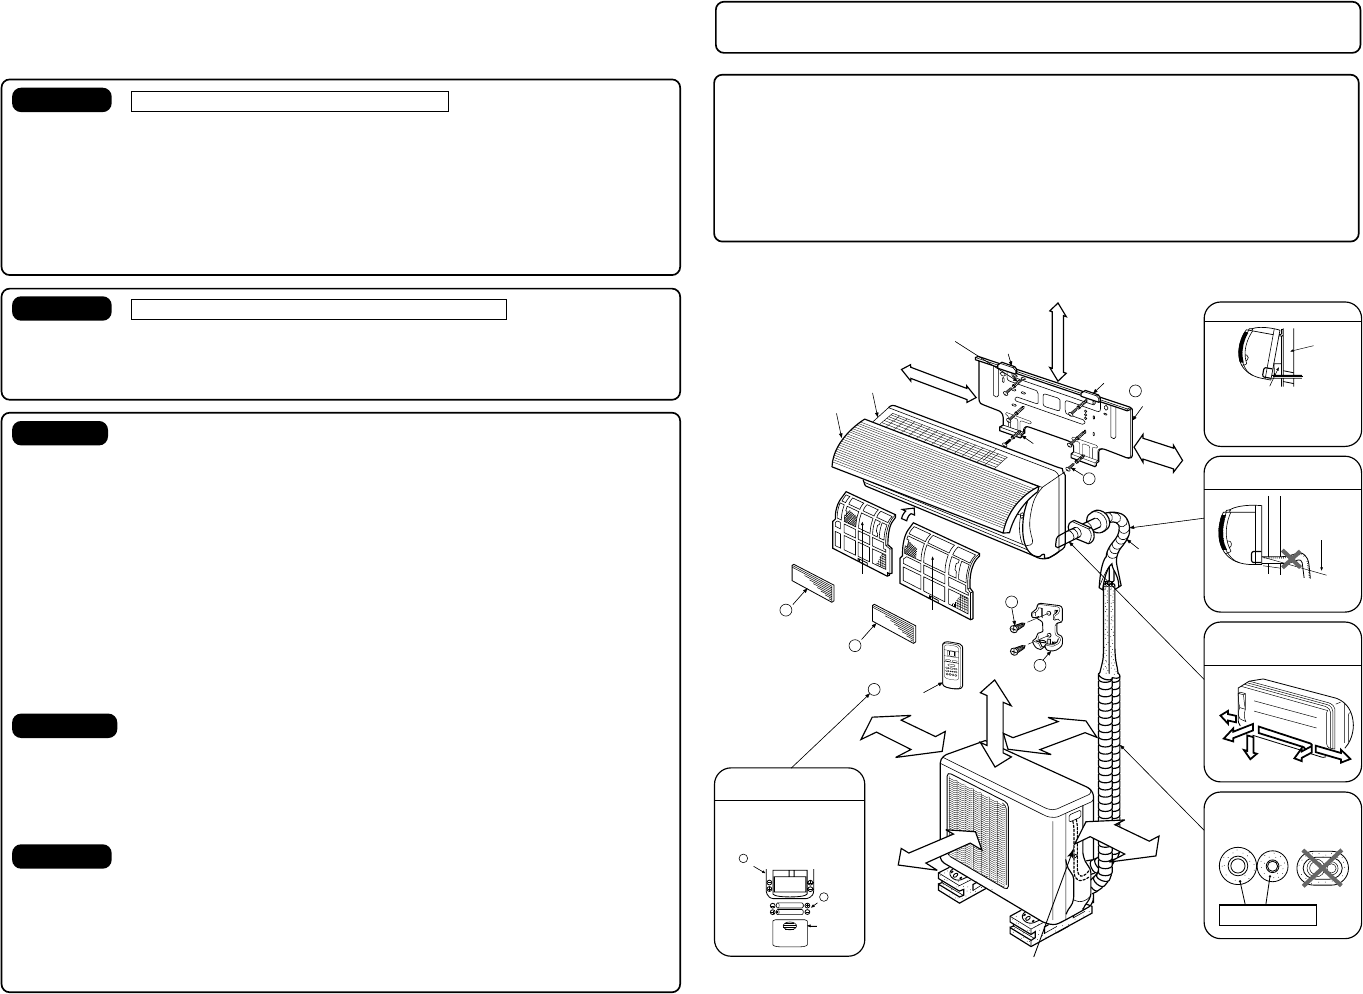
9-1-1. Installation Diagram of Indoor and Outdoor Units
Fig. 9-1-1
Clip anchor
Hook
66 mm or more
Hook
1 Installation
plate
5 Mounting screw
Hook
120 mm or more
Front cabinet
Front panel
A
ir filte
r
(Attach to the front cabinet)
(Attach to the front cabinet)
Shield pipe
Pan head
wood screw
8
4 Remote
controller
holder
7 Deodorizing
filter
6 Purifying
filter
2
Wireless remote controller
3
Batteries
Cover
6 mm thick heat resisting
polyethylene foam
Bottom
Rear
Right
Rear left
Left
Cut the piping hole
sloped slightly
Wall
120 mm
or more
For the rear left and left piping
Do not allow the drain hose to
get slack.
Make sure to run the drain
hose sloped downward.
The auxiliary piping can be
connected the left, rear left,
rear, right or bottom.
Insulation of refrigerant pipes
insulates the pipes separately,
not together.
Before install the wireless
remote controller
• With the remote controller
cover open, load the batteries
supplied correctly, observing
their polarity.
Insert the cushion between
the indoor unit and wall,
and lift indoor unit to make
work easier.
2 Wireless
remote controller
As shown in the figure, hang power cord
and connecting cable downward, and
take out it along piping connection port.
250mm or
more from wall
200m
m
or m
ore
600mm or more
50mm or more
from wall
100mm or
more from wall


