


STT40 / STT70
Maintenance 5-5
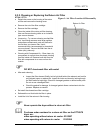
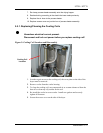
5.2.2. Cleaning or Replacing the Return Air Filter
STT40 / STT70
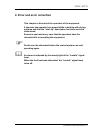
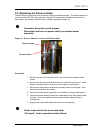
• Detach the screw on the housing of the return
air filter and remove the housing cover.
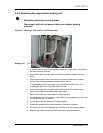
• Remove the nut of the filter cartridge.
• Remove the filter cartridge.
• Clean the inside of the return air filter housing.
Use non-fibrous cleaning cloths or an industrial
type vacuum cleaner.
• Vacuuming - Try vacuum-cleaning a soiled filter
first. Vacuuming removes most large particles
and surface contaminants, and may suffice for
the first time you clean a filter. Use a
commercial-duty (recommended) or household
vacuum cleaner. Vacuum the filter from the air
intake (dirty) side only.
• Cleaning with Compressed Air - Blow clean, dry
compressed air up and down the pleats, blowing
from the inside out. Remove loose dirt from the
filter with compressed air or vaccum from the
outside.
) DO NOT clean/wash filter with water!
• After each cleaning:
• Inspect the filter element. Briefly hold a light bulb behind the element and look for
any fatigued paper or residual dirt. Inspect for holes and tears by looking though
the filter toward a bright light. Check for damaged gaskets or dented metal parts.
Do not re-use a damaged filter!
• Check the gasket for damage. A damaged gasket allows contaminants into the
process. Replace as needed.
• Re-install the cleaned/new filter cartridge.
• Rethread the nut that holds the filter in place.
• Install the lid of the return air filter housing.
) Never operate the dryer without a return air filter.
Purchase order numbers for a return air filter on the STT40/70
dryer are:
when operating without return air cooler: ID 83957
when operating with return air cooler: ID 83956
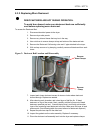
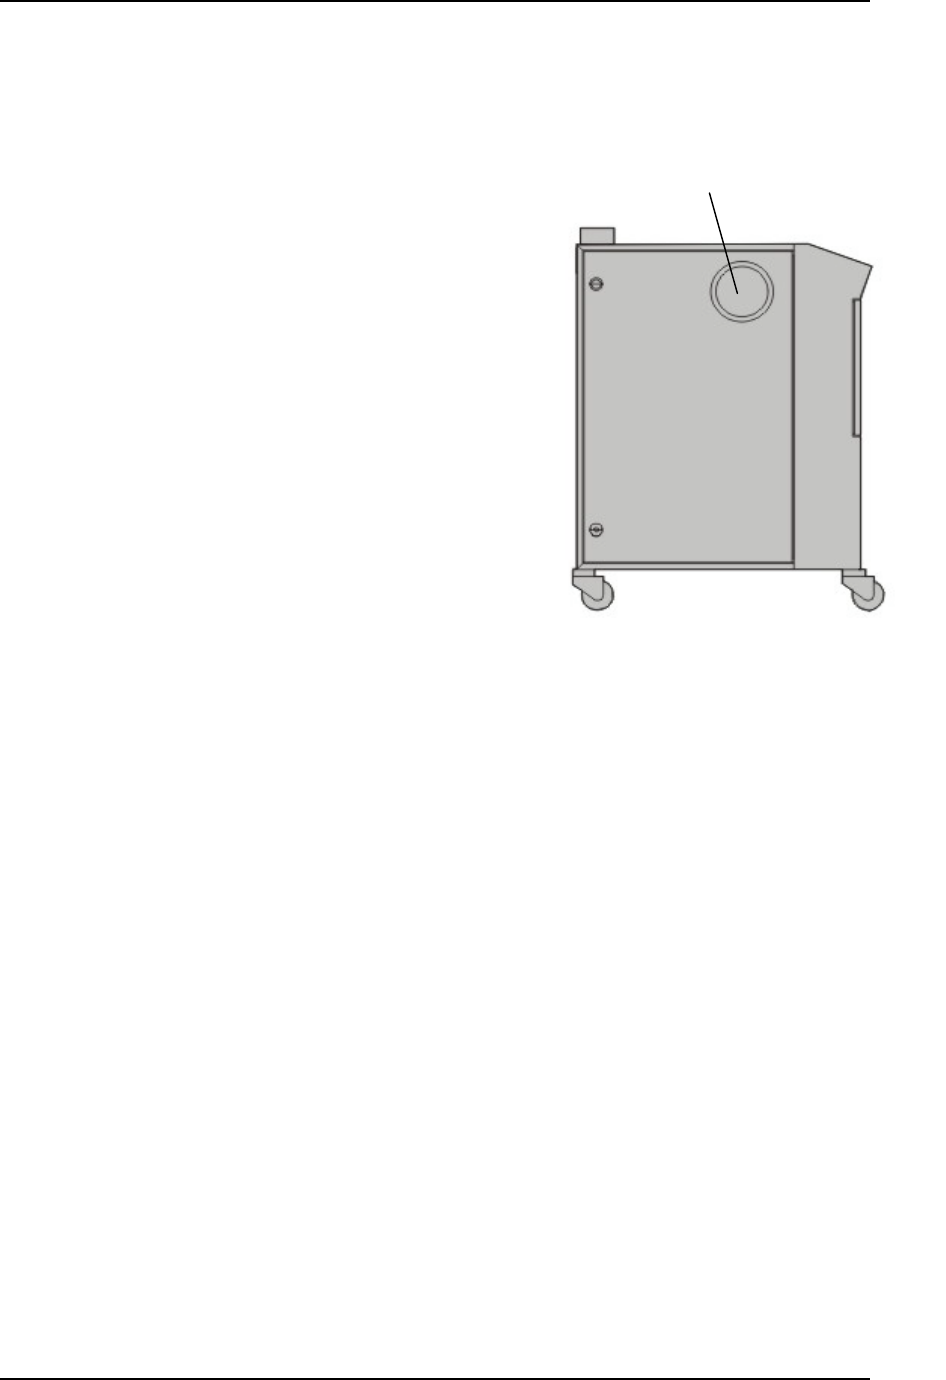
Return Air Filter
Figure 1: Air Filter Location & Disassembly