


68
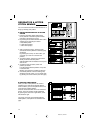
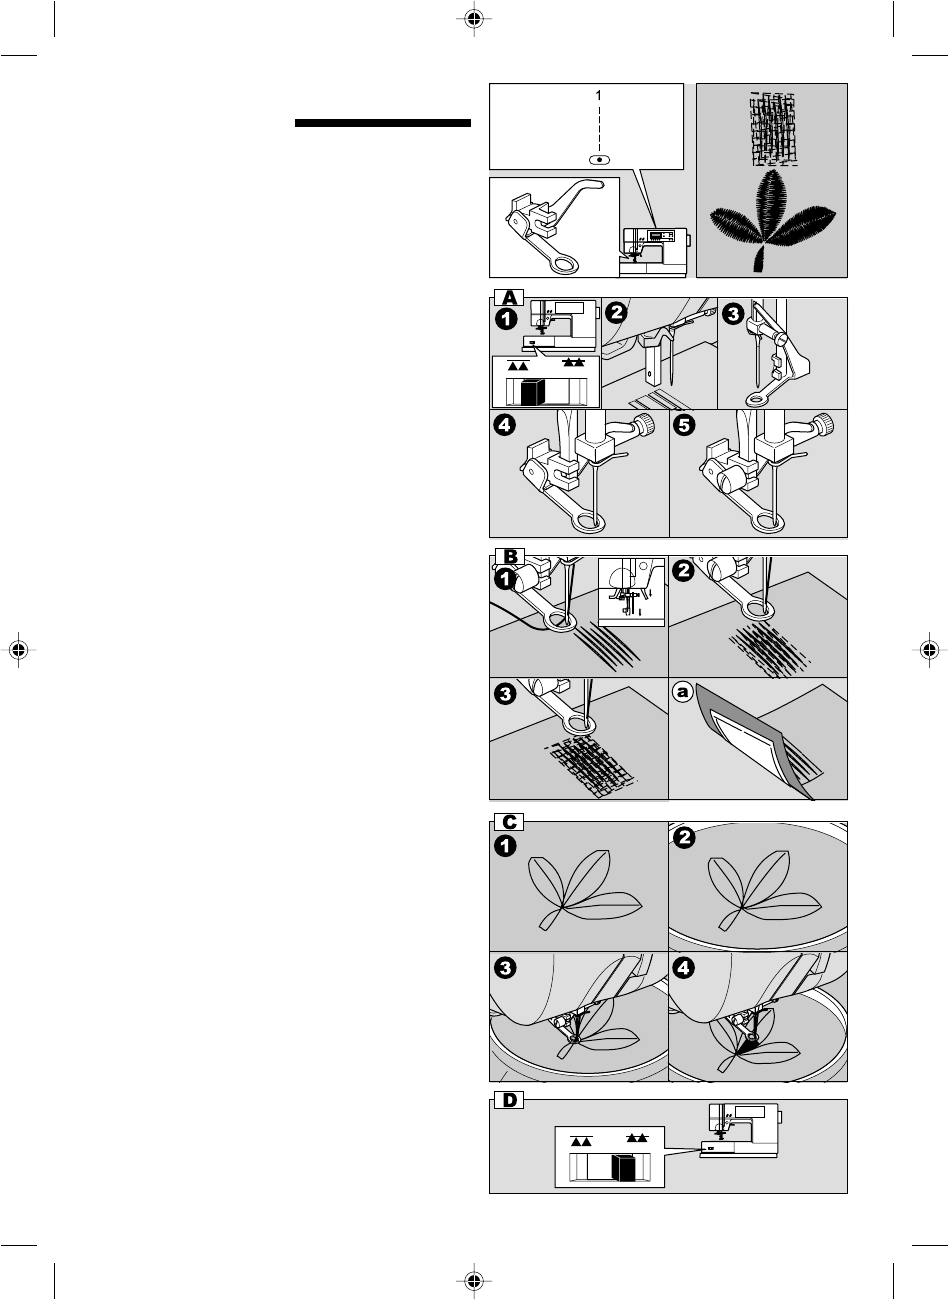
DARNING/FREE-HAND
EMBROIDERY
No. 1
Darning/Embroidery Foot
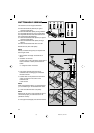
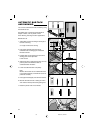
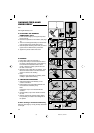
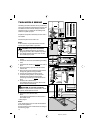
A.ATTACHING THE DARNING/
EMBROIDERY FOOT
1. Lower the feed dogs by moving the drop feed
lever to the left.
2. Remove the presser foot and holder. (See page
14)
3. The arm of darning/embroidery foot should ride
onto the shaft of the needle clamp screw.
4. Slide the plastic attaching head from your left to
right so that it is fitted into the presser bar.
5. Tighten the presser foot thumb screw.
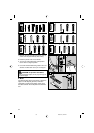
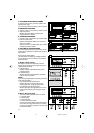
B.DARNING
1. Place fabric under foot and lower it.
2. Grasp fabric firmly in front and back of area to
be darned. Operate machine, moving fabric by
hand forward and backward with an even
motion, stitching in closely spaced rows over
the hole or worn area.
3. When the area is filled with new stitches, move
fabric from side to side in a similar manner to
weave or reinforce the stitching.
a. Note:
Reinforce open areas with an underlay, baste
undelay in place before darning.
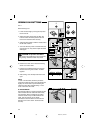
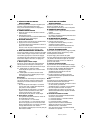
C. FREE-HAND EMBROIDERY
1. Outline the design for embroidery on the
surface of the fabric.
2. Place design to be embroidered between the
two sections of embroidery hoop.
Note:
Embroidery hoop is not included with this
machine.
3. Set embroidery hoop under needle and lower
the foot.
4. Start the machine at medium speed, guiding
hoop carefully so needle moves along line of
the pattern.
D.After darning or free-hand embroidery
Raise the feed degs by moving the drop feed lever
to the right.
2003.9.10, 8:42 PM68