SECTION 3. REARN THE STITCHES
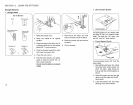
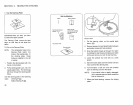
Use the Darning Plate
f
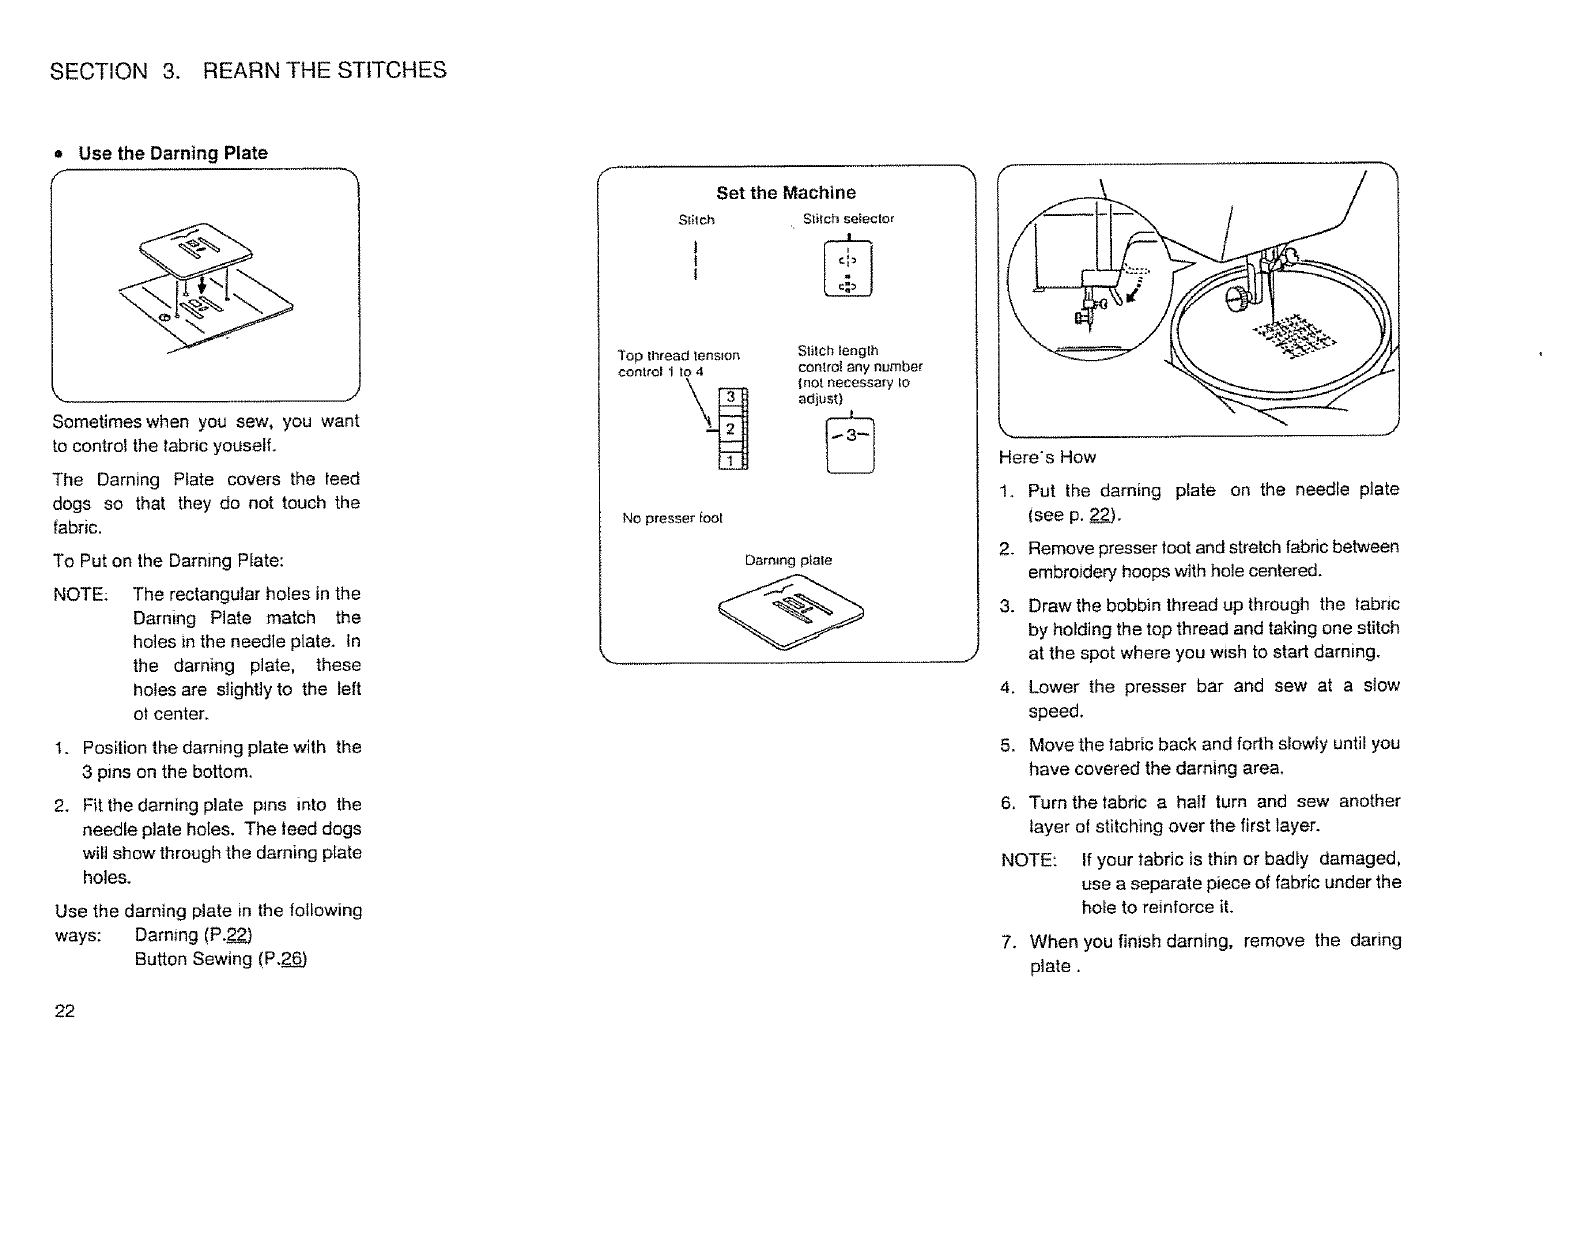
Sometimes when you sew, you want
to control the tabnc youself.
The Darning Plate covers the teed
dogs so that they do not touch the
fabric.
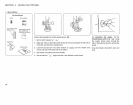
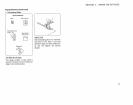
To Put on the Darning PIate:
NOTE: The rectangular holes in the
Darning Plate match the
holes in the needle plate. In
the darning plate, these
holes are s]ightiy to the left
ot center.
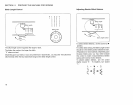
1. Position the darning plate with the
3 pins on the bottom.
2. Fit the darning plate pJns into the
needle plate holes, The teed dogs
will show through the darning plate
holes.
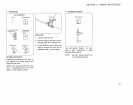
Use the darning plate in the folfowing
ways: Darning (P.2_.23
Button Sewing (P,26_
22
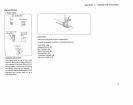
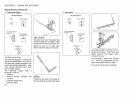
Set the Machine
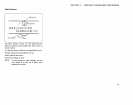
Stitch . Stitch seIector
I °!'
Top thread tension Stitch Jeng[h
control I to 4 Contr01 any number
No presser {oo1
Darmng p}ate
Heres How
2.
3.
4.
5.
6.
NOTE:
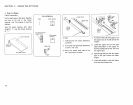
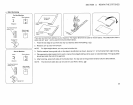
Put the darning plate on the needle plate
(see p. 22).
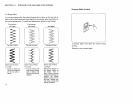
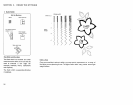
Remove presser loot and stretch fabric between
embroidery hoops with hole centered.
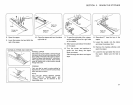
Drawthe bobbin thread up through the labric
by holding the top thread and taking one stitch
at the spot where you wish to start darning.
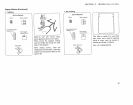
Lower the presser bar and sew at a slow
speed.
Move the fabric back and forth slowly until you
have covered the darning area.
Turn thetabric a half turn and sew another
layer of stitching over the first layer.
if your tabric is thin or badiy damaged,
use a separate piece of fabric under the
hole to reinforce it.
7. When you finish darning, remove the daring
plate.


