


20
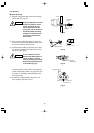
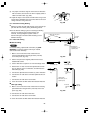
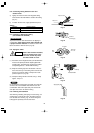
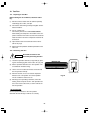
(3) For proper connection, align the union tube and flare tube
with each other, then screw in the flare nut lightly at first to
obtain a smooth match. (Fig. 39b)
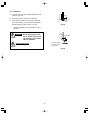
●
Adjust the shape of the narrow and wide tubes using a tube
bender at the installation site and connect them to the each
tubing side valve using a flare nut.
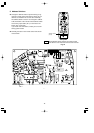
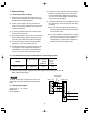
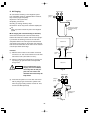
8-4. Precautions During Brazing
●
Replace air inside the tube with nitrogen gas to prevent cop-
per oxide film from forming during the brazing process.
●
Do not allow the tubing to get too hot during the brazing
process. The nitrogen gas inside the tubing may
overheat, causing refrigerant system valves to
become damaged. Therefore allow the tubing to cool
between brazings.
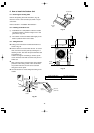
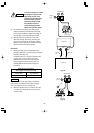
8-5. Indoor Unit Tubing
■
Rear-left tubing
For rear-left tubing, optional tube connection (C) (APR-
EN46U1B) is necessary. Please consult your nearest
sales outlet or A/C workshop.
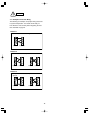
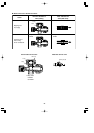
1. Make a 3-3/16" hole in the wall, centered on the
crossing point between the triangle marks (A and B)
on the rear panel. (Fig. 40a)
2. Set the rear panel at its original position where it was
installed with screws.
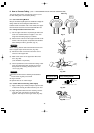
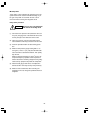
3. Cut the wide tube at a point 4-1/8" from the triangle mark.
4. Remove the 1/2" flare nut from the optional tube connec-
tion (C), place it on the cut wide tube, and then flare the
wide tube. (Fig. 40b)
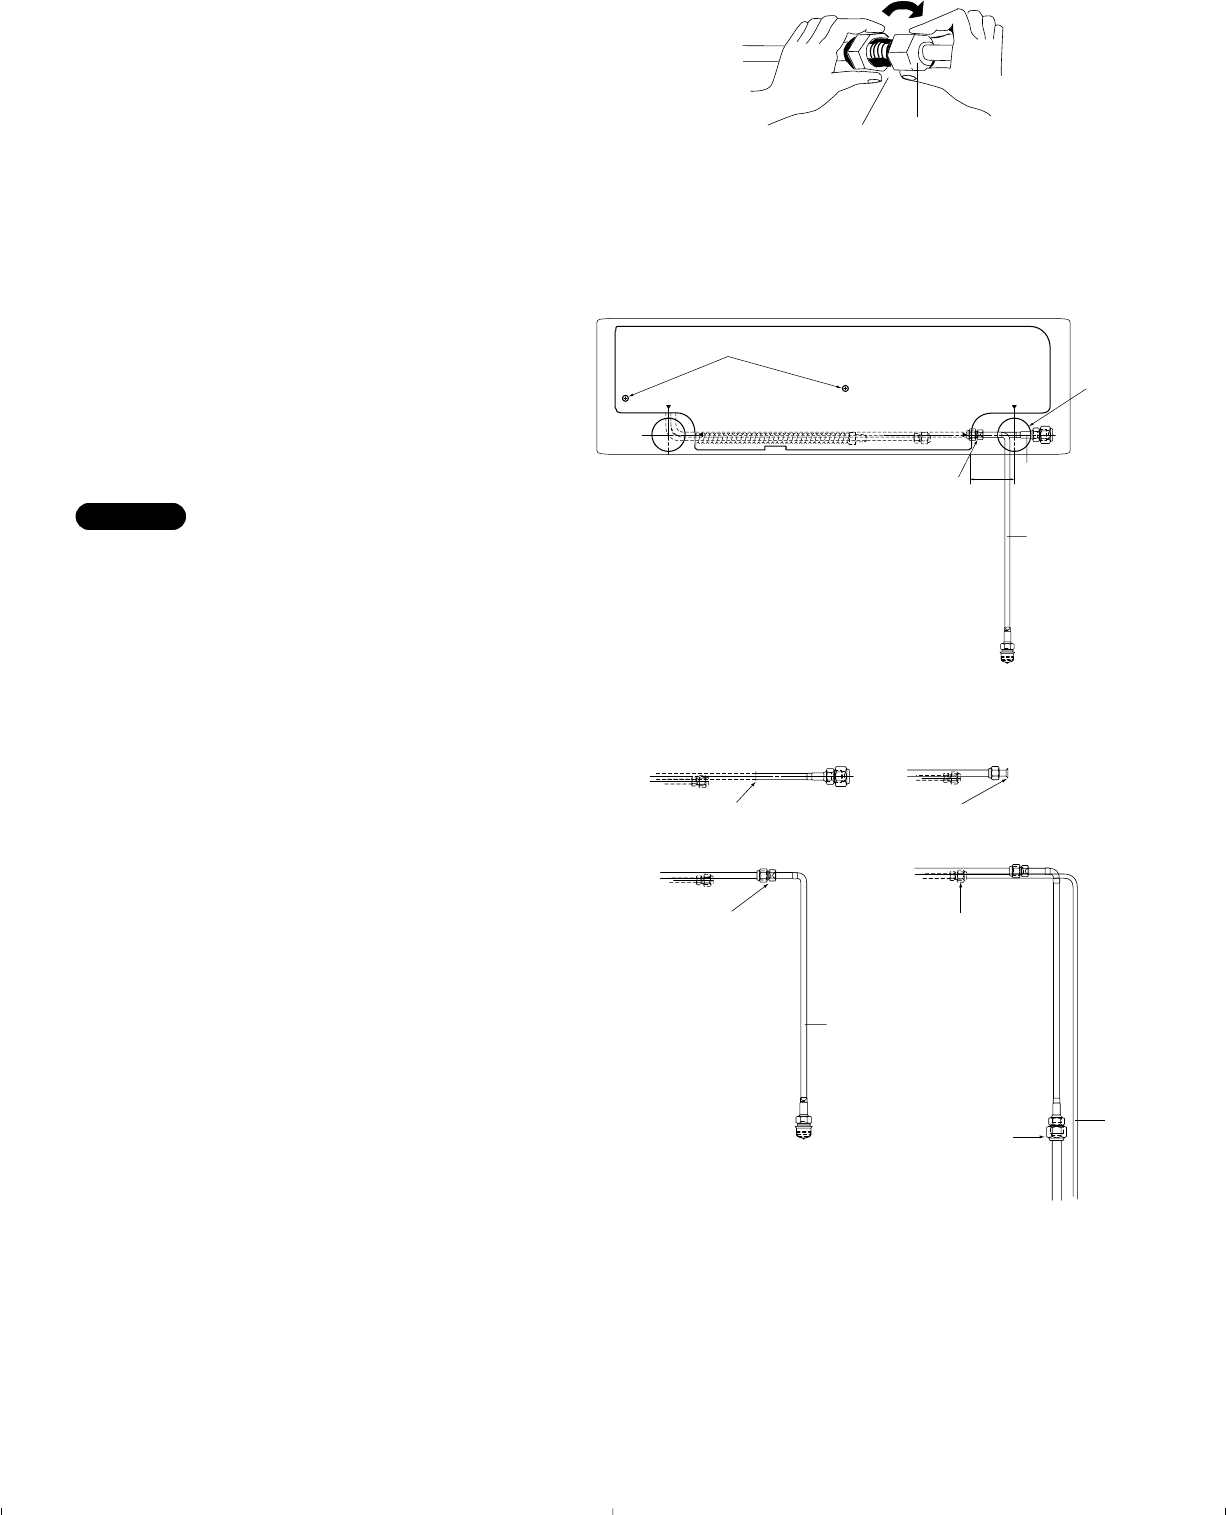
5. Connect the optional tube connection (C) to the wide tube.
6. Connect the 3/4" tube to the connected optional tube con-
nection.
7. Connect the 3/8" tube to the narrow tube.
8. Cover the narrow and wide tubes with insulation material.
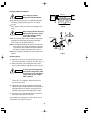
■
Rear-right tubing
9. Make a 3-3/16" hole in the wall, centered on the crossing
point between the triangle marks (A' and B') on the rear
panel. (Fig. 40a)
10. Connect the 3/4" tube to the wide tube.
11. Connect the 3/8" tube to the narrow tube.
12. Cover the narrow and wide tubes with insulation material.
Fig. 40b
Fig. 40a
B'
B
A'
2. Mount the rear panel
A
Rear View
Wide tube
Optional tube
connection (C) 1/2"
(Optional part)
1. Cut hole
in wall
3. Cut
4. Flare
5. Connect
4-1/8"
4. Flare wide tube
3. Cut wide tube
5. Connect tube
assy
Optional tube
connection (C) 1/2"
(Optional part)
Narrow
tube 3/8"
6. Connect
wide tube
3/4"
7. Connect
narrow tube
3/8"
NOTE
Flare nut
Union
Fig. 39b